Build #41: Norbaforce Galaxy Class (Part I)
Heads up - this is a very long build log, perhaps the longest one I’ve done to date. Long enough, in fact, that I hit a 32K character limit on posts, so I’ve split it into two parts. Grab a nice beverage and get yourself comfortable.
I’ve been in the hobby for a little over two years now. That’s enough time to get many of the basics down, but there is still a great deal of backstory for which I don’t have first-hand experience. Because of that, my first encounters with custom builds from prior eras of the hobby are often just as instructive and entertaining as builds of the latest new shiny toys.
At some point during my keeb infancy, I ran across Ryan Norbauer’s bio here on keebtalk, and, specifically, the teaser photo of DSA Galaxy Class on a Norbaforce housing. Wait. This is a thing? Someone actually did a keyboard based on the LCARS interface from Star Trek: The Next Generation??
Sexy as hell, right?
At the time, I didn’t know that the keyset was DSA Galaxy Class, nor did I know that the housing was a Norbaforce in the Galaxy Console finish. Knowing what I know now, that seductive photo should be accompanied with a detailed warning, not unlike those that come with power tools or industrial chemicals. I imagine such a warning might include the following admonitions:
- WARNING: This photo depicts a DSA keyset that is no longer produced, and will be difficult to find in the aftermarket.
- WARNING: This photo depicts a housing that is infrequently produced, in a finish that was itself only one of several options during the production run.
- WARNING: This housing is intended for a Realforce, a Topre board that does not natively support MX-style keycaps such as DSA.
- WARNING: Replacement Topre sliders that support MX are either (a) bad or (b) present only in a keyboard (the CoolerMaster Novatouch TKL) that has been out of production for years and commands steadily increasing aftermarket prices for slider harvest by Topre fans.
- WARNING: Yes, that’s right, you need to harvest parts from two other OEM boards to achieve the result so blithely displayed in that photo.
- WARNING: Novatouch sliders for the modifier keys do not fit into stock Topre modifier housings.
- WARNING: The left CTRL key on a Realforce 87U has a unique slider and housing unlike all the rest, because life was never meant to be easy. You are defined by the struggles you overcome.
- WARNING: The Realforce 87U uses a 6u spacebar. Not 6.25u, not 7u. 6u.
- WARNING: A 6u spacebar, which DSA Galaxy Class does not include. Do you see a spacebar in that seductive photo? No? Hmmm…
- WARNING: A 6u Topre spacebar, which means you have limited options if color matters and you decide to stick with a Topre-style spacebar on your converted-to-MX build.
- WARNING: A 6u Topre spacebar, which means the spacebar stems are not in the same location as they would be for an MX-style spacebar. Wait, you didn’t know about that?
- WARNING: Are you sure about this build? I mean, really sure?
- WARNING: You could build other boards. How about lubing some switches? Doesn’t that sound nice?
- WARNING: Or maybe just enjoy a happy fun ball instead.
No! If this build log is to mean anything, then we must boldly go where no one has gone before. Or, barring that, tentatively and fearfully go where many people have gone before, and ride on their shoulders, using their heads as convenient shields and clutching a phaser dialed to maximum power, just in case.
One more warning before we begin:
- WARNING: If you are attempting to replicate this build, I strongly recommend that you read the entire log first - I had to backtrack several times. Avoid unnecessary work and don’t repeat my mistakes!
Sourcing the parts and materials
There’s no getting around it - to do this build in 2020, you need to start sourcing parts in early 2019,
have some spare cash on hand, and enjoy more than a little serendipity.
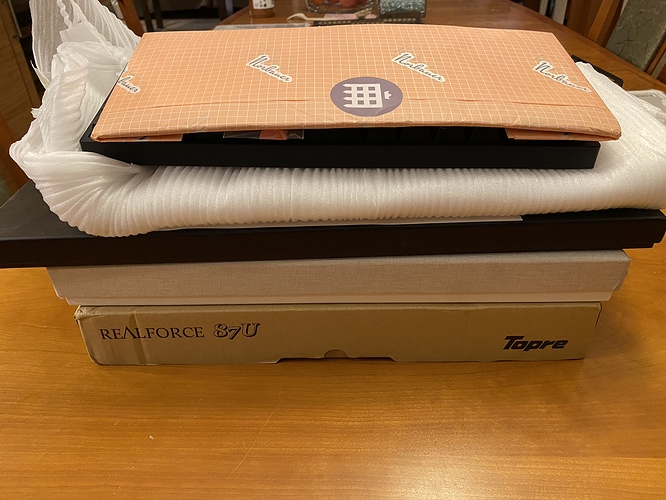
- Realforce 87U - even though Topre has moved on to the Realforce R2, the original 87U remains reasonably easy to obtain, and can still be found at Amazon even now.
- Novatouch TKL - this is possible but harder to obtain on ebay - boards do not appear for sale as frequently, and the prices have been steadily escalating due to the demand for acceptable MX-sliders among Topre aficionados. I waited for a broken one to show up, and pounced - we don’t need the Novatouch to be functional, as long as the sliders and housings are in good condition.
- Norbaforce in Galaxy Console finish. When I began to pursue this build, the original Norbaforce group buy was nearing completion, and rumor had it that extras would eventually be available on Norbauer’s site. Eventually those extras were up for sale, the powder-coat Galaxy Console finish was among those available, and I pounced.
- DSA Galaxy Class. This was long gone from the market by the time I became aware of it, and I had just about resigned myself to a long and potentially fruitless slog through the aftermarket, when to my surprise Ryan made some recently discovered extras available on his site. I pounced again! It’s like I’m a cheetah!
- DSA 6u spacebar. The escape key in DSA Galaxy Class, with the “EJECT CORE” legend, has a deep salmon color. As fortune would have it, PMK was selling 6u DSA spacebars, and one of the available colors was RAG - a salmon color that sure looks like the same color as the EJECT CORE key, which means I have a possibly compatible space bar for this build and Galaxy Class! I pounc— OK, enough of that.
We’re in business! Or so I thought…
The slider harvest
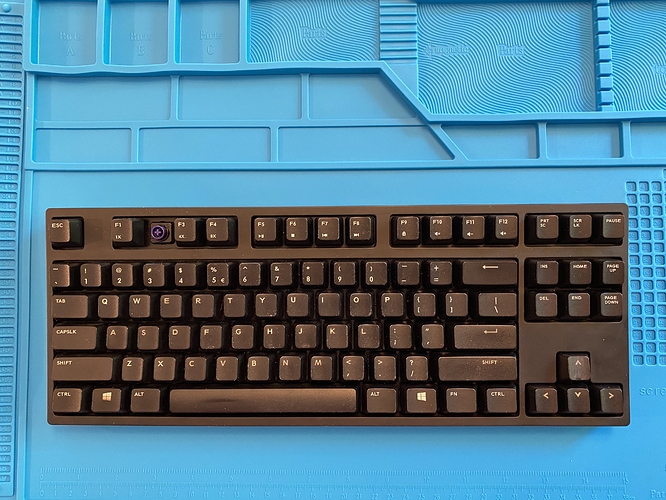
The donor Novatouch was missing one keycap, and, as advertised, not functional - no signs of life when plugged in. But the sliders felt nice - either the previous owner really broke this keyboard in, or did some lubing work of their own.
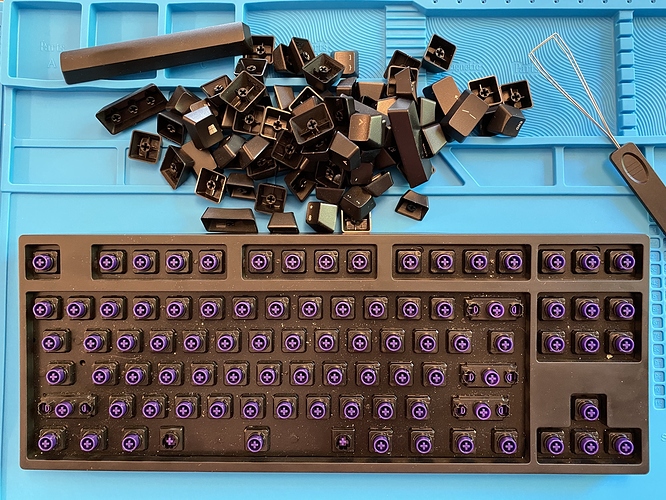
A minute or two with a keycap puller, and it appears that we have a good set of sliders for the taking, along with some detritus on the plate. Expected, and I’ve certainly seen worse.
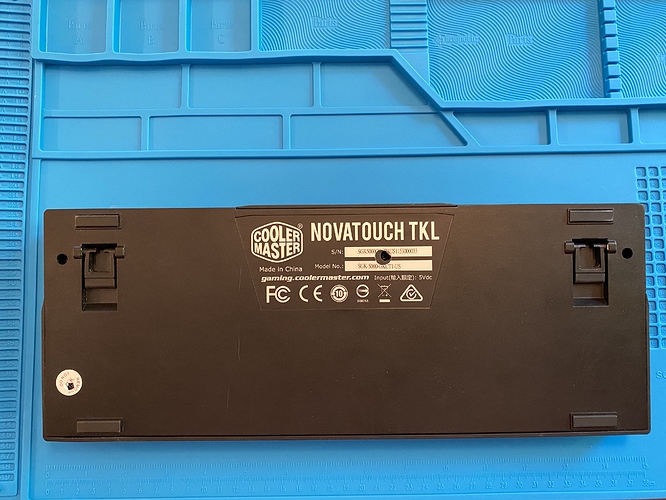
Onward with the harvest. To get inside a Novatouch, there are four screws on the underside of the case that need to be removed. Two of them are next to the keyboard risers, while the other two are hidden beneath the two stickers - or would have been, but it appears that the previous owner has already been inside the case.
From here, we can use a flat-head screwdriver or credit cards to wedge the top and bottom halves of the Novatouch apart, working slowly around the perimeter. The USB port is attached to the case by two screws, and with those two screws removed, we have our first look at the PCB/plate assembly.
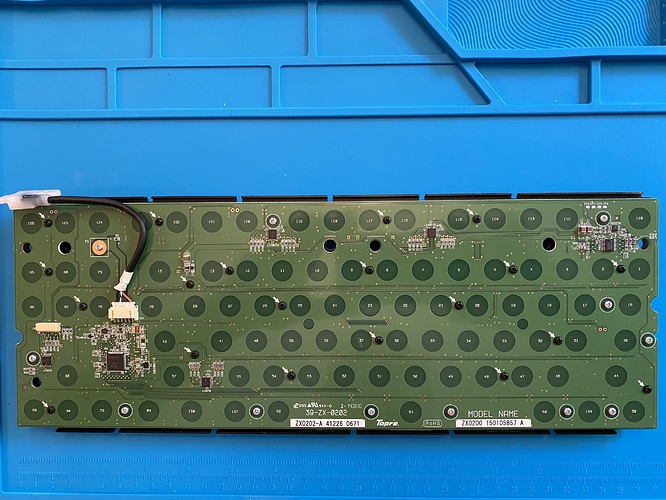
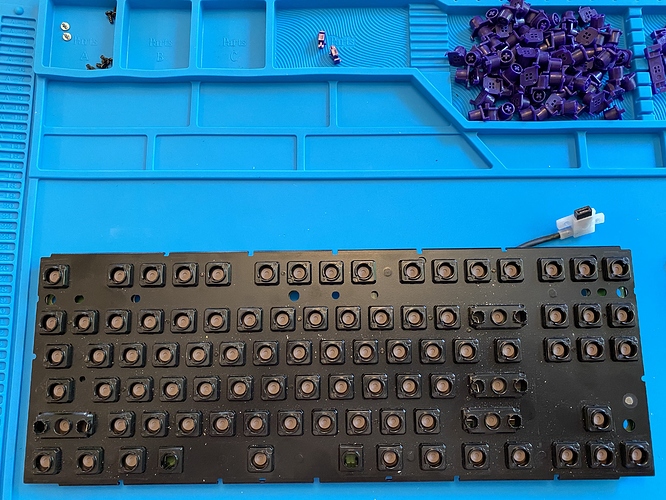
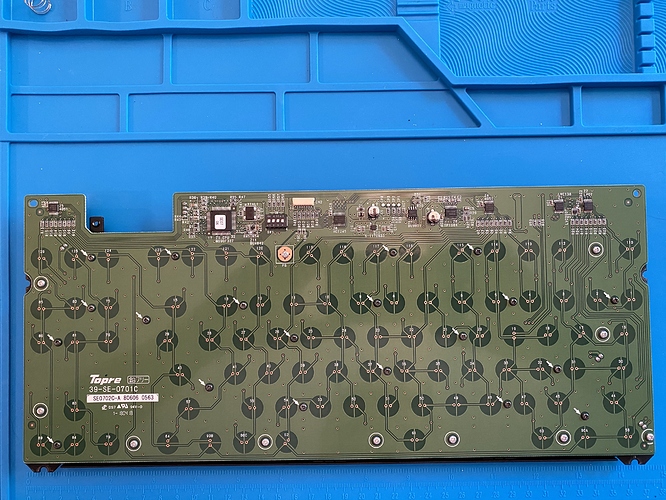
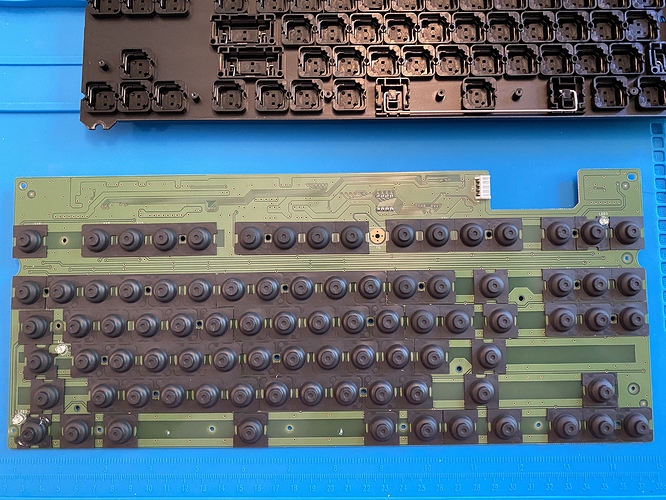
To separate the plate from the PCB and get at the sliders and slider housings, get your screwdriver ready: there are 32 screws that need to be removed from the PCB (20 black-headed, 12 silver-headed). Yes, 32. All of these screws serve the purpose of tightly compressing the rubber dome sheet between the plate and PCB, ensuring that the springs inside those rubber domes can actually generate the necessary capacitive effect to register keypresses.
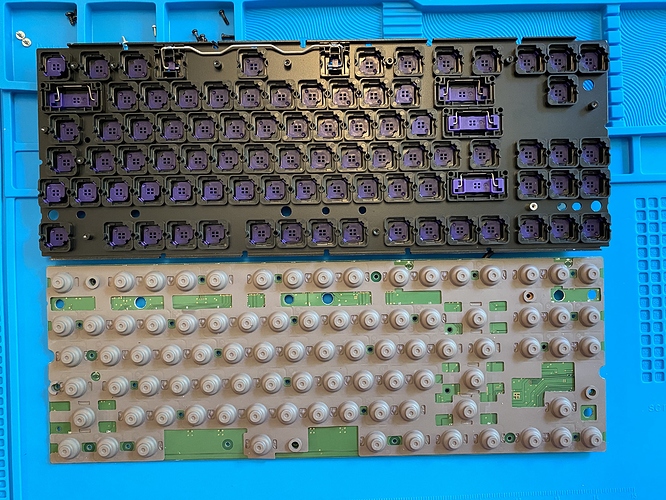
Once all the screws are out, a little care is in order. Holding the plate and PCB firmly together, we flip the assembly over and set it down on our workmat, and then we gently lift the plate away from the rubber dome sheet. After a long time under compression, the rubber sheet will want to stick to the plate, and unless you want the springs under those domes to go flying everywhere, it’s wise to take this part slowly - gently separate the plate from the sheet, separating the sheet from the plate by hand if necessary as you lift, and with any luck, it will eventually lift cleanly away.
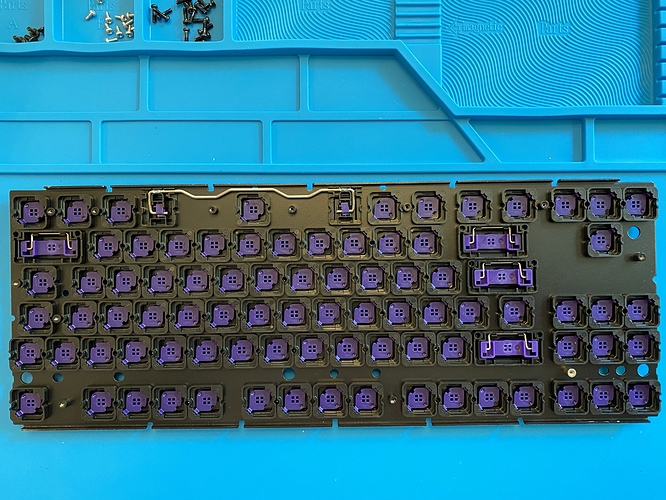
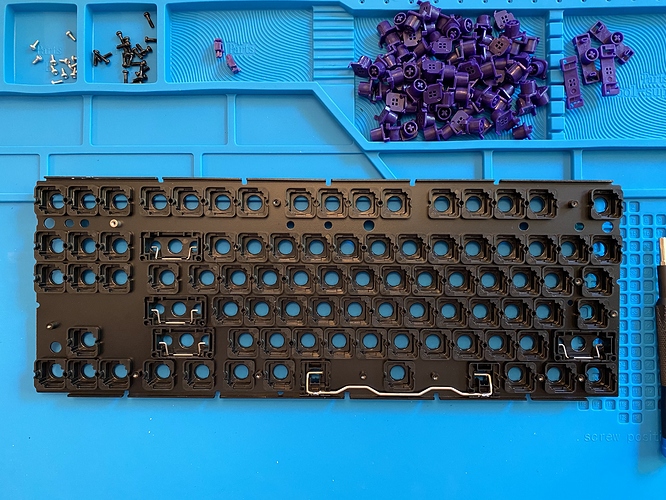
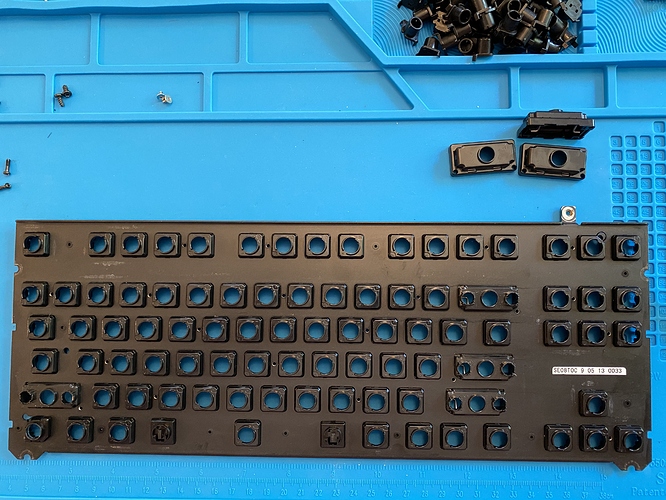
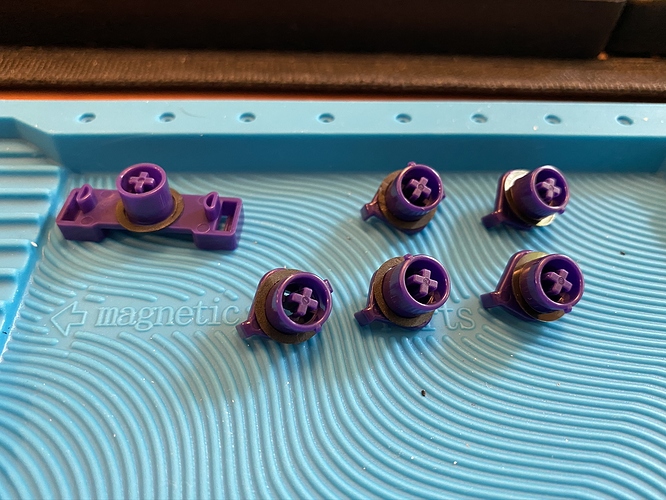
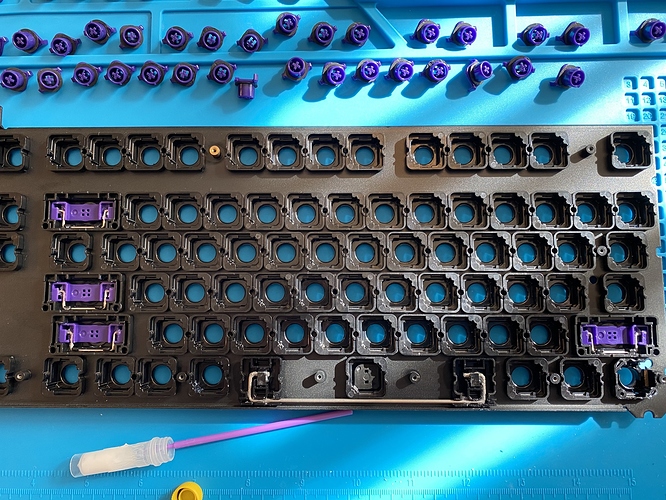
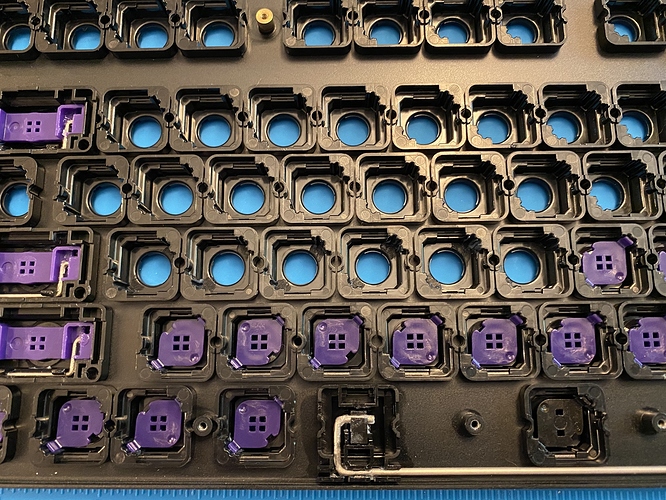
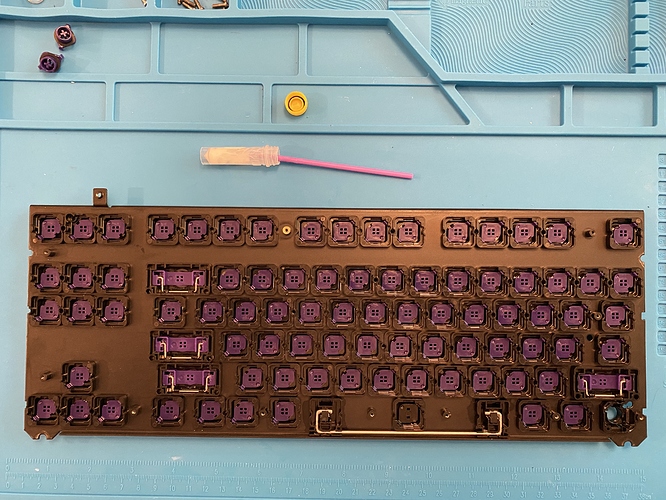
We can now get a good look at the objects of our desire - the infamous purple sliders. Specifically, 83 1u sliders, 4 modifier sliders, and a wire slider assembly for the spacebar.
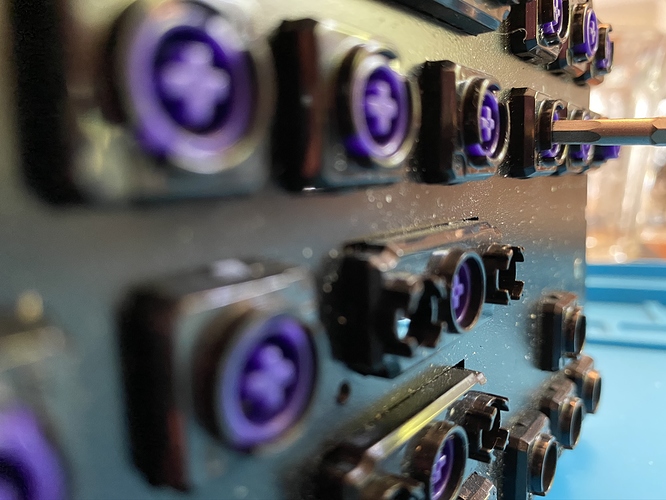
Removal of the 1u sliders is straightforward. Using a fat hex bit, just apply pressure to the cruciform of the slider, and the slider will snap out of its housing. Once you get a feel for the necessary amount of pressure, it won’t take more than a couple of minutes to remove all of the 1u sliders.
The modifier sliders can be removed from their wires (and their housings) by sliding them off of the wires; the underside of these sliders have cutouts for the wire to easily pop out and back in. Similarly, with a little fiddling, the spacebar wire sliders can be separated from their wire.
We’re not going to need the PCB, domes, or springs from the Novatouch for this build, but there’s no reason to throw away potentially useful parts and materials. Here, we’ve reattached the plate to the PCB to keep those rubber domes and springs in place for storage.
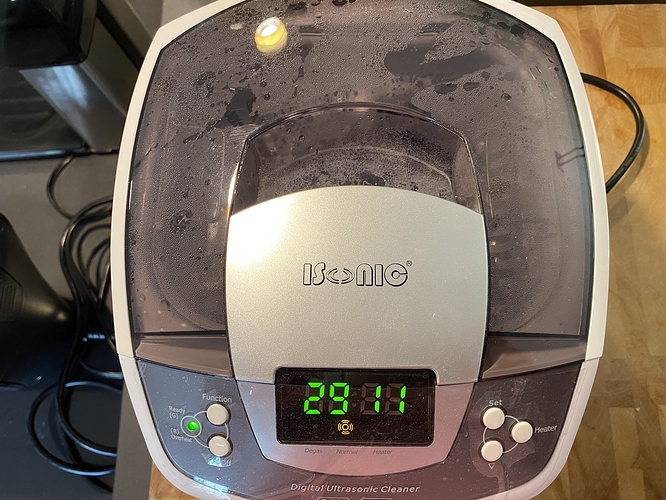
The previous owner had in fact lubed the sliders, so before we can use them for this build, we’ll need to clean them. Time for a good ultrasonic cleaning. Add water and a touch of dish soap to the cleaning bin, throw in the sliders, and let it run for 30 minutes.
Once that’s done, we spread the sliders out on paper towels, and let them dry for a full day to be sure that no water remains inside the slider.
Disassembling a Realforce 87U
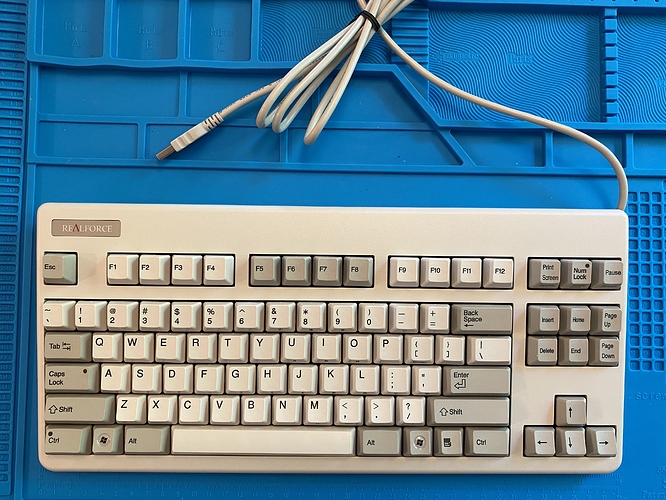
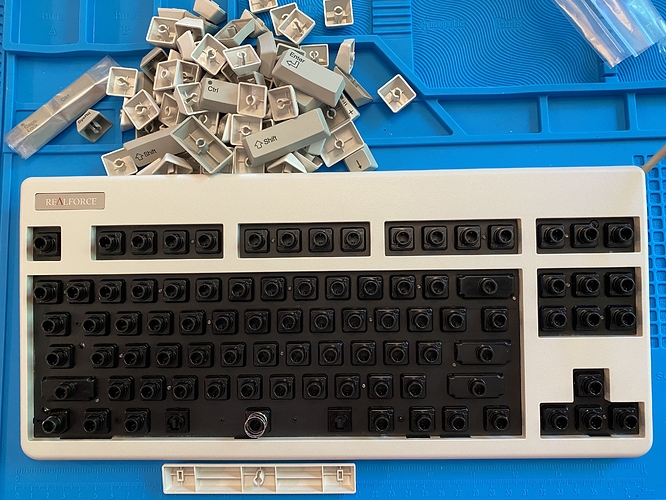
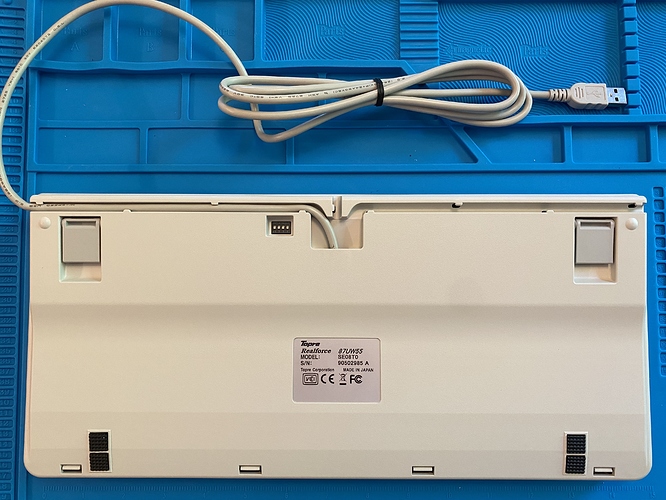
Here’s the Realforce donor board: a brand new 87UW55, with 55g rubber domes.
Prior to getting into the case, we remove all the keycaps. The Realforce comes with a keycap puller in the box, and I recommend you use it - the Topre caps are very tight on the sliders, enough that damage to the sliders seems a real possibility if you try to remove the caps without a puller.
Also, be sure to grab that spacebar spring and put it somewhere safe if you plan to continue using it; I generally don’t keep it in the build, as I think it adds rattle and no meaningful change in spacebar weighting, but to each his own.
Also, while we’re here, take a look at the Topre spacebar mounting stems. We’ll come back to these later on.
Getting into this board couldn’t be easier. On the underside of the board, simply pop open the four tabs along the front edge of the board.
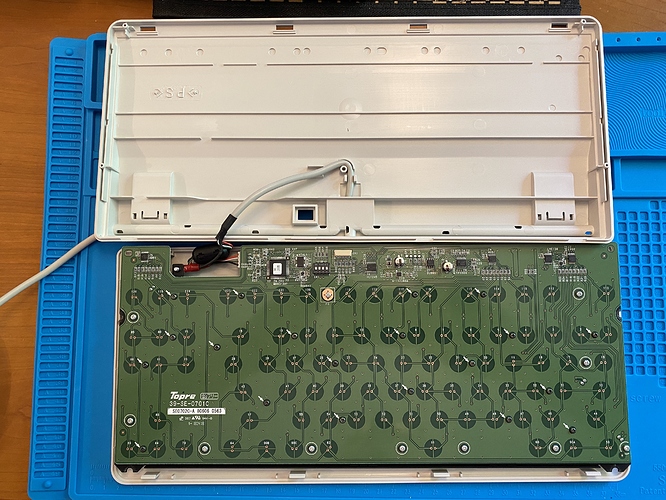
Be careful when opening the board, however, as the USB cable is attached to the PCB and the plate.
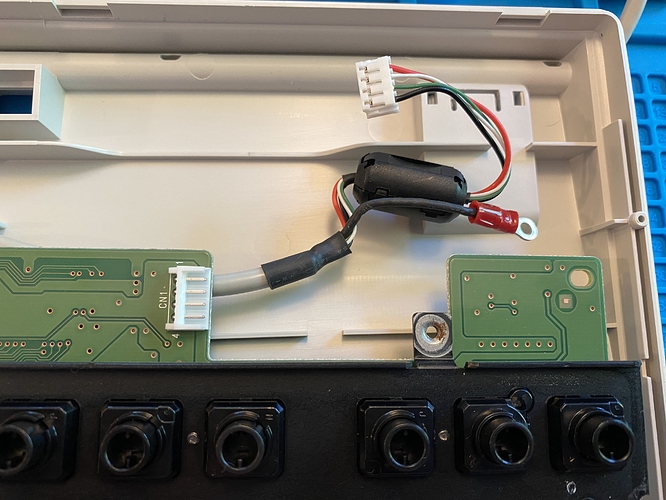
Flipping the case back over, we can more clearly see what’s going on. The board’s cable forks into a connector for the PCB, and a separate ground wire attached to the plate.
To completely separate the PCB/plate assembly from the case, gently remove the PCB connector, and unscrew the ground wire from the plate. Don’t lose the ground wire screw - you’ll need it for reassembly.
Foreshadowing
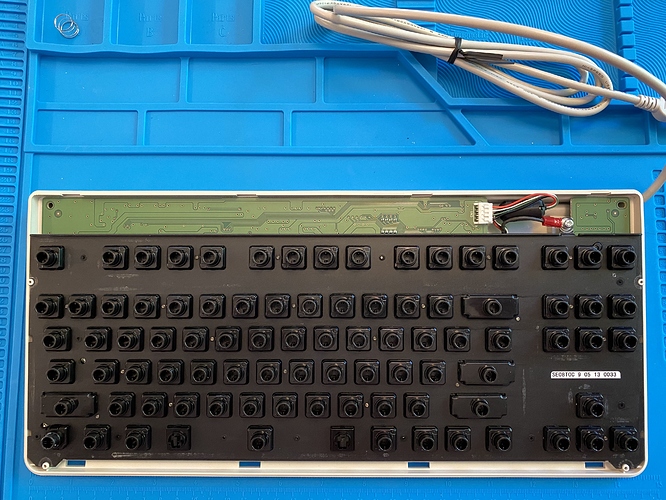
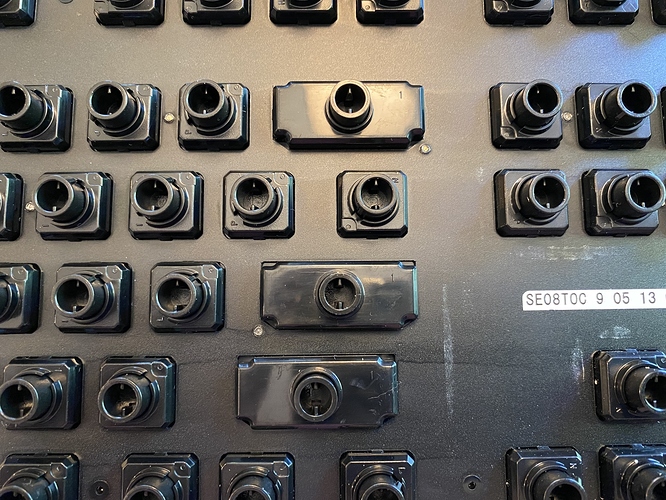
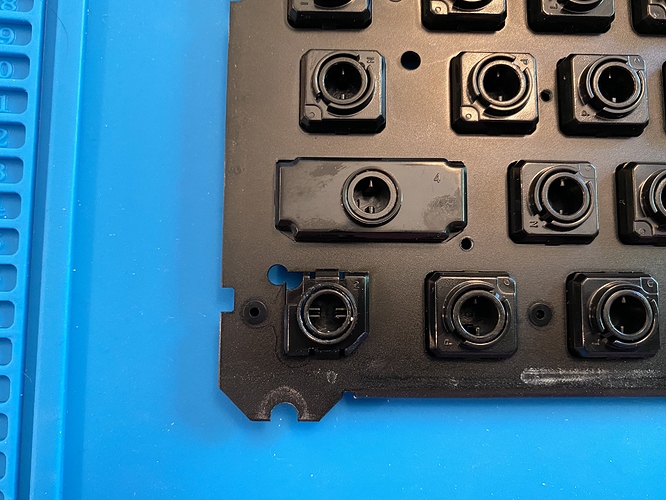
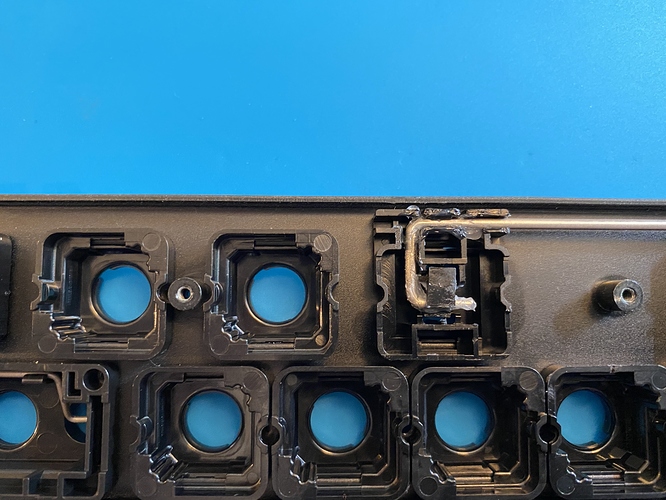
Let’s take a quick tour of the existing sliders and housings on the Realforce, shall we? Here, we have a good look at three of the modifier slider housings; just a solid piece of plastic with a hole in the center for the Topre slider.
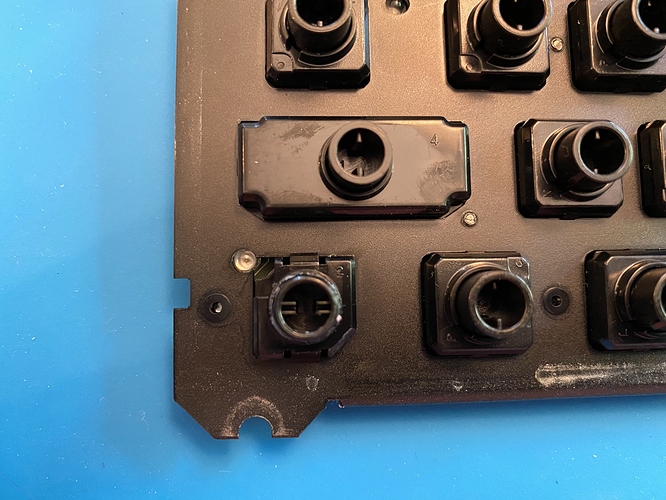
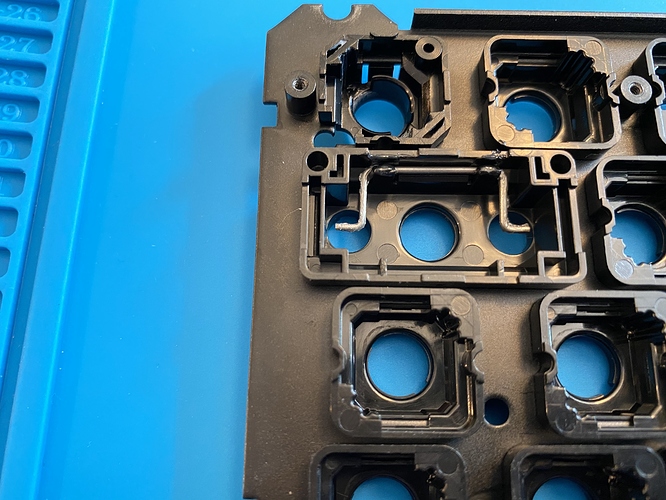
And, while we’re here, let’s take a look at the housing and slider for the left control key. First, note that the housing has two diagonal cutouts on opposite corners - one to match the plate cutout, and one to make room for an inconveniently located LED. Second, note that this slider itself is different from all the others - two notches on each side of the interior, rather than one. Third, although it’s difficult to see in this photo, note that this slider is slightly narrower than all the other 1u sliders, and its housing has a slightly smaller hole to accommodate that.
There will be consequences.
Back to disassembly
Did you enjoy all that screwdriver work with the Novatouch? Guess what, it’s your lucky day with the Realforce. All the fun one person can handle. Well, slightly less fun: 11 silver-headed screws instead of the 12 the Novatouch uses, but you still get all 20 black-headed ones to address.
You can use the Novatouch approach to separate the plate from the PCB and rubber domes, but even more caution is necessary here. Unlike the Novatouch, the Realforce’s domes are not in the form of a single unbroken sheet. Each dome is its own perforated piece, although some are more perforated
than others. Because of this, it’s even easier for individual domes to lift away, so be careful as you separate the plate from the domes. I ended up having to reposition a few domes and springs during this process.
More foreshadowing
Now that we’ve separated the plate from the domes and PCB, let’s take another look at that left control key. Interesting - the left cutaway on the housing goes even further than the plate cutout for the LED.
There will be consequences.
To drill or not to drill
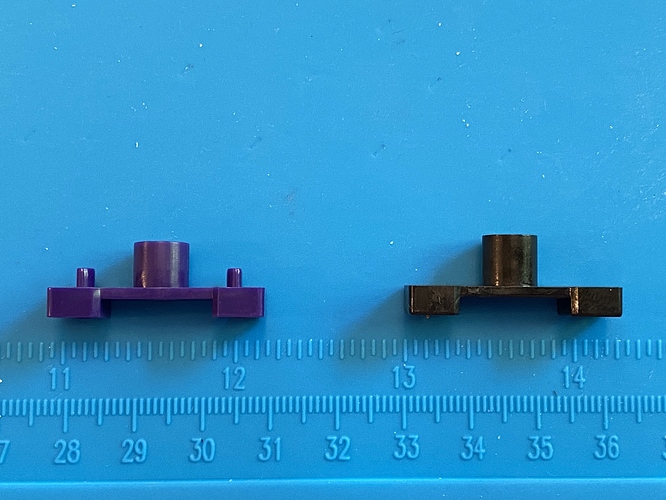
In all of the Norbaforce build logs I’ve seen online, the need for drilling holes is frequently mentioned, but I’ve never seen a clear set of photos or descriptions illustrating exactly why this is necessary. Out of sight, out of mind, until this point in the build. Take a look at a Novatouch and a Topre mod slider, side by side:
See those two nubs on the top of the Novatouch slider? The Topre slider doesn’t have those, nor does its housing have holes in it to allow for those nubs to pass through, as I showed you before.
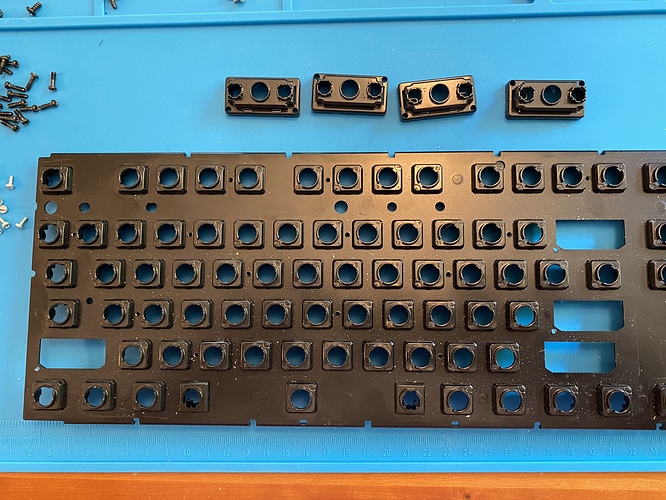
So, we have a choice - drill holes in the Topre modifier housings to allow the Novatouch sliders to fit, or swap out the Topre modifier housings for the Novatouch modifier housings. Since we have the whole
Novatouch board, the latter seemed like the way to go, and it was, except I wish I hadn’t screwed the Novatouch back together, since I now have to open it up again to retrieve those housings. Sigh.
Note to future me and current you: when you harvest the Novatouch sliders, harvest the Novatouch modifier housings too! You’ll thank me later.
After putting the Novatouch back together again (gotta keep those domes and springs out of harm’s way), we’re back with the Realforce plate, and it’s a quick job to swap modifier housings.
Silencing and lubing
Untuned Topre sliders can be very loud, and a number of aftermarket options for silencing them are available, but they all boil down to the same idea: put a ring of dampening material around the slider stem, so that the upstroke impact of the slider against its housing will be quieter. Generally speaking, there is a tradeoff - the thicker the material, the greater the silencing effect, but with a corresponding reduction in key travel, since the silencing ring prevents the slider from making a full return to the housing.
We begin by placing silencing rings on the slider stems.
Before we move to slider installation and lubing, let’s address stab lubing. Unlike the MX-style world, where it’s very possible to overlube stabilizer sliders and obtain sluggish key movement, Topre stab sliders can tolerate far more aggressive lubing, and often need it to fully silence rattle. I’d never apply anything close to this amount of SuperLube on a Cherry stab, but for the spacebar Topre stabs, this was barely enough.
You can get away with less grease on the modifier wires, but you still need to ensure that the wire clips and wire ends are lubed thoroughly.
At this point, the Novatouch mod sliders can be installed. It’s worth mentioning that you may still hear a bit of rattle from these sliders (and the 1u sliders, after they are installed and lubed), but if the lube job was satisfactory, all of that remaining rattle will disappear once the sliders are under compression from the rubber domes. Of course, this makes it a little difficult to test whether the lube job was sufficient during the build. Such is Topre life.
Now, we proceed with installation of the silenced 1u sliders. Note that each slider has two “arms” that fit into “rails” in the housing, so the sliders can only be installed in the correct orientation. Note also that other than the silencing ring, the only contact the slider has with the housing is on these rails, so that’s where we first apply lube. Tribosys 3204 is a good choice for this application. Once both rails have been lubed, the slider can be snapped into place.
For the moment, I’ve just placed the Topre spacebar slider back into its lubed housing, but otherwise, I think I’m done!
Except, wait - why doesn’t the Novatouch 1u slider fit into the left control housing?
That’s right. All that stuff I showed you before about the left control key weirdness? This is the actual point in the build where I began that voyage of discovery.
Yes, that’s right. To understand what’s going on with the LCTRL Realforce housing and the Novatouch 1u slider, I’ll need to look at the differences between the Realforce and Novatouch housings - which means I need to open up the Novatouch. AGAIN. And put it back together. AGAIN.
Will I recover from this blow? Stay tuned for Part II…
