Build #5: Preonic
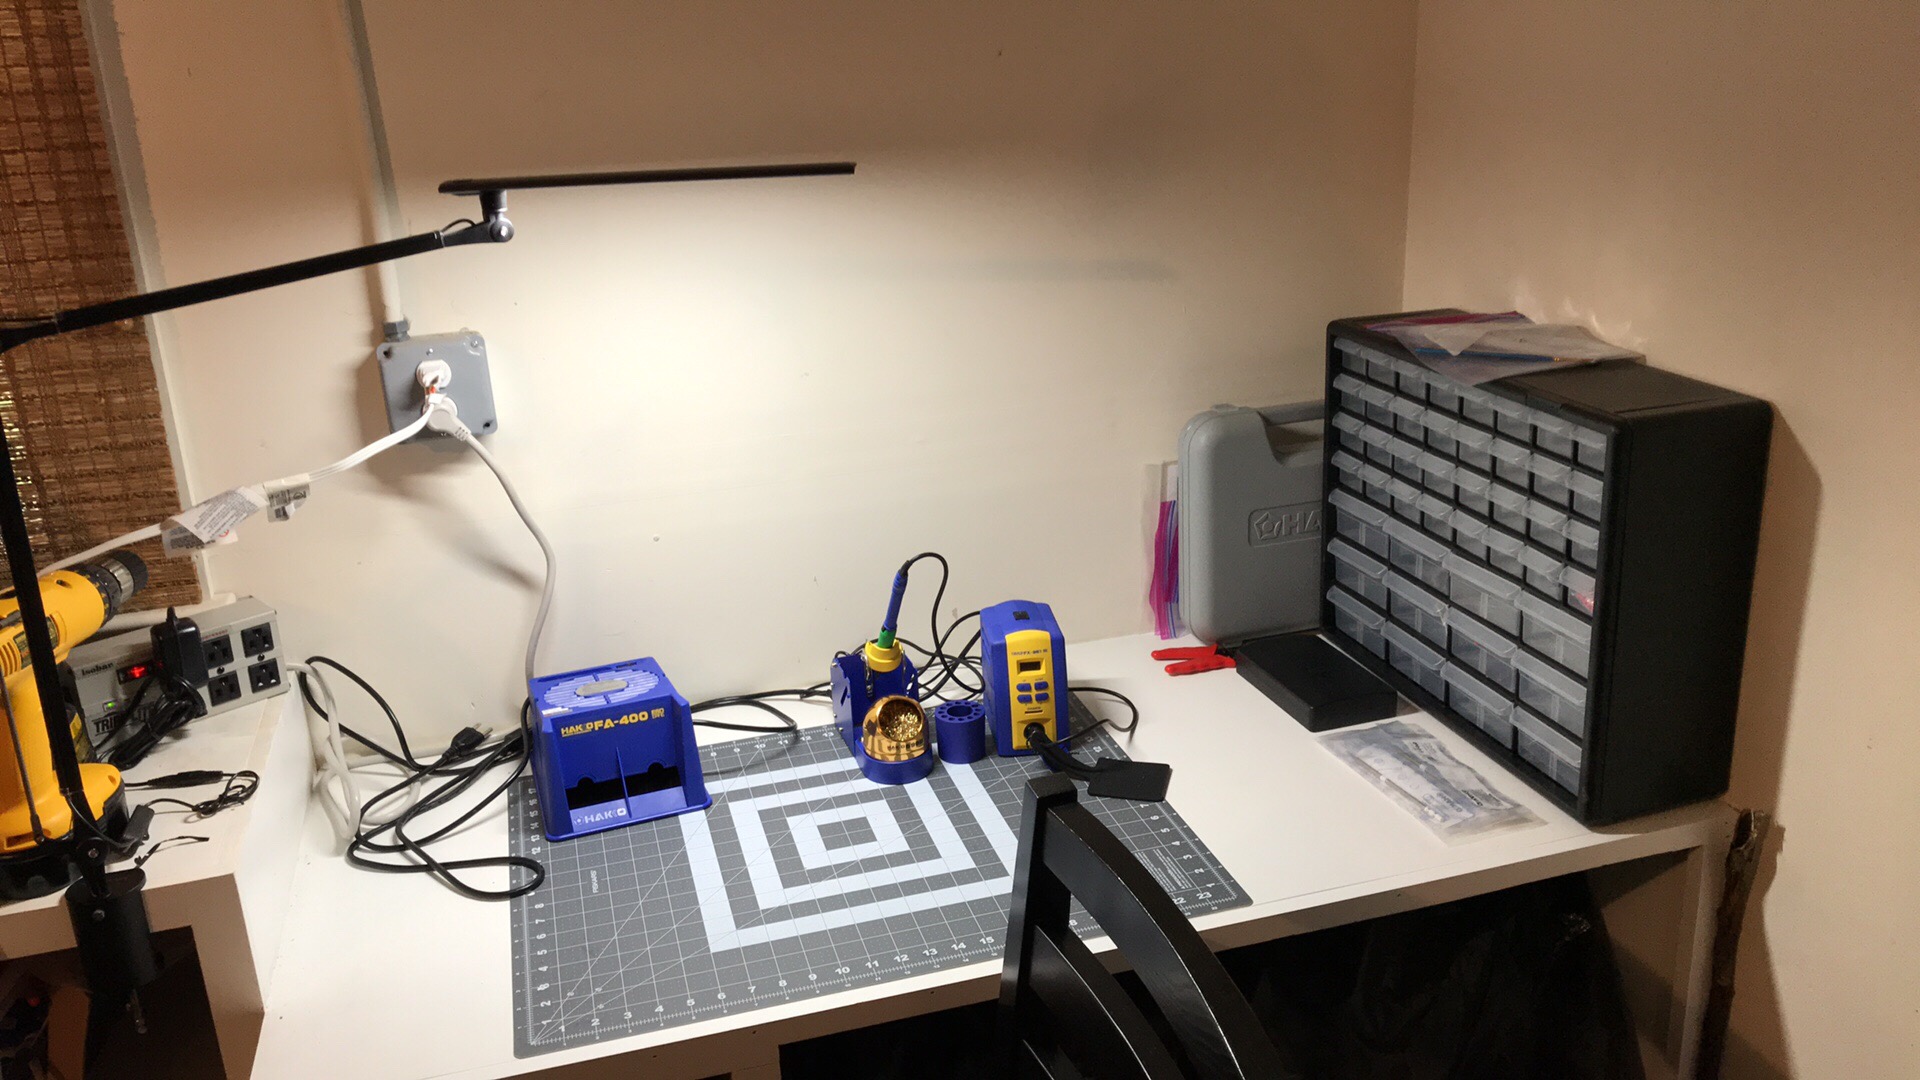
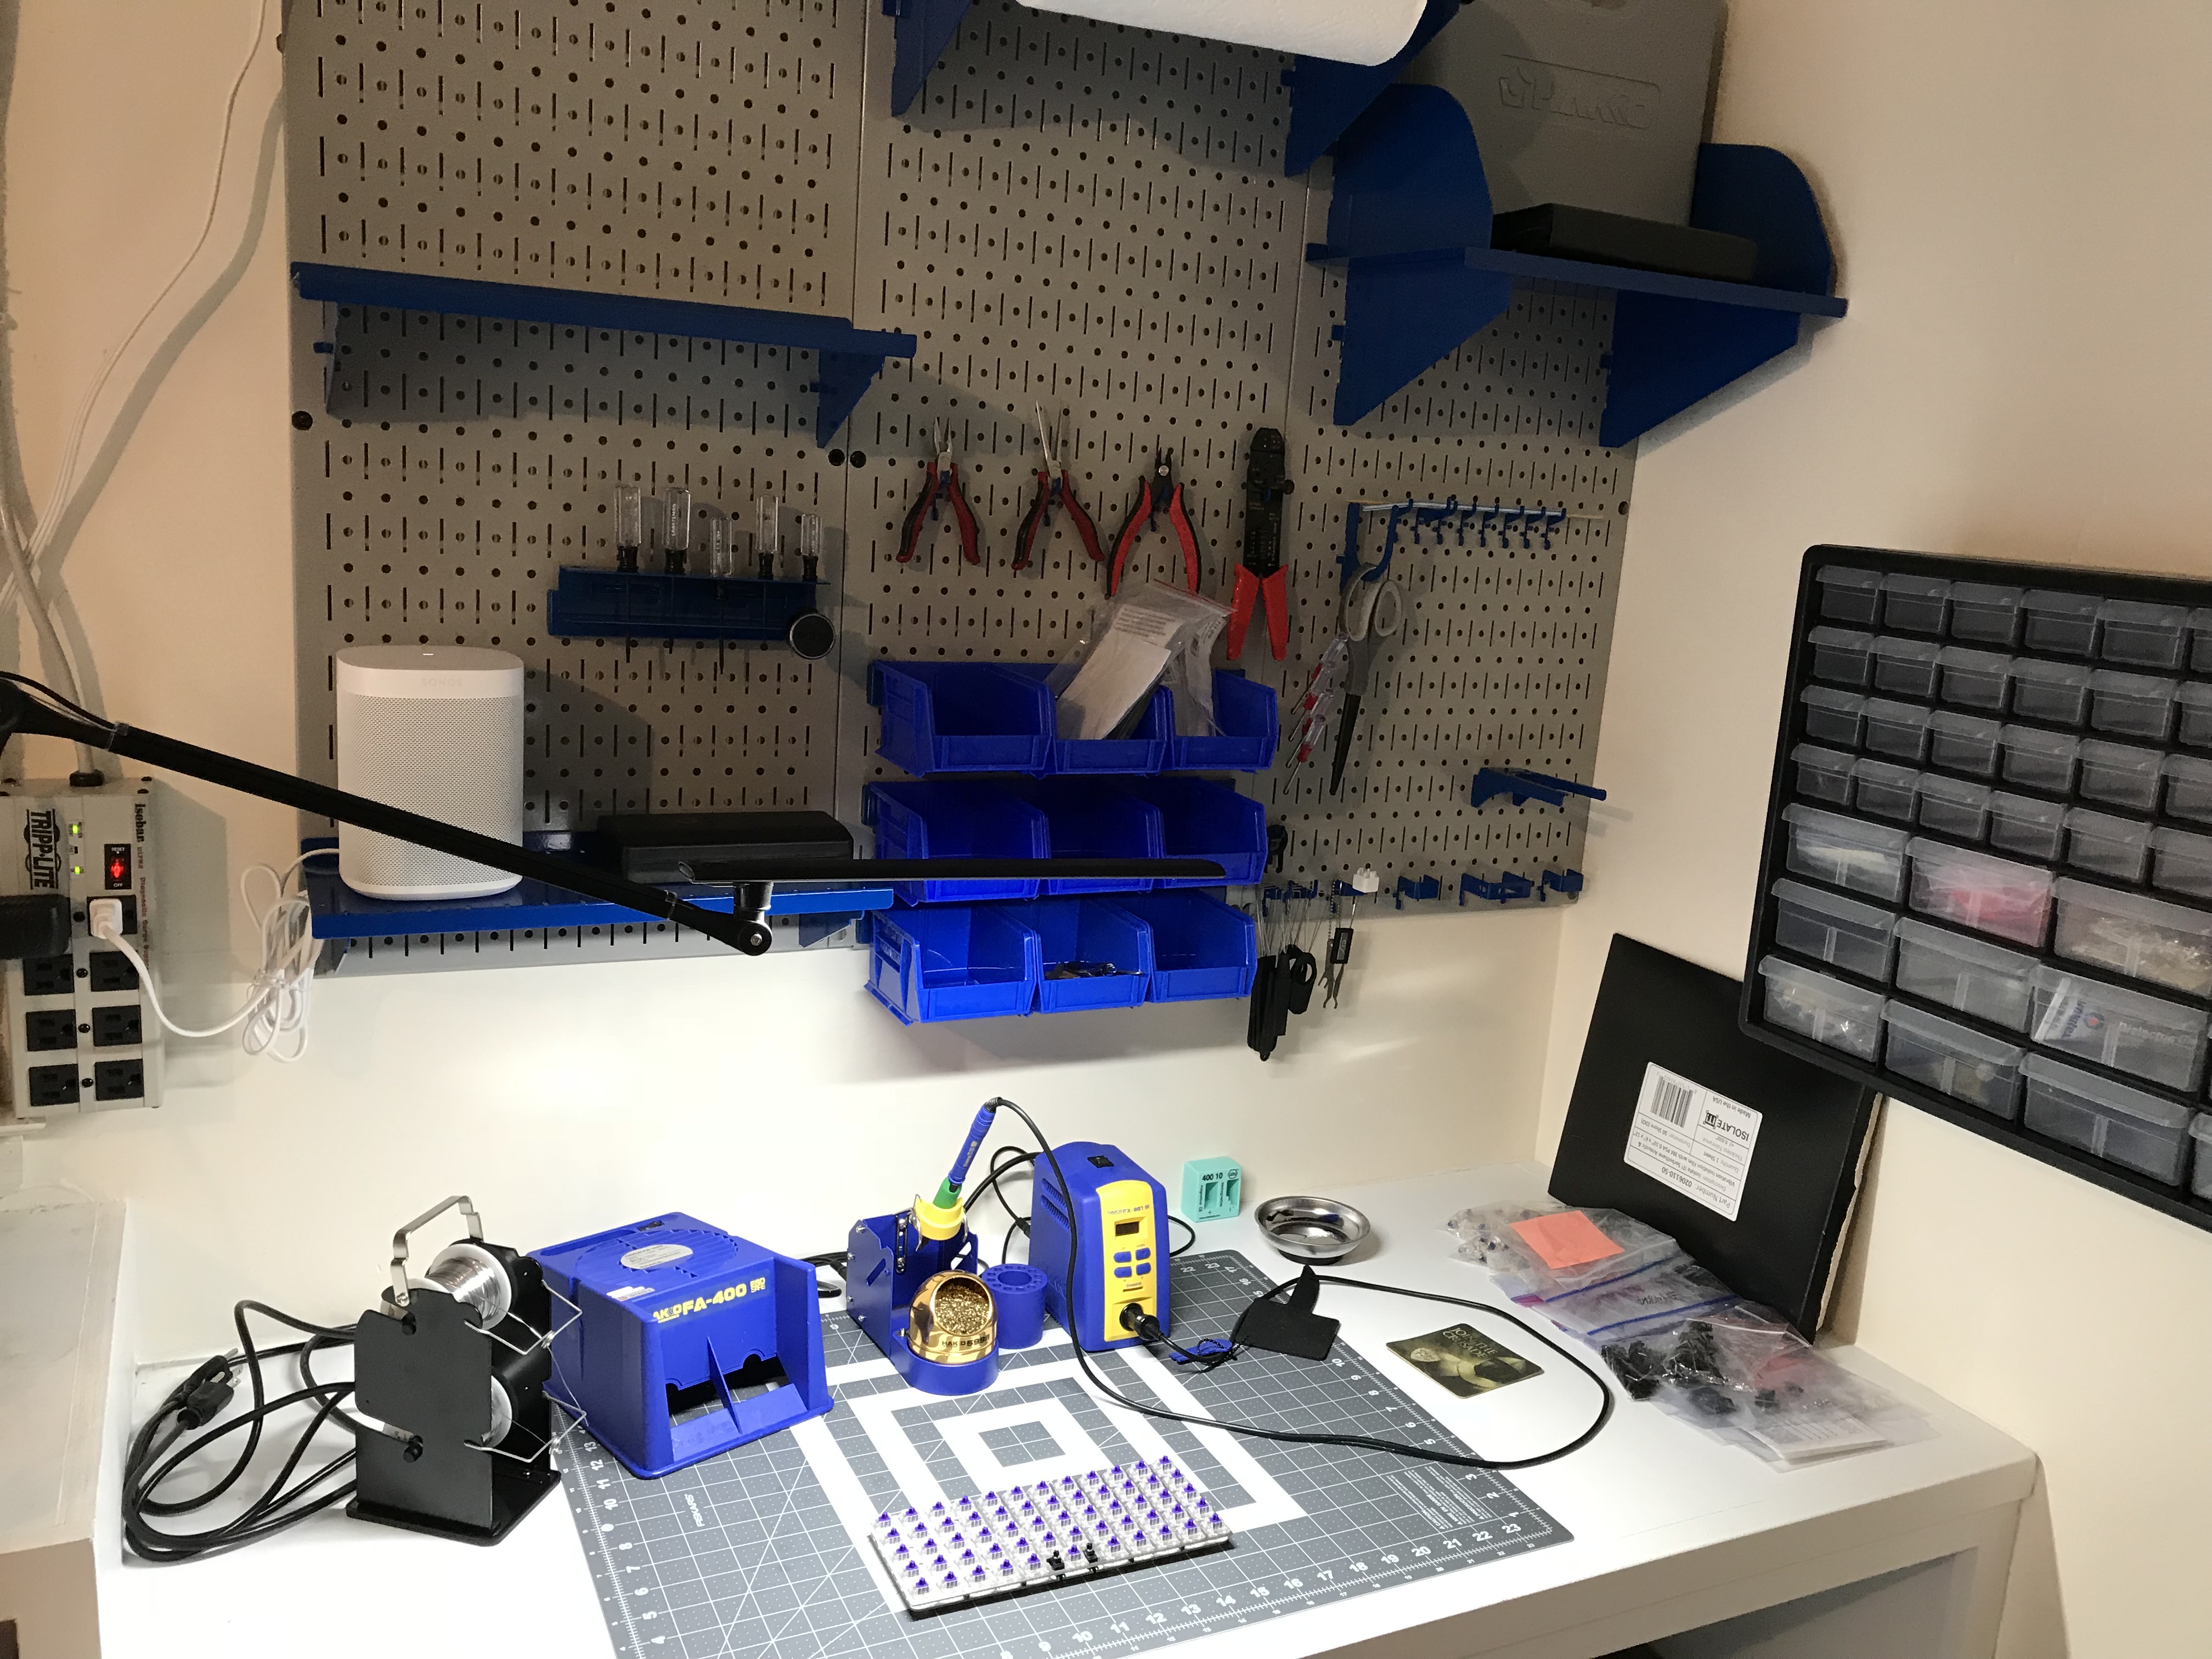
I’ve fallen pretty hard into the mech keyboard gravity well, and once I decided I was willfully going to go past the event horizon on tooling and workspace organization, it was just a matter of time before the builds came to a brief pause and another round of workspace renovation ensued.
Now we’re talking!
To kick off work in the new space, I wanted to tackle an ortholinear board. I was fully expecting to dislike the completed result - I have decades of investment in muscle memory for staggered layout QWERTY, and while I don’t have formal touch typing training, my self-taught kind-of-like-touch-typing-but-with-extra-fails gets the job done. But all the same, the layout still intrigued me.
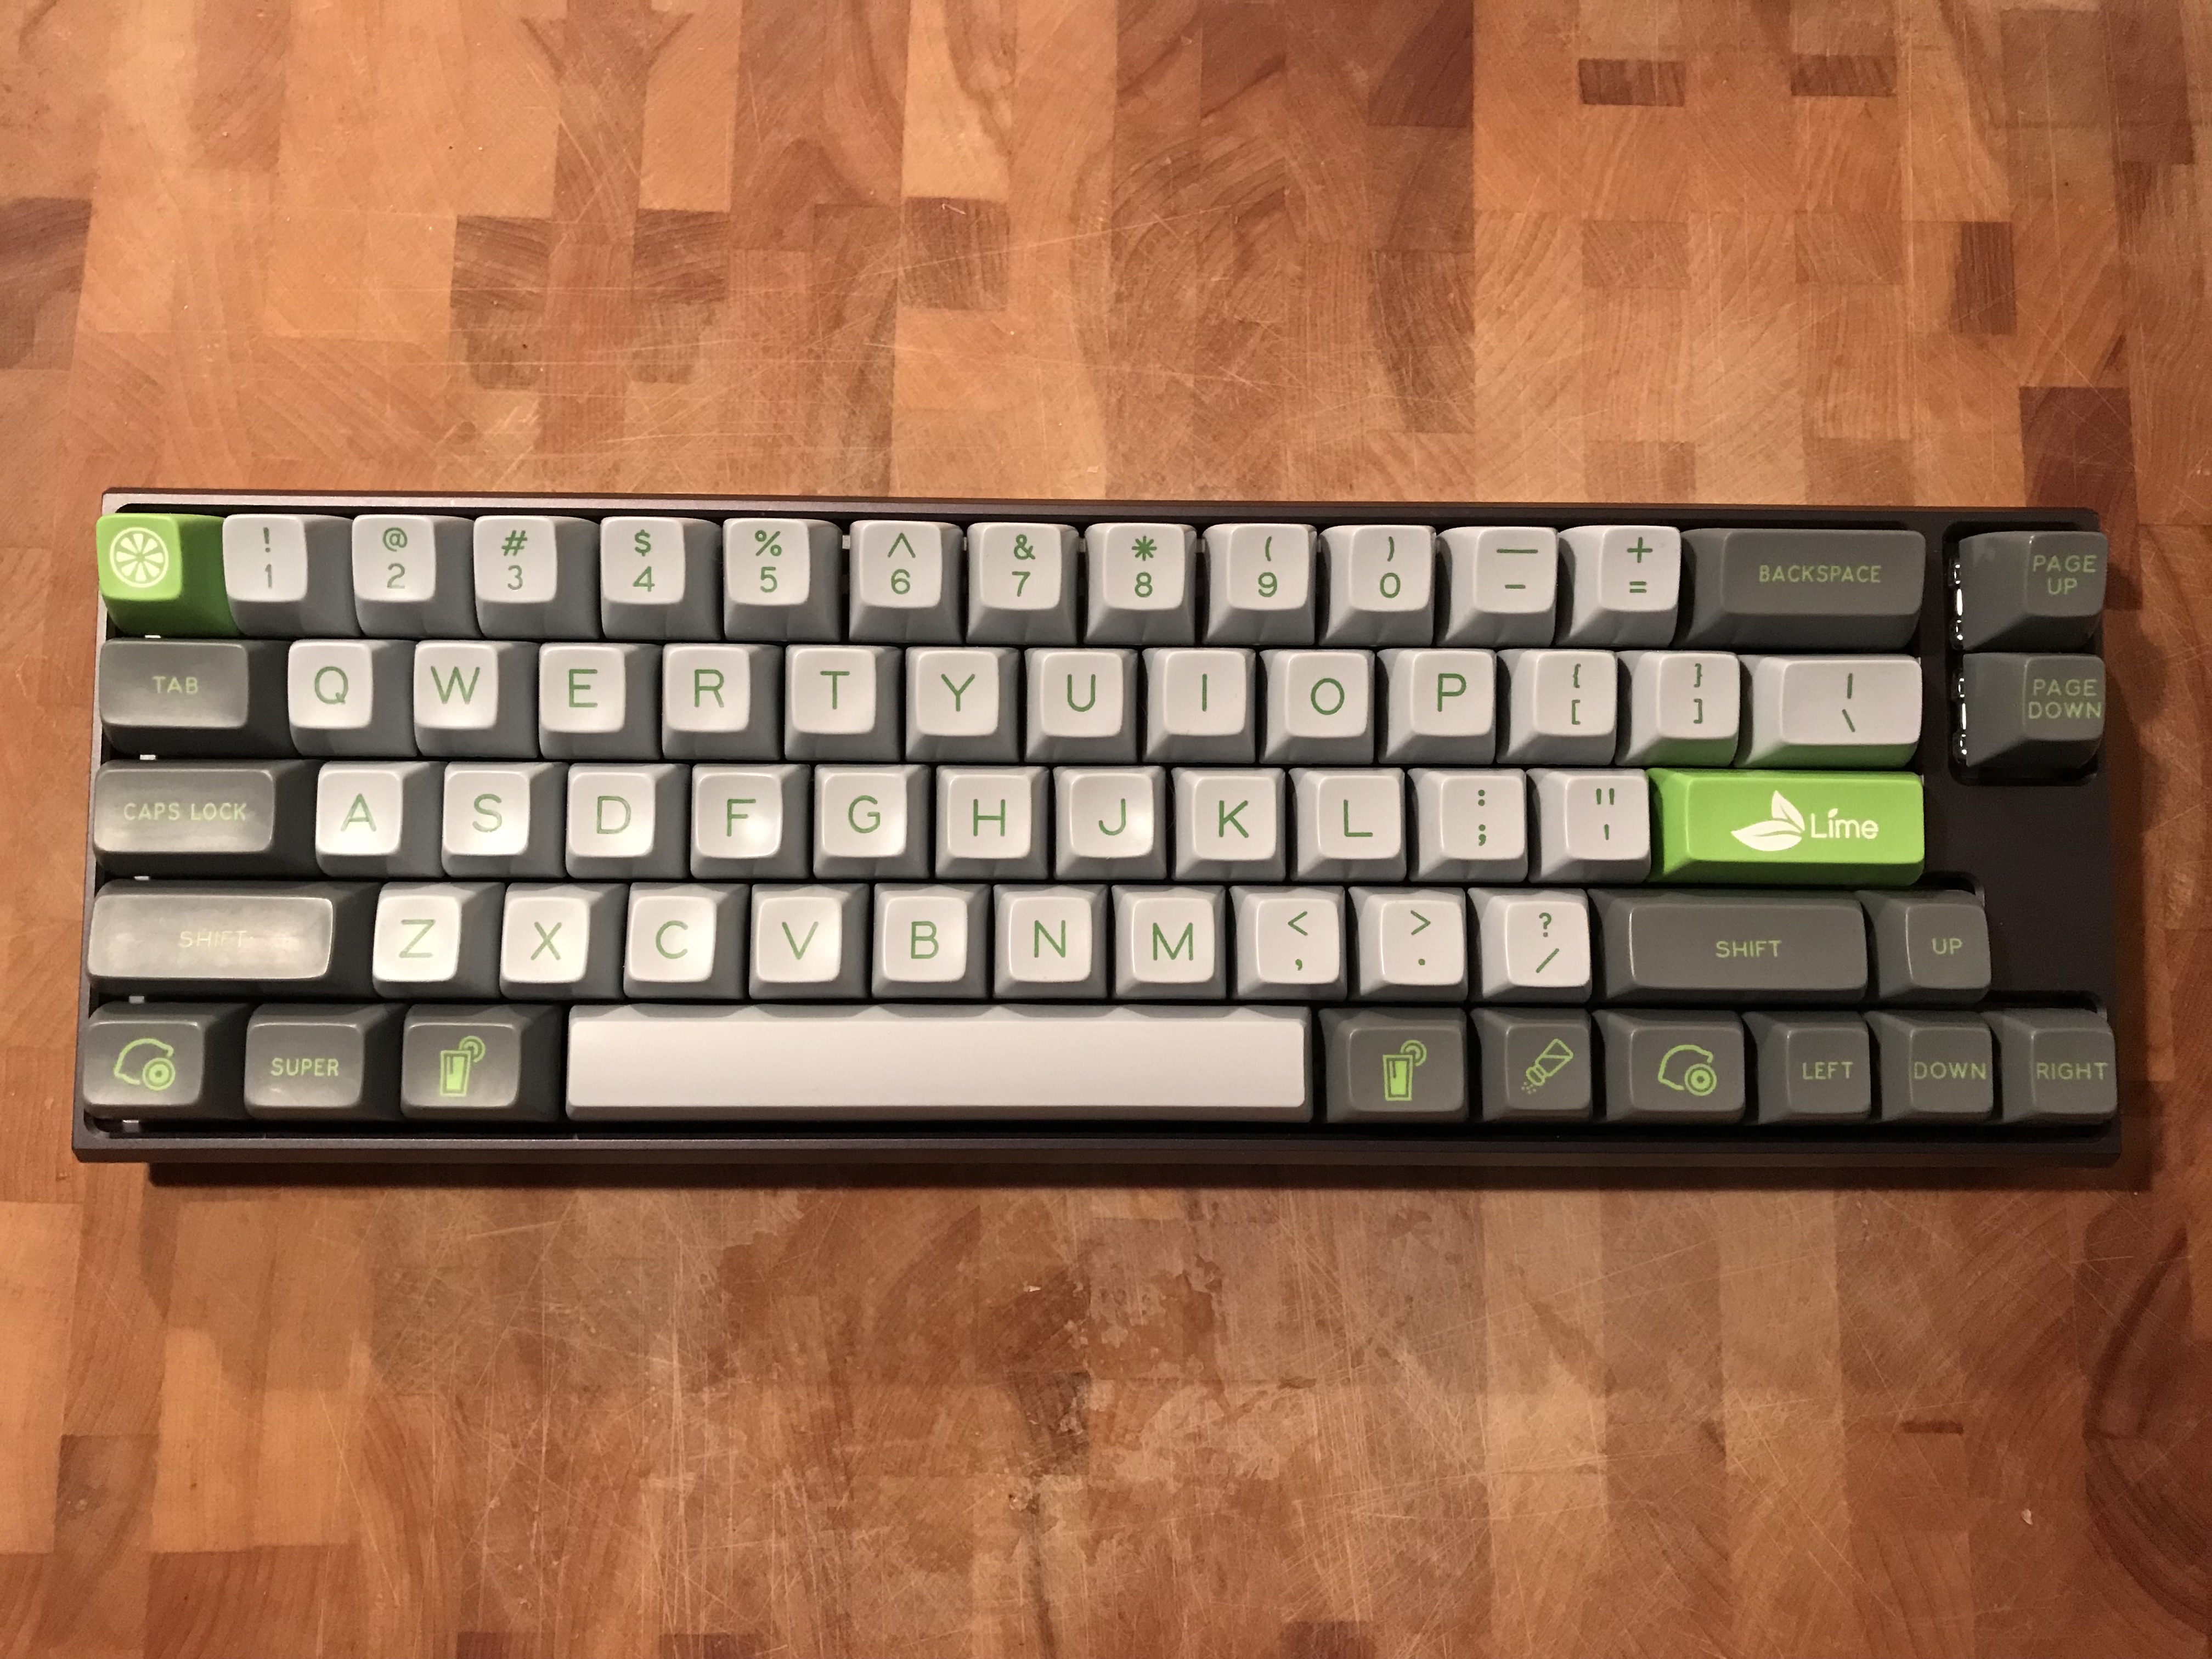
For this first foray into ortholinear, I picked up a Preonic kit. The Preonic seemed like a least-commitment approach to ortholinear, and the kit looked like a relatively straightforward build. In addition, after playing with the components a bit, I realized this would be a great testing ground for some sound dampening experiments.
The Preonic case from this kit was a thin aluminum case, which gave off a ringing sound when tapped with a knuckle. Whether typing on the complete build would yield any ringing sounds was an open question, but I wanted to know if we could nip those sounds in the bud before it even got to that point.
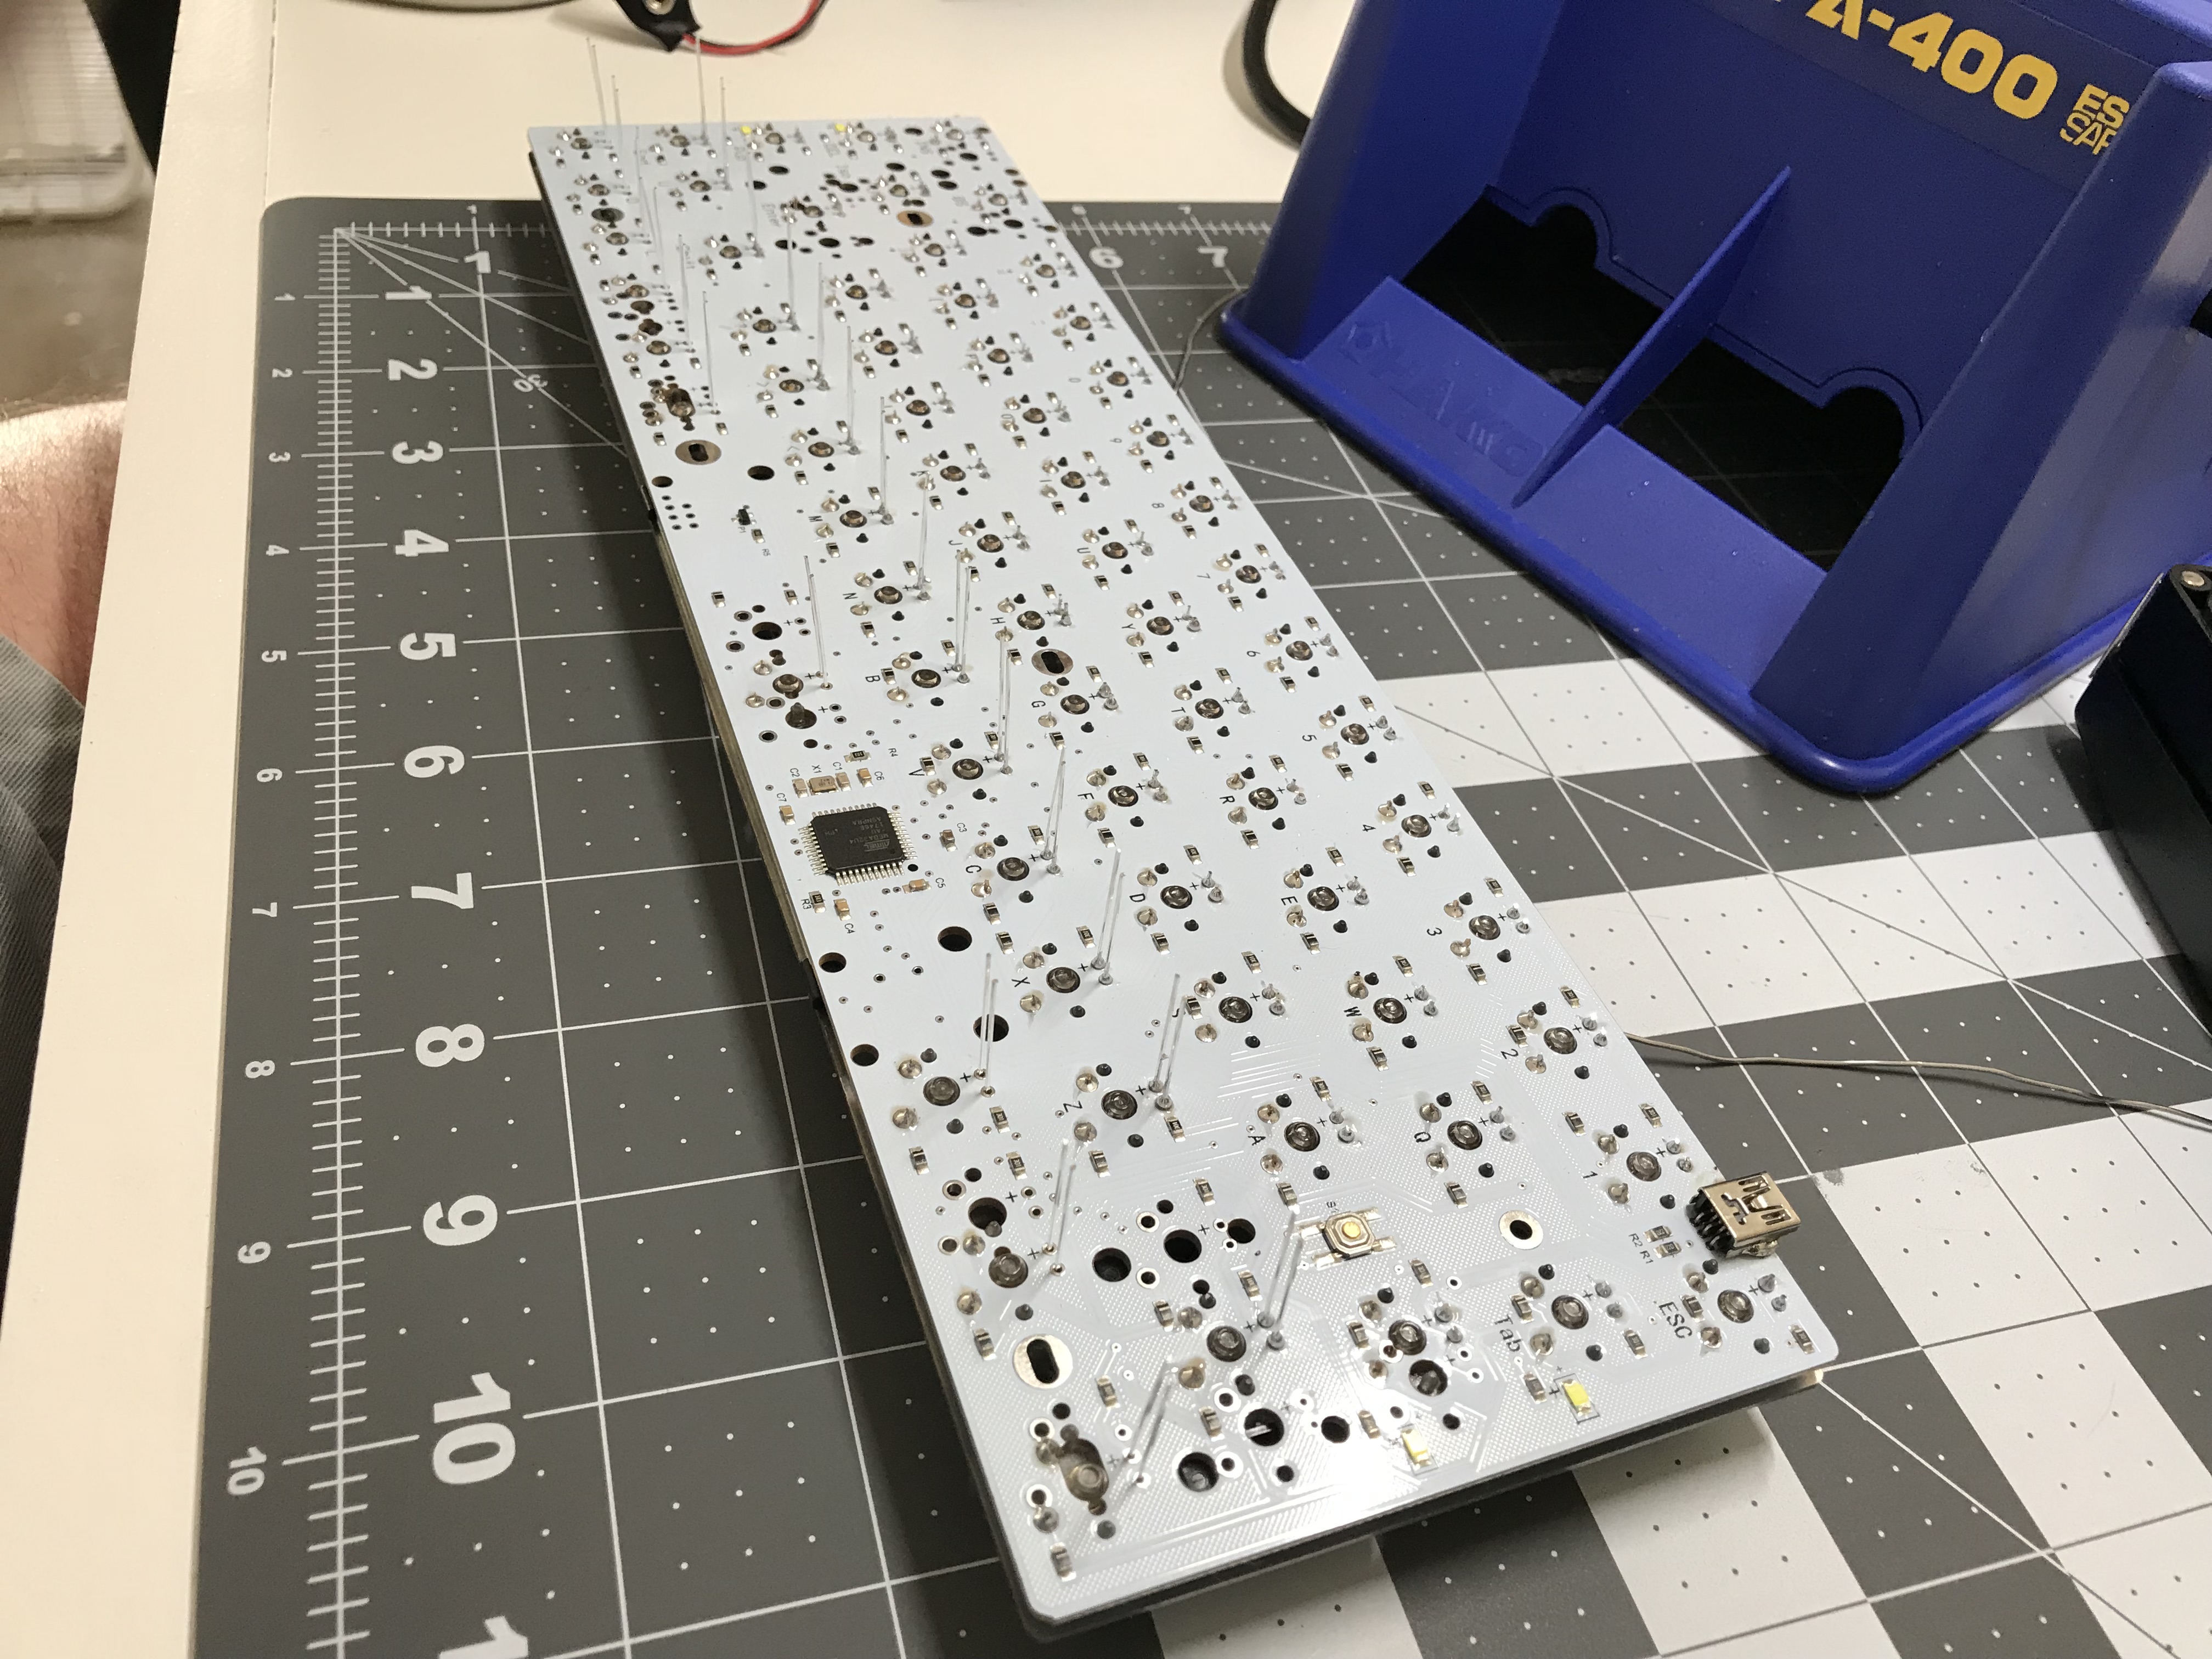
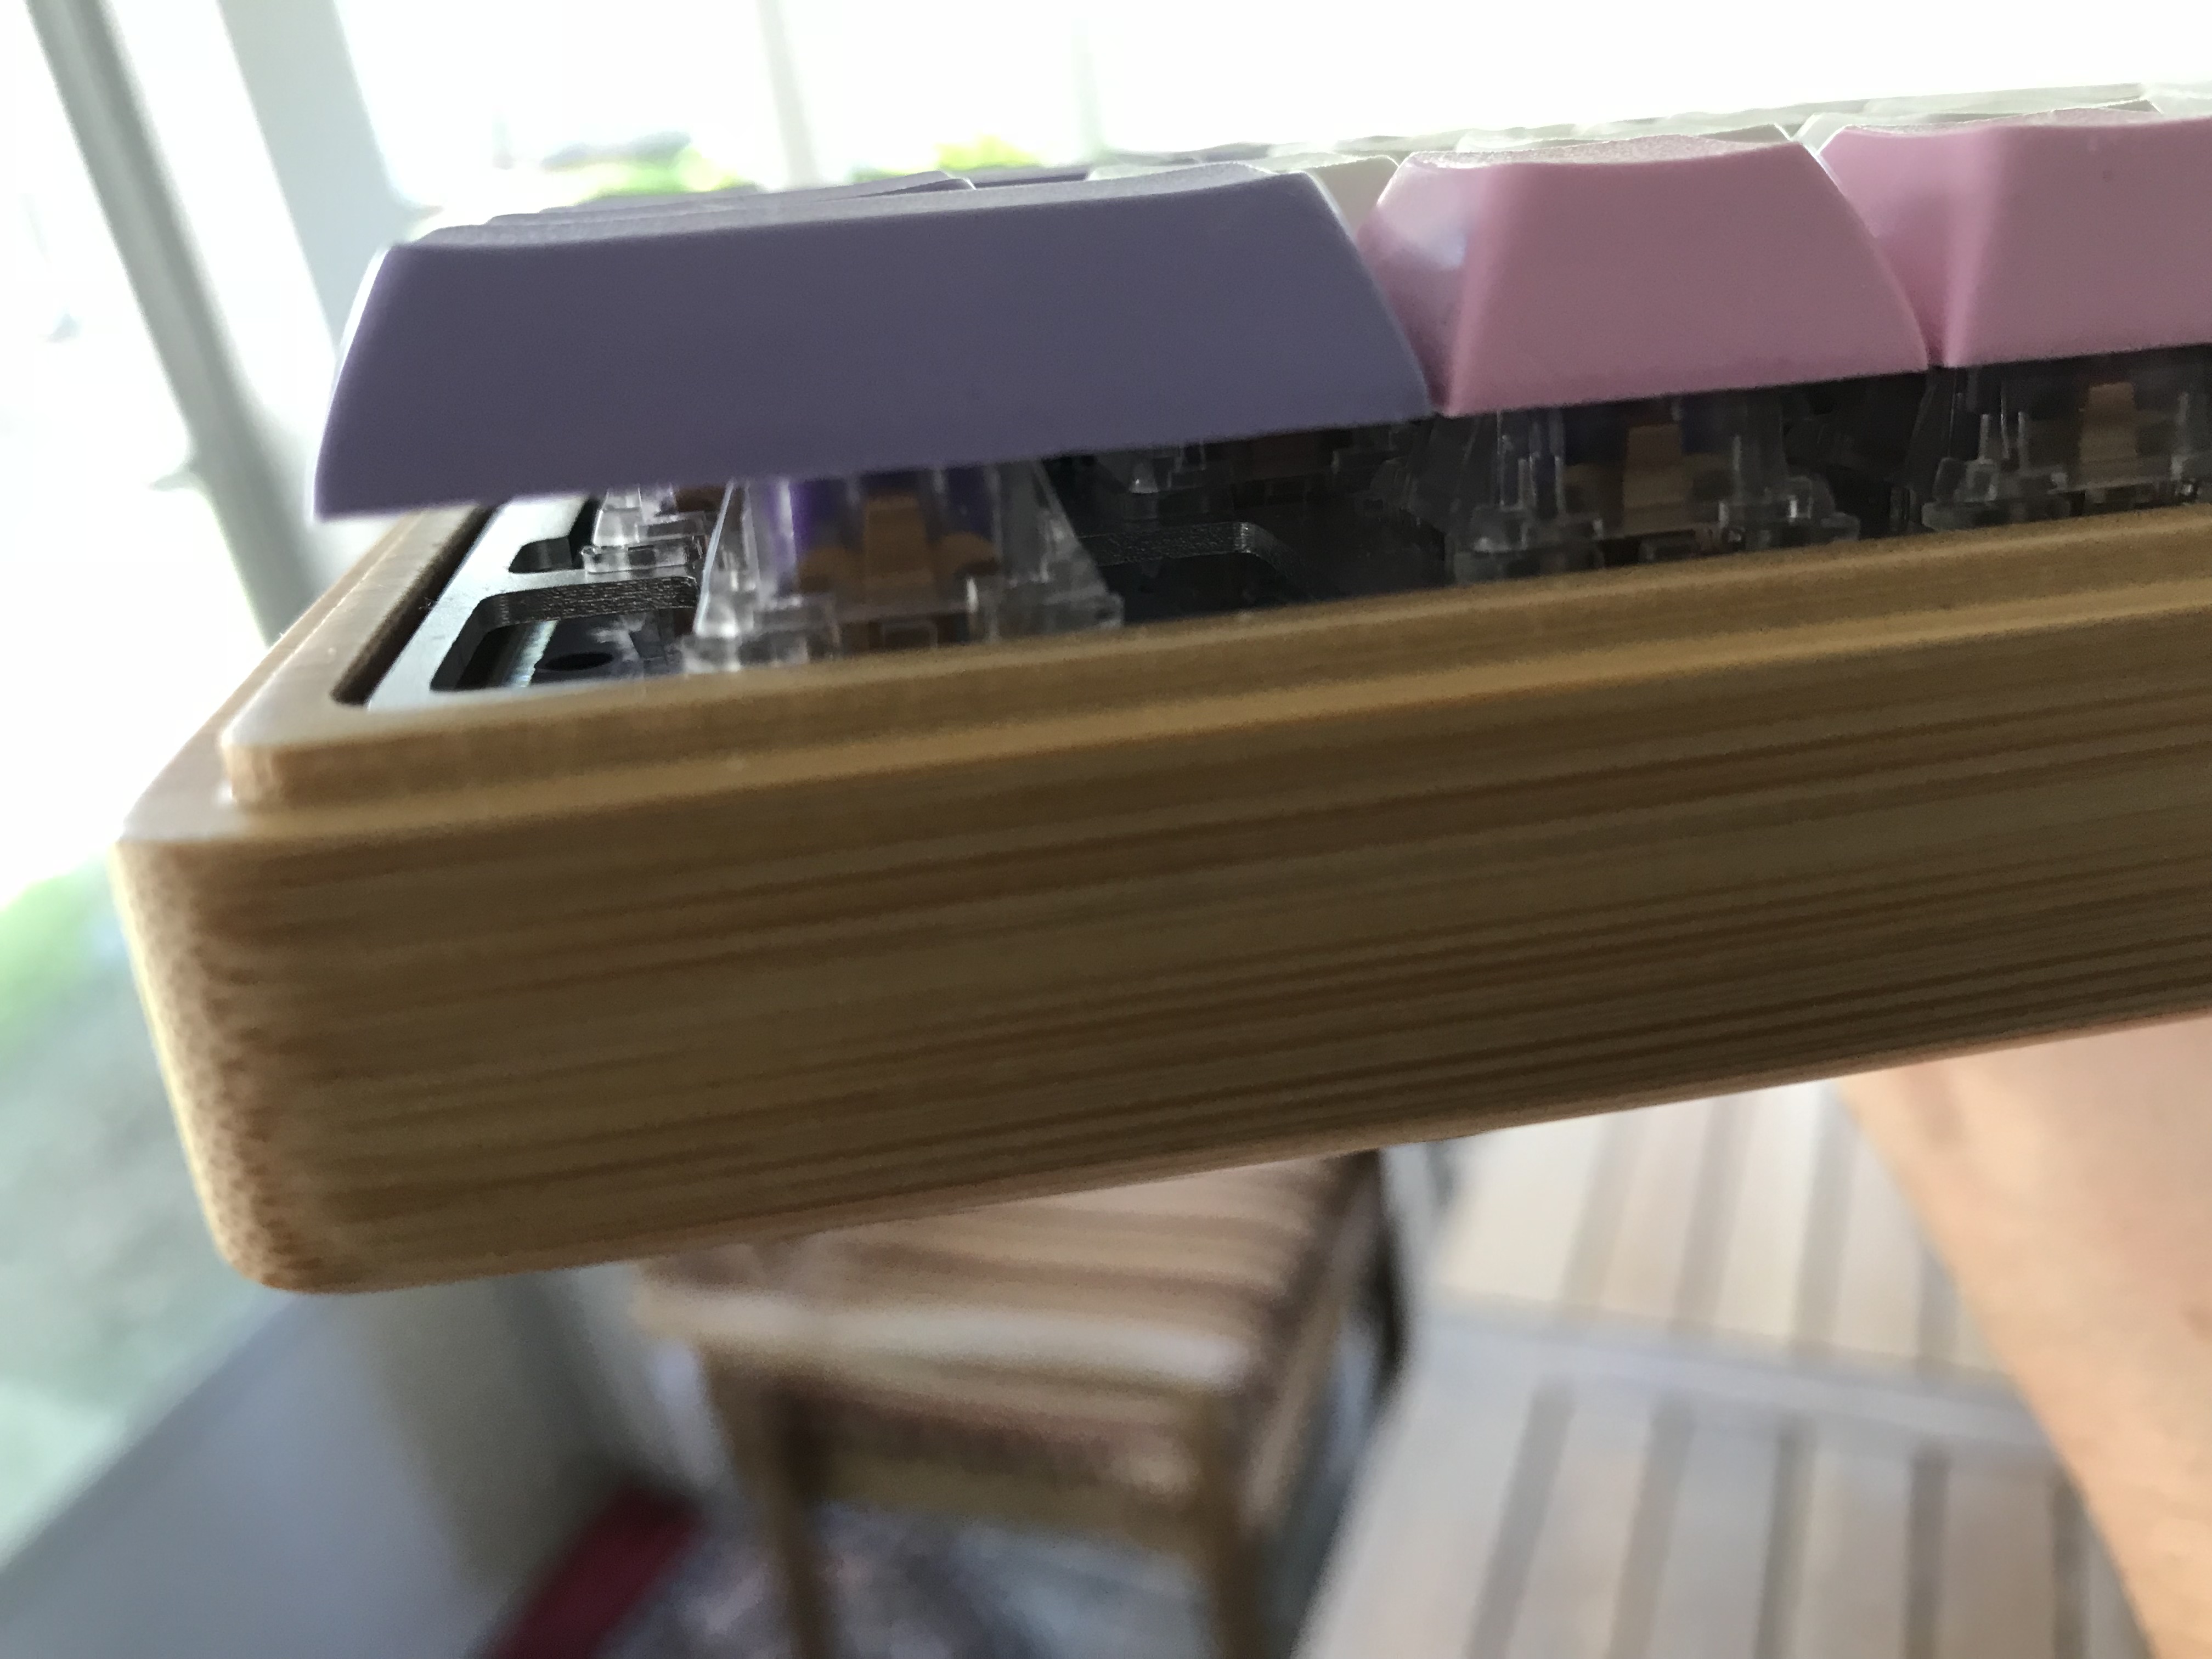
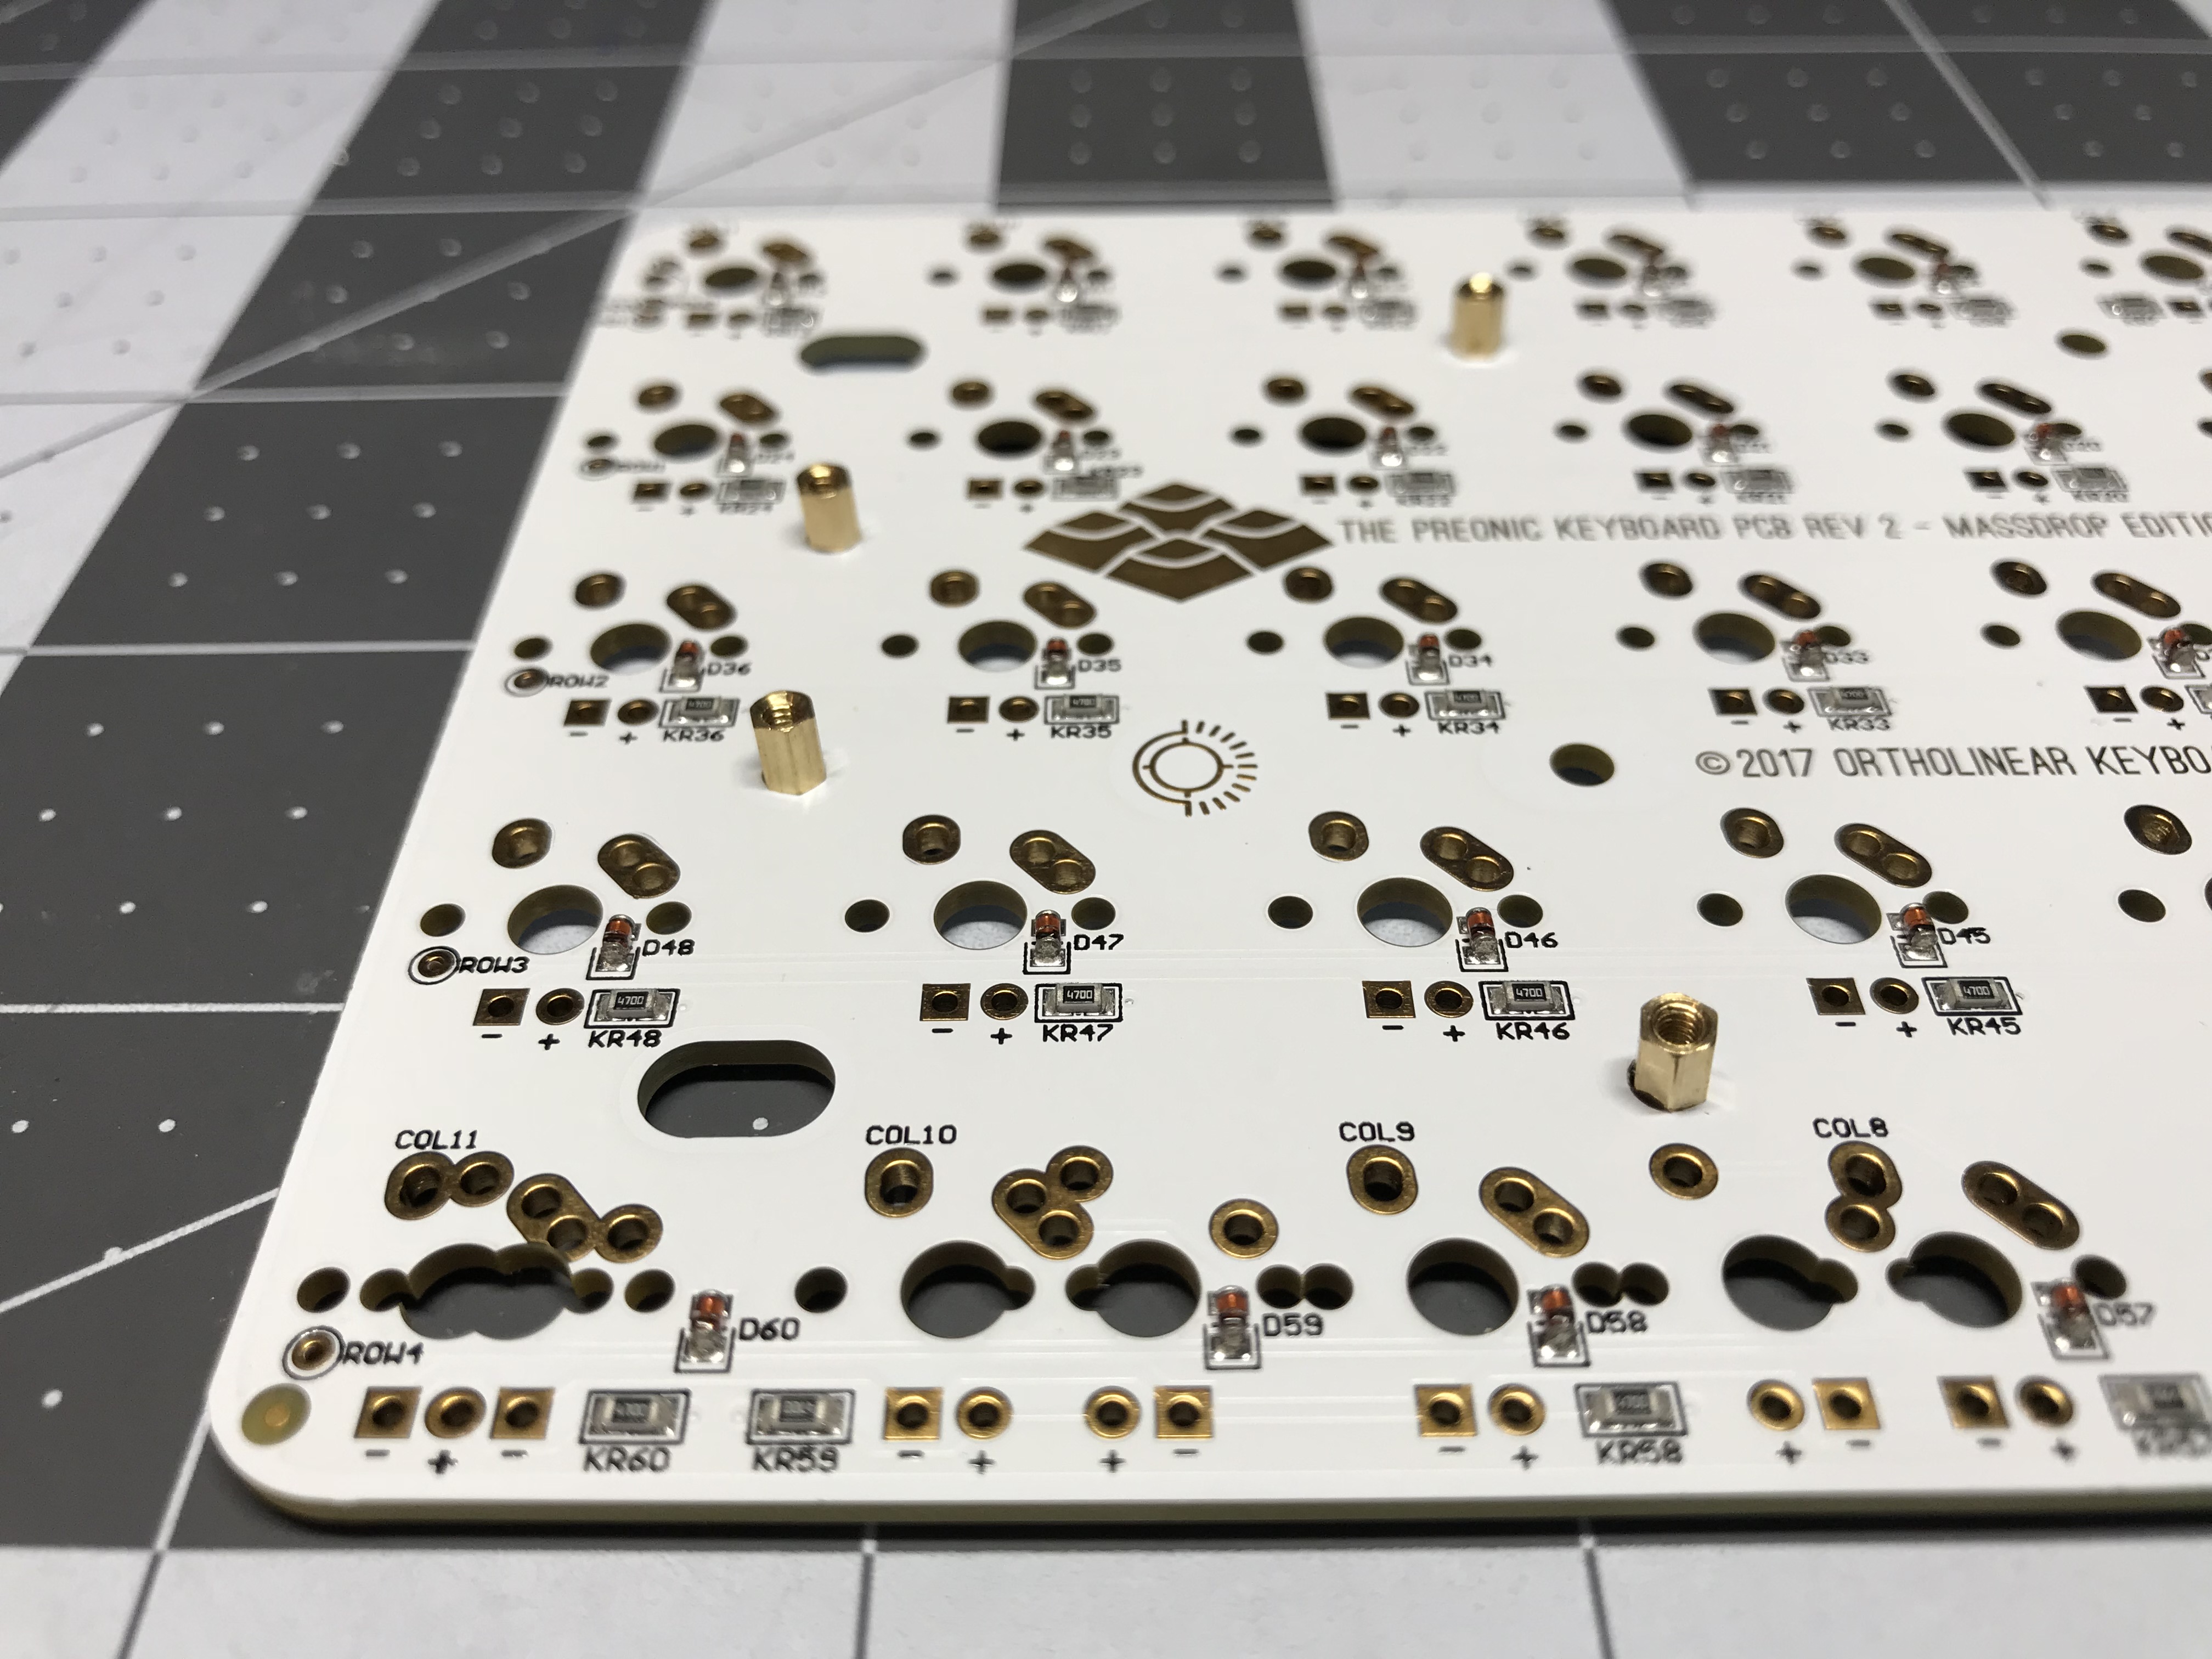
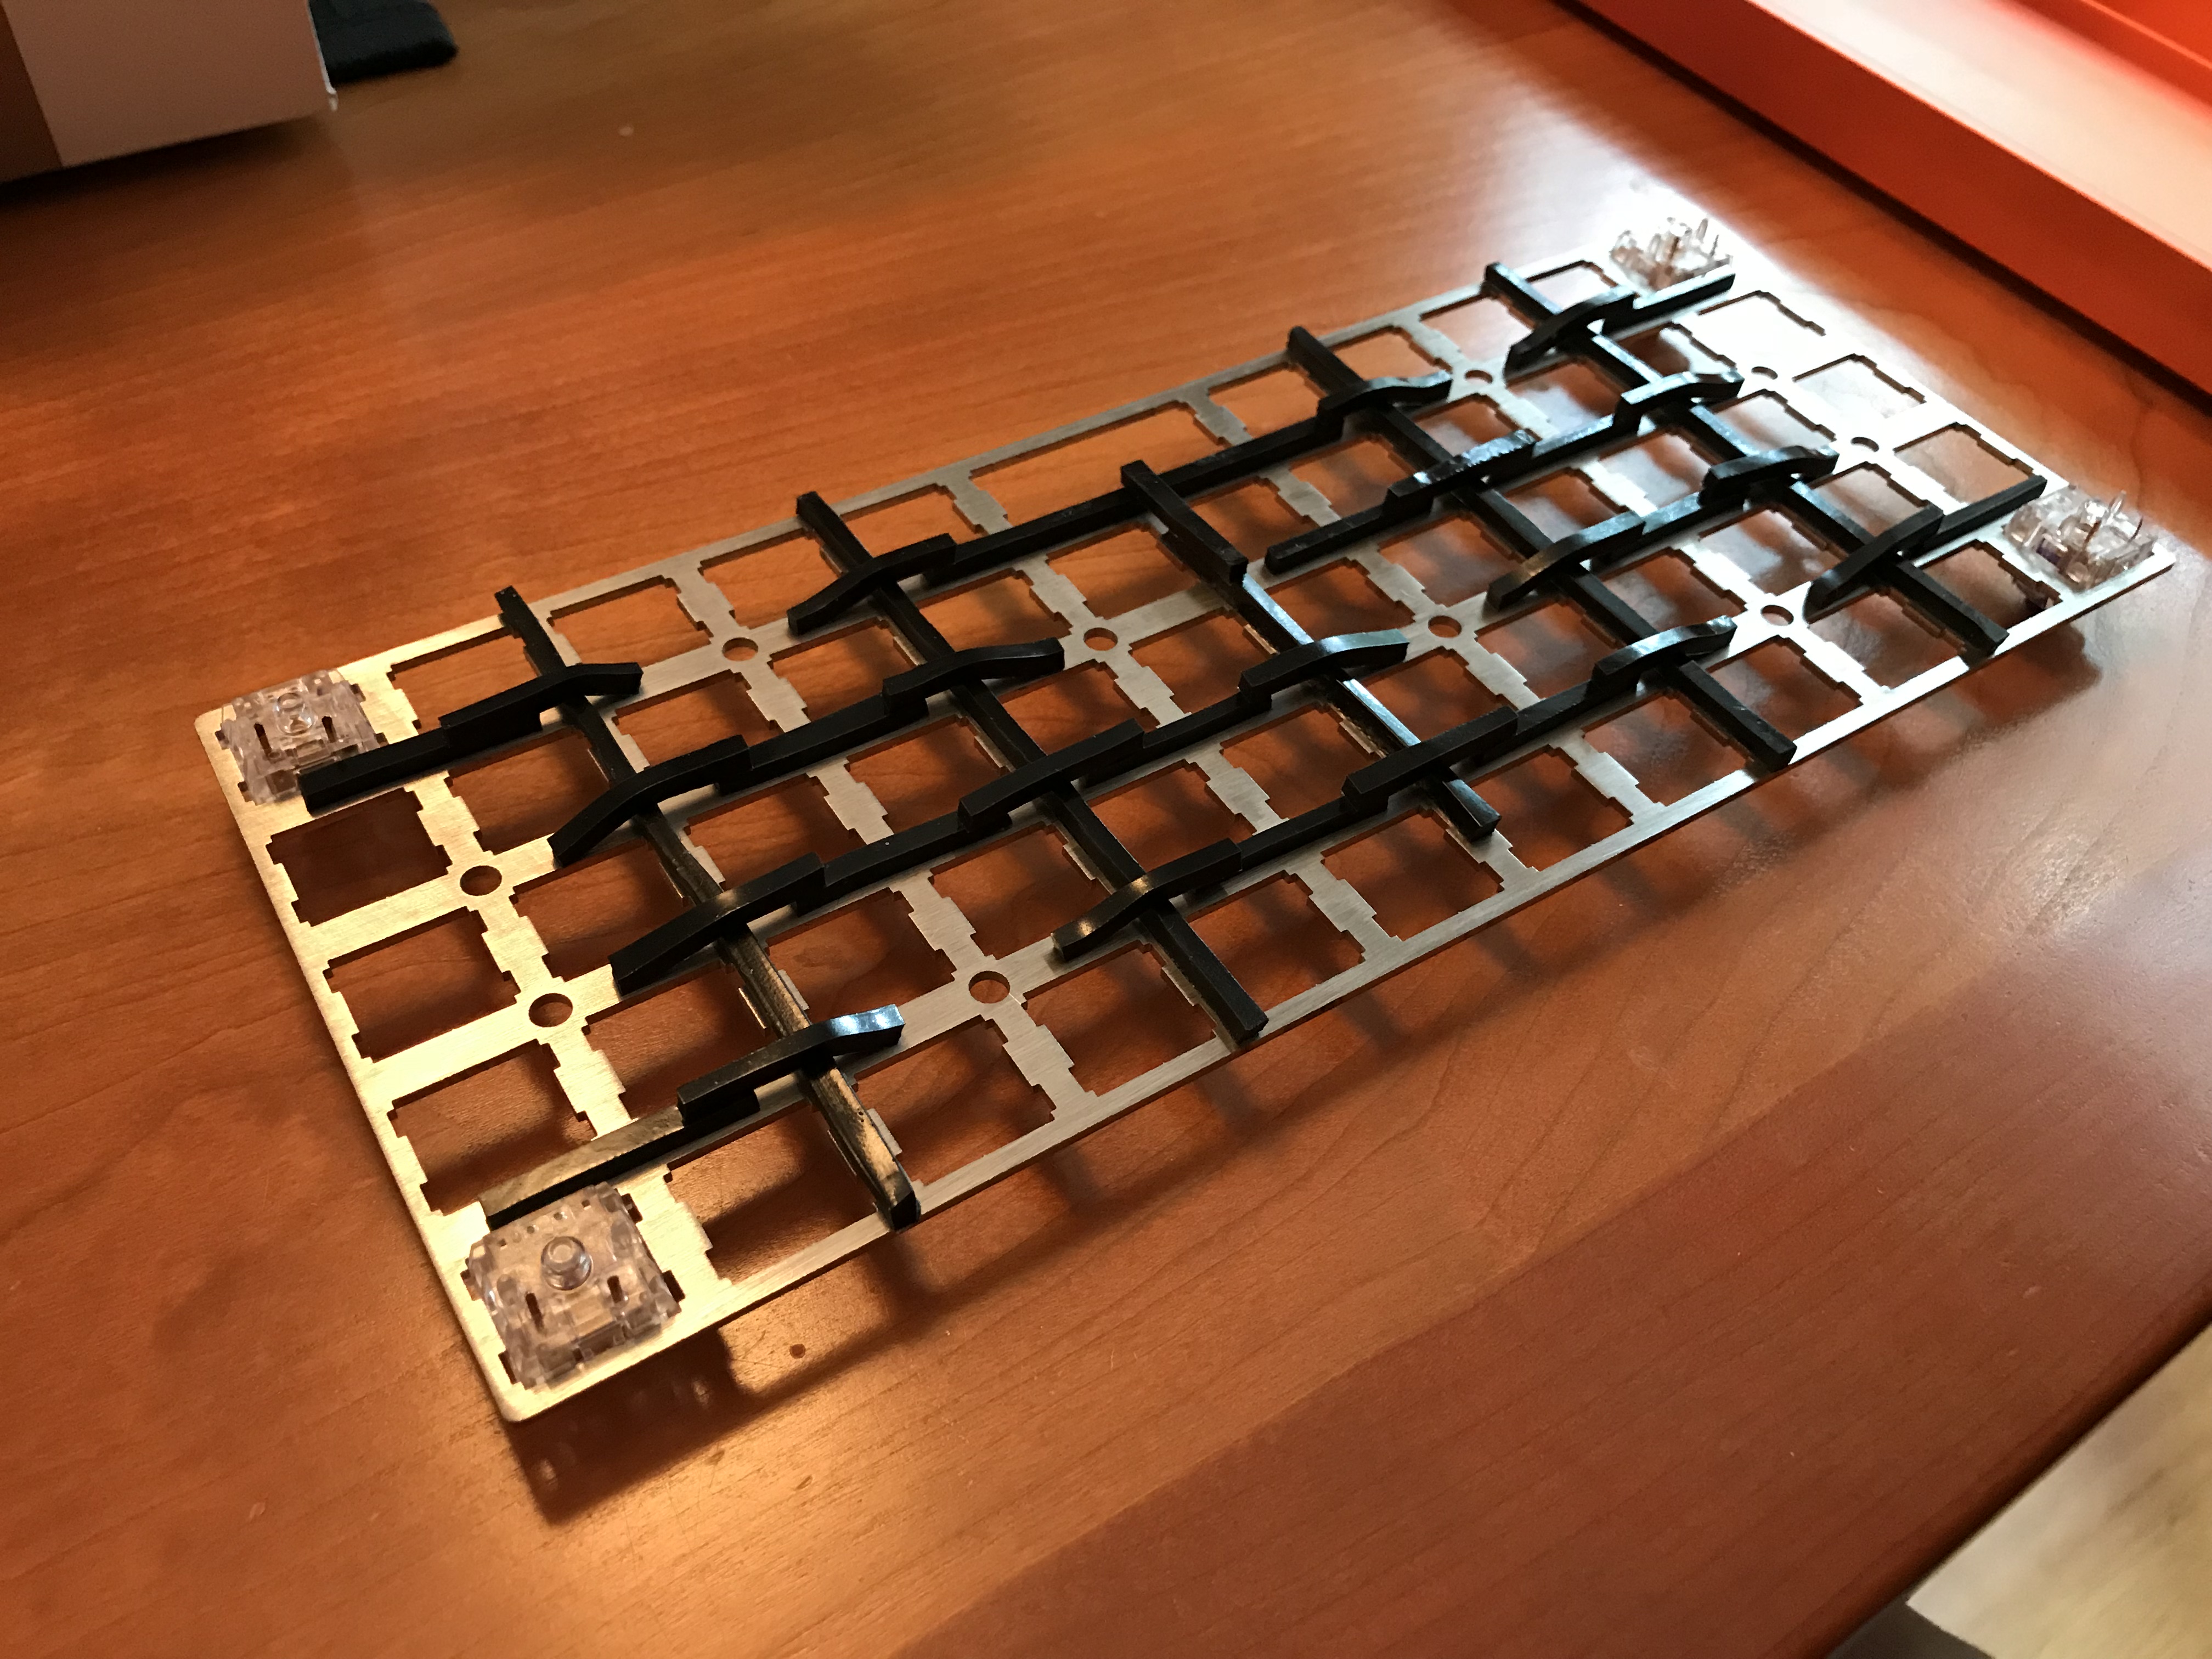
The first step in this Preonic build was installing eight brass spacers on the PCB, to allow it to sit above the bottom of the case, and provide mount points for flathead screws to attach through the case underside. The spacers were only very slightly wider than the diameter of the PCB holes, which made it a little tricky to install them so that they were vertical, instead of leaning slightly into the hole and slanting. Here’s a close-up of me getting it a little wrong on the first try (look at the brass spacer in the foreground).
Next up, the stabilizer - just a 2u Cherry stab for the space bar. The instructions indicated that this was optional, but I needed practice lubing stabs. This time around, I used Permatex Dielectric Grease on the plastic/metal contact points, but I used teflon grease on the plastic/plastic contacts. I didn’t like the teflon grease; it didn’t seem to do much in terms of eliminating the scratchy feel of this stab. I ended up redoing the stab lightly with SuperLube, which took care of the scratch.
Dampening between the plate and PCB
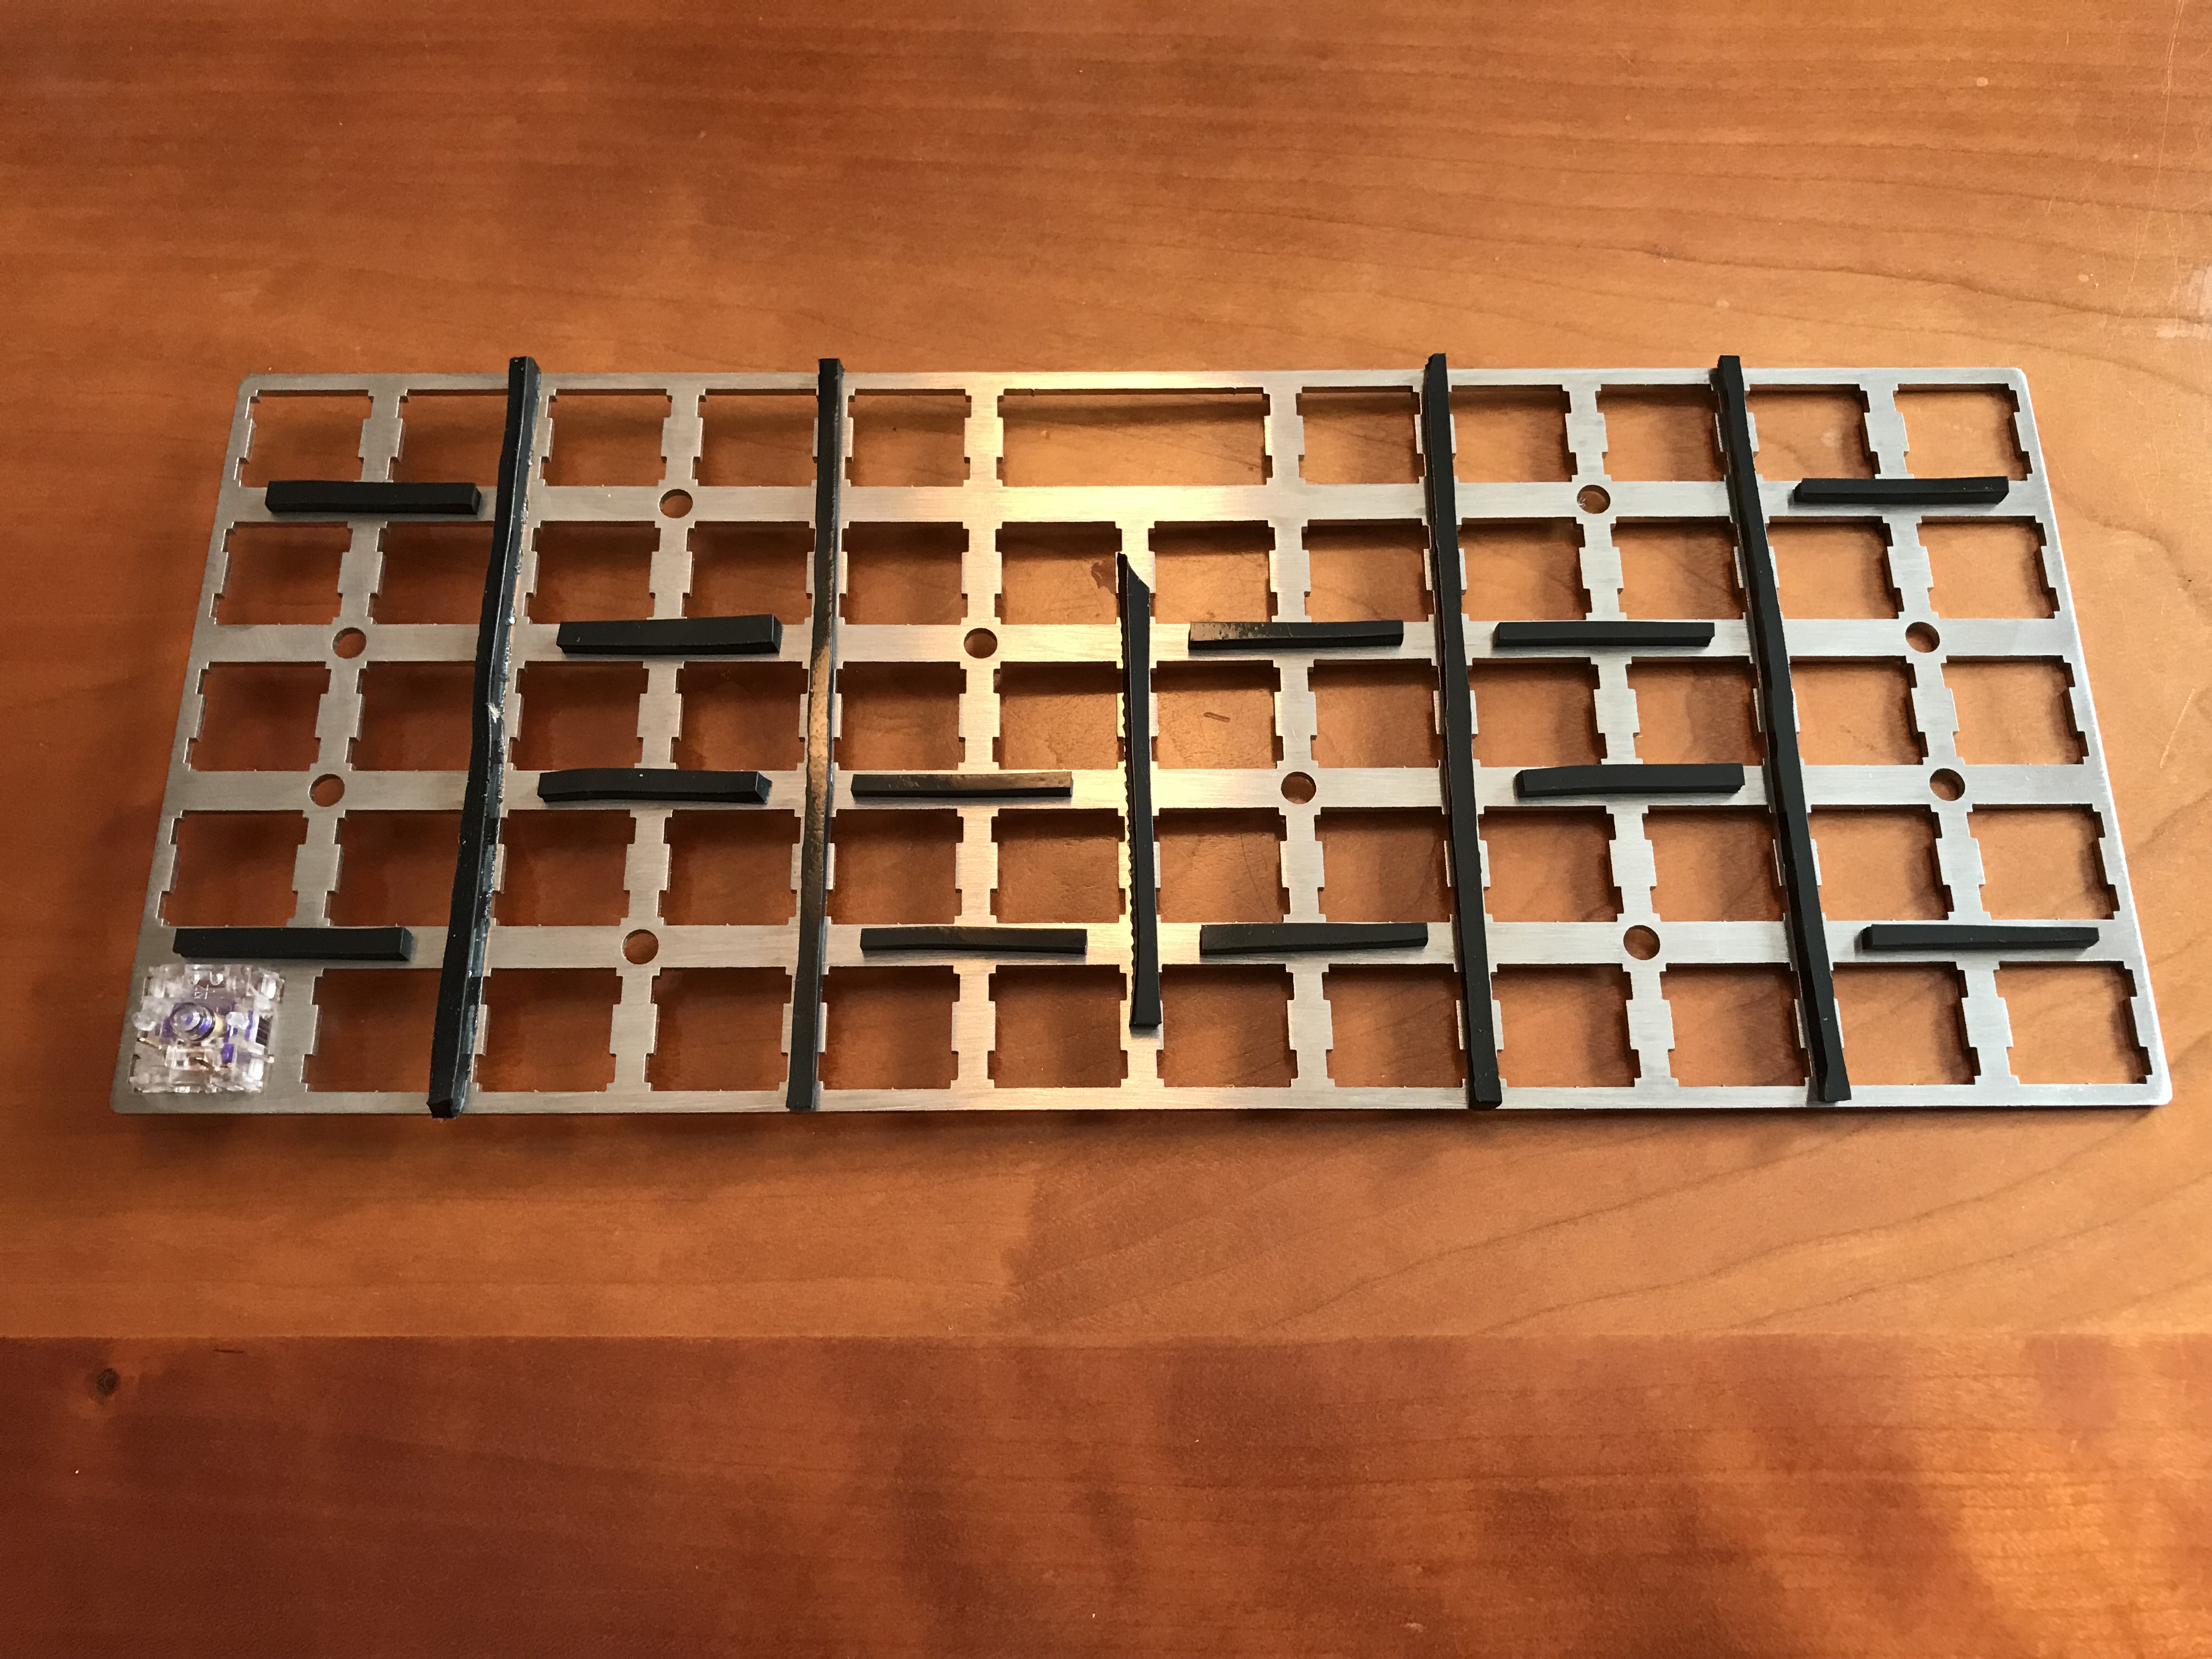
In Build #4, I mentioned my desire to try putting Sorbothane between the plate and PCB, as a way to significantly attenuate plate pinging. I haven’t found a good way to make fine, detailed, precise cuts in Sorbothane due to its stickiness and squishiness, but a decent pair of non-stick scissors at least allow for longer relatively straight cuts. So, if we can keep strips of Sorbothane thin enough, we could lay them on sections of the plate between screw holes, like this:
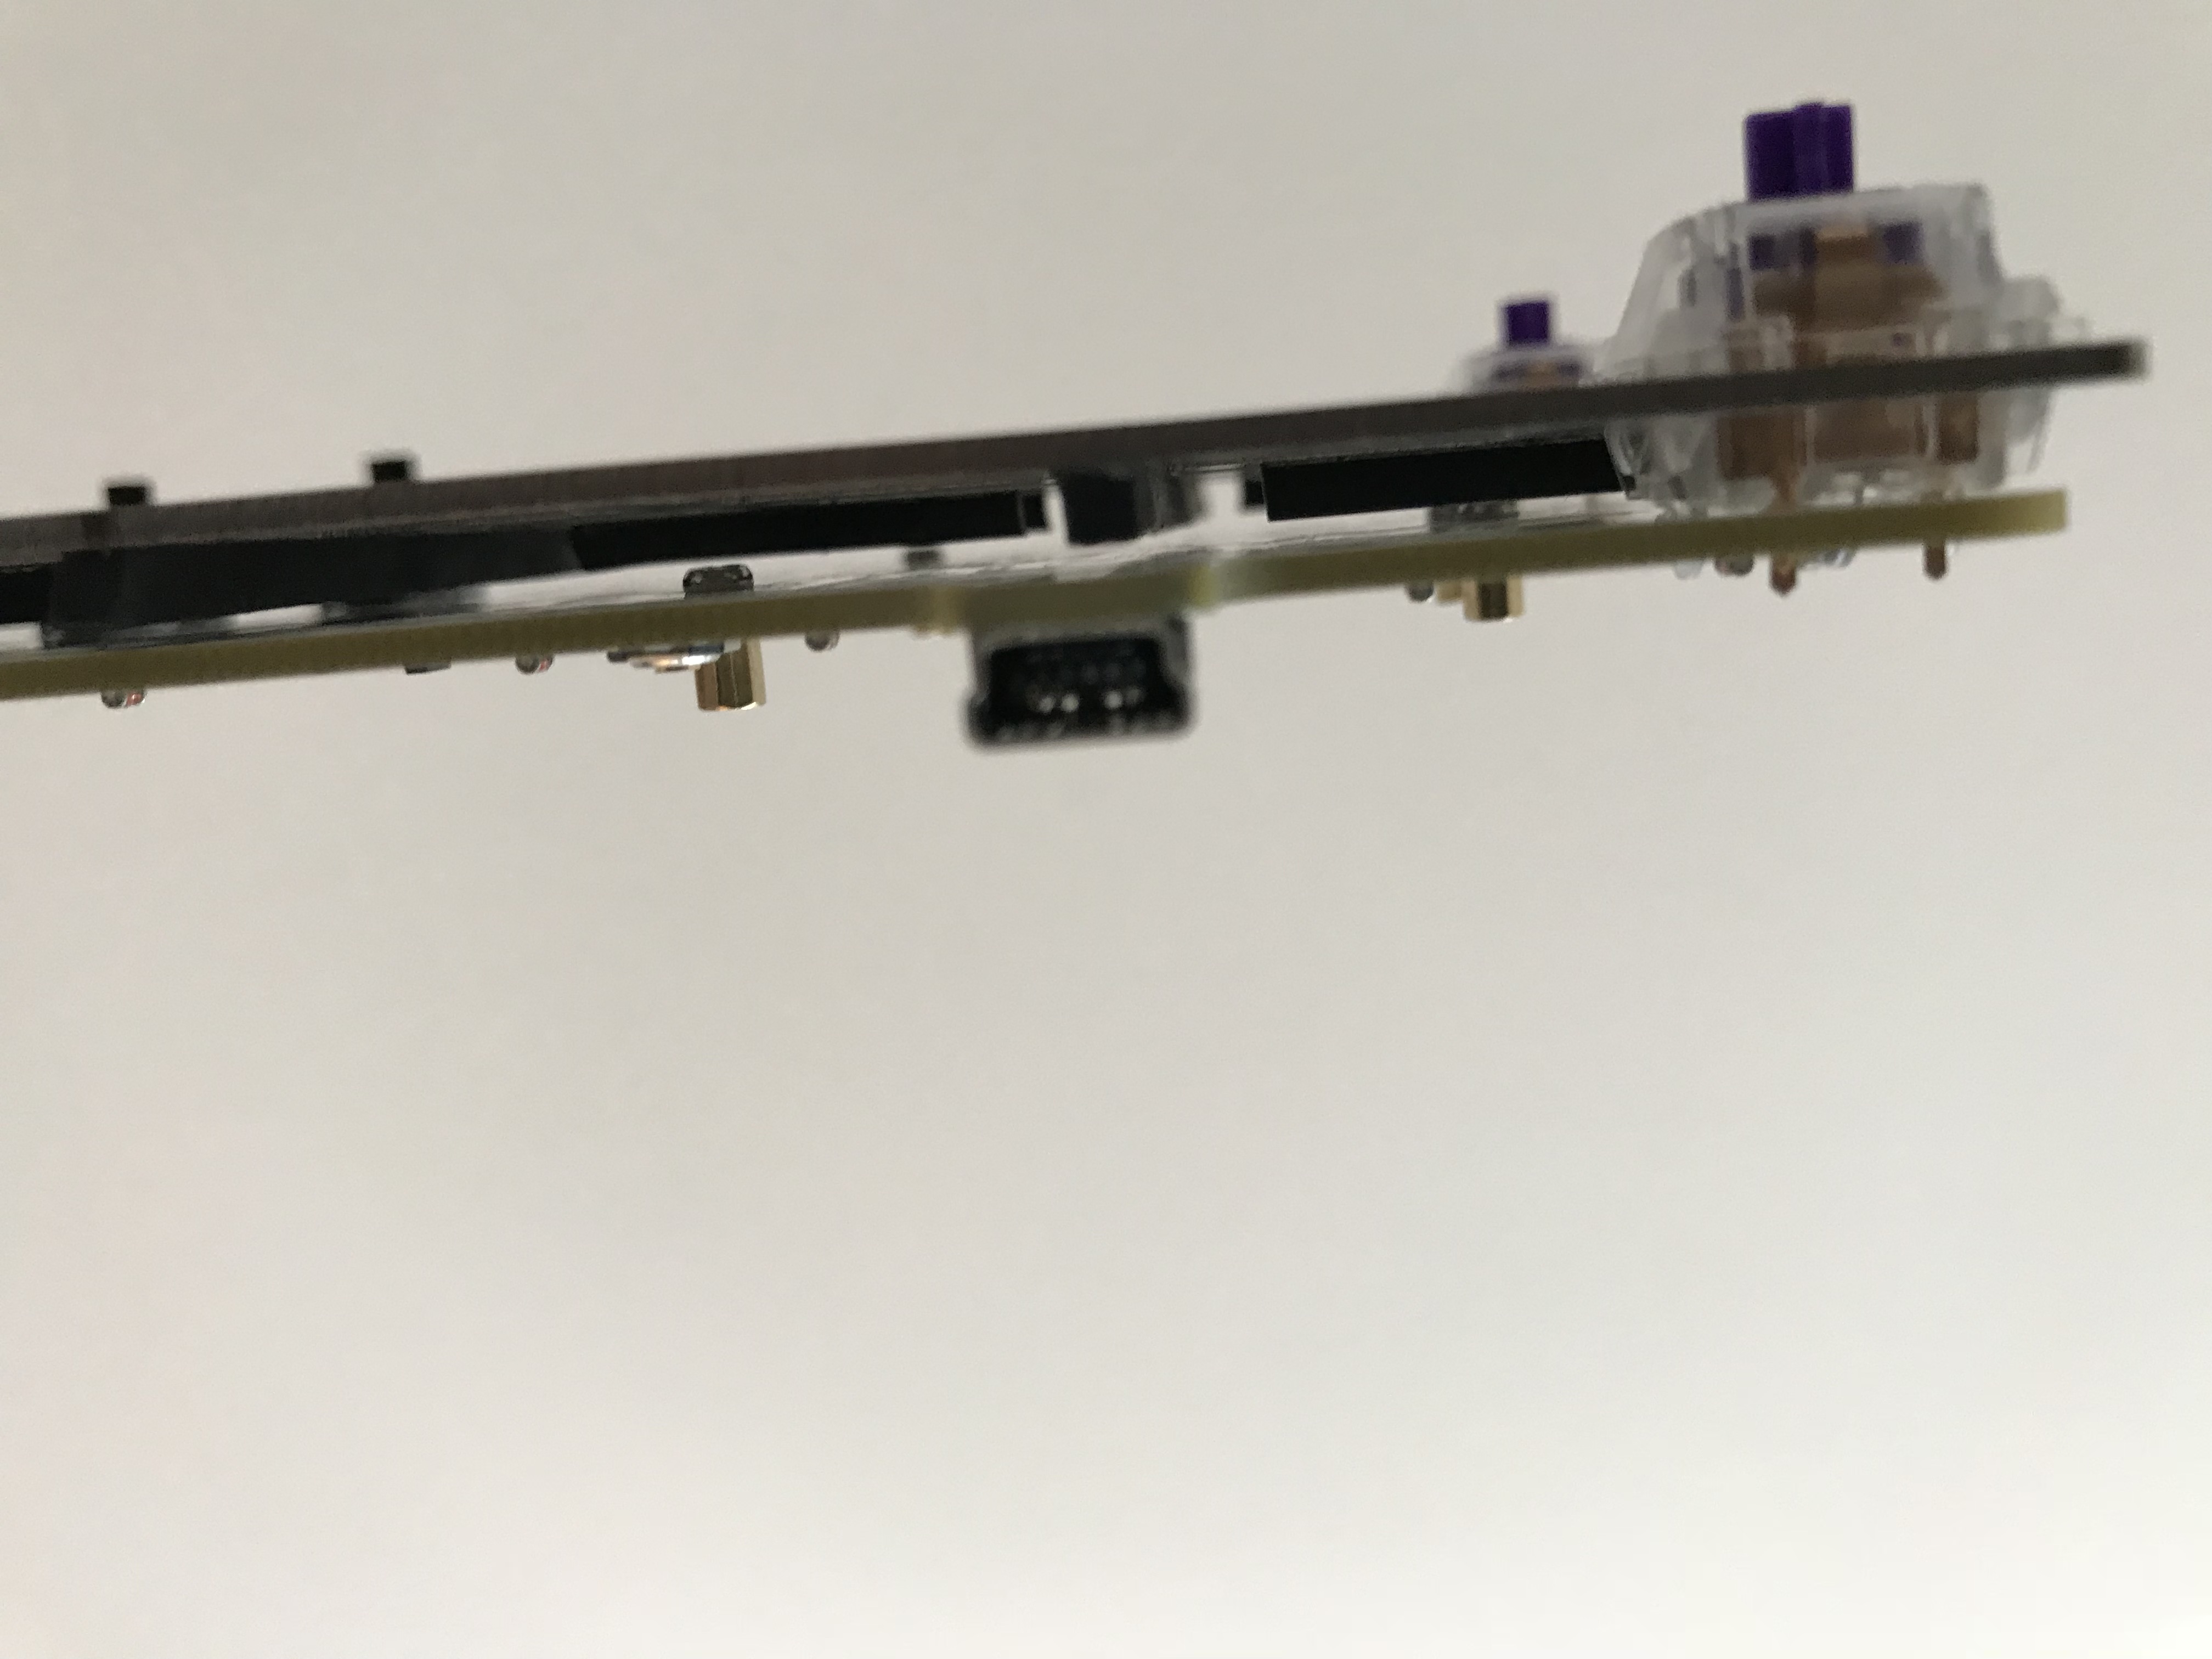
While that might absorb a modest amount of plate vibration, it would be ideal if the Sorbothane could make contact with PCB. With just this one strip, we don’t make contact at all. This side shot of the plate/PCB assembly shows the gap between the Sorbothane strips and the PCB:
What if we stack layers of Sorbothane here to force contact? Well, at least with the 50 duro 0.1" thick Sorbothane I was using, thickness matters. I tried a little crosshatch like your grandma’s apple pie, if grandma had been hitting the hooch pretty hard before rolling that dough…
…and while that was only a little thicker than the usual space between the plate and PCB, that was still more than enough to prevent the plate from seating properly. It probably could have been clamped down and soldered that way, and the solder joints might have held, but I didn’t want to risk it. So, I popped the plate off, and went back to just the single strips. For plate/sorbothane/PCB sandwiches, the 0.188" sheets that sometimes appear on Amazon might be a better choice, although I’m not sure whether that’s thin enough to avoid the same problem. Also worth reiterating that these were 50 duro sheets, which is the only duro rating I have experience with (but soon I will try a softer 30 duro, thanks to @manofinterests, and you can too if you hurry to the GB…)
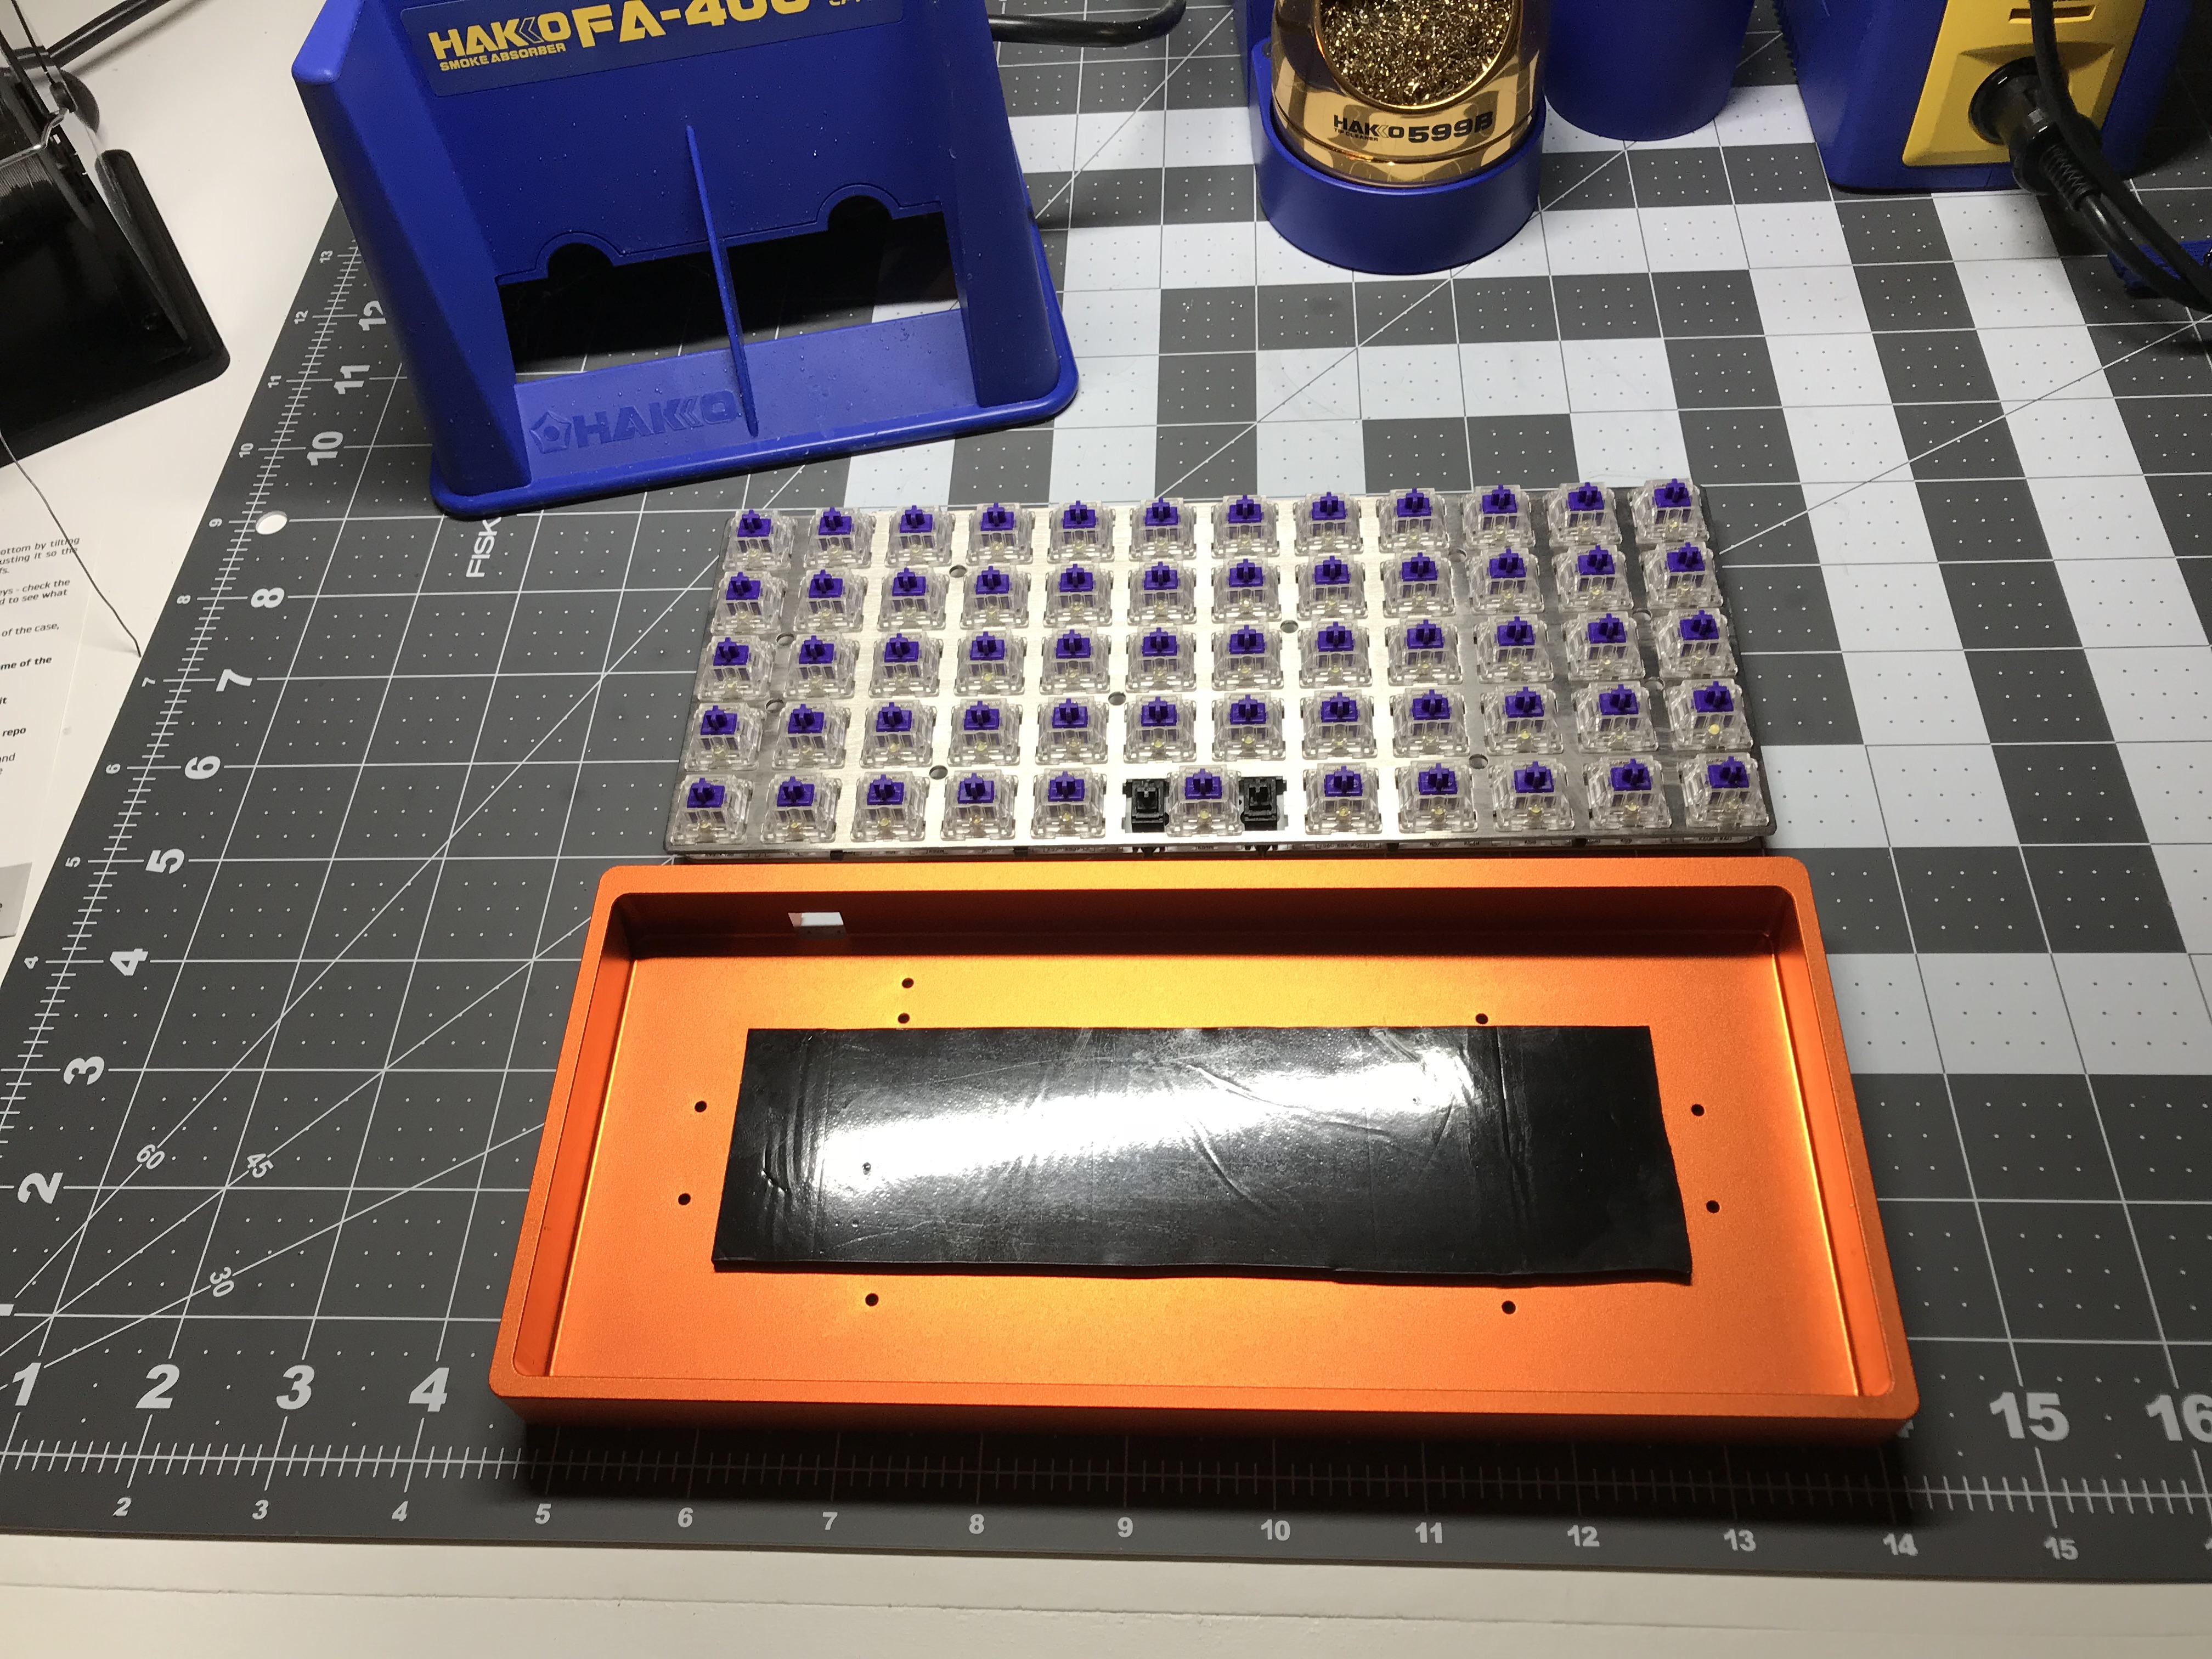
Dampening between the PCB and case
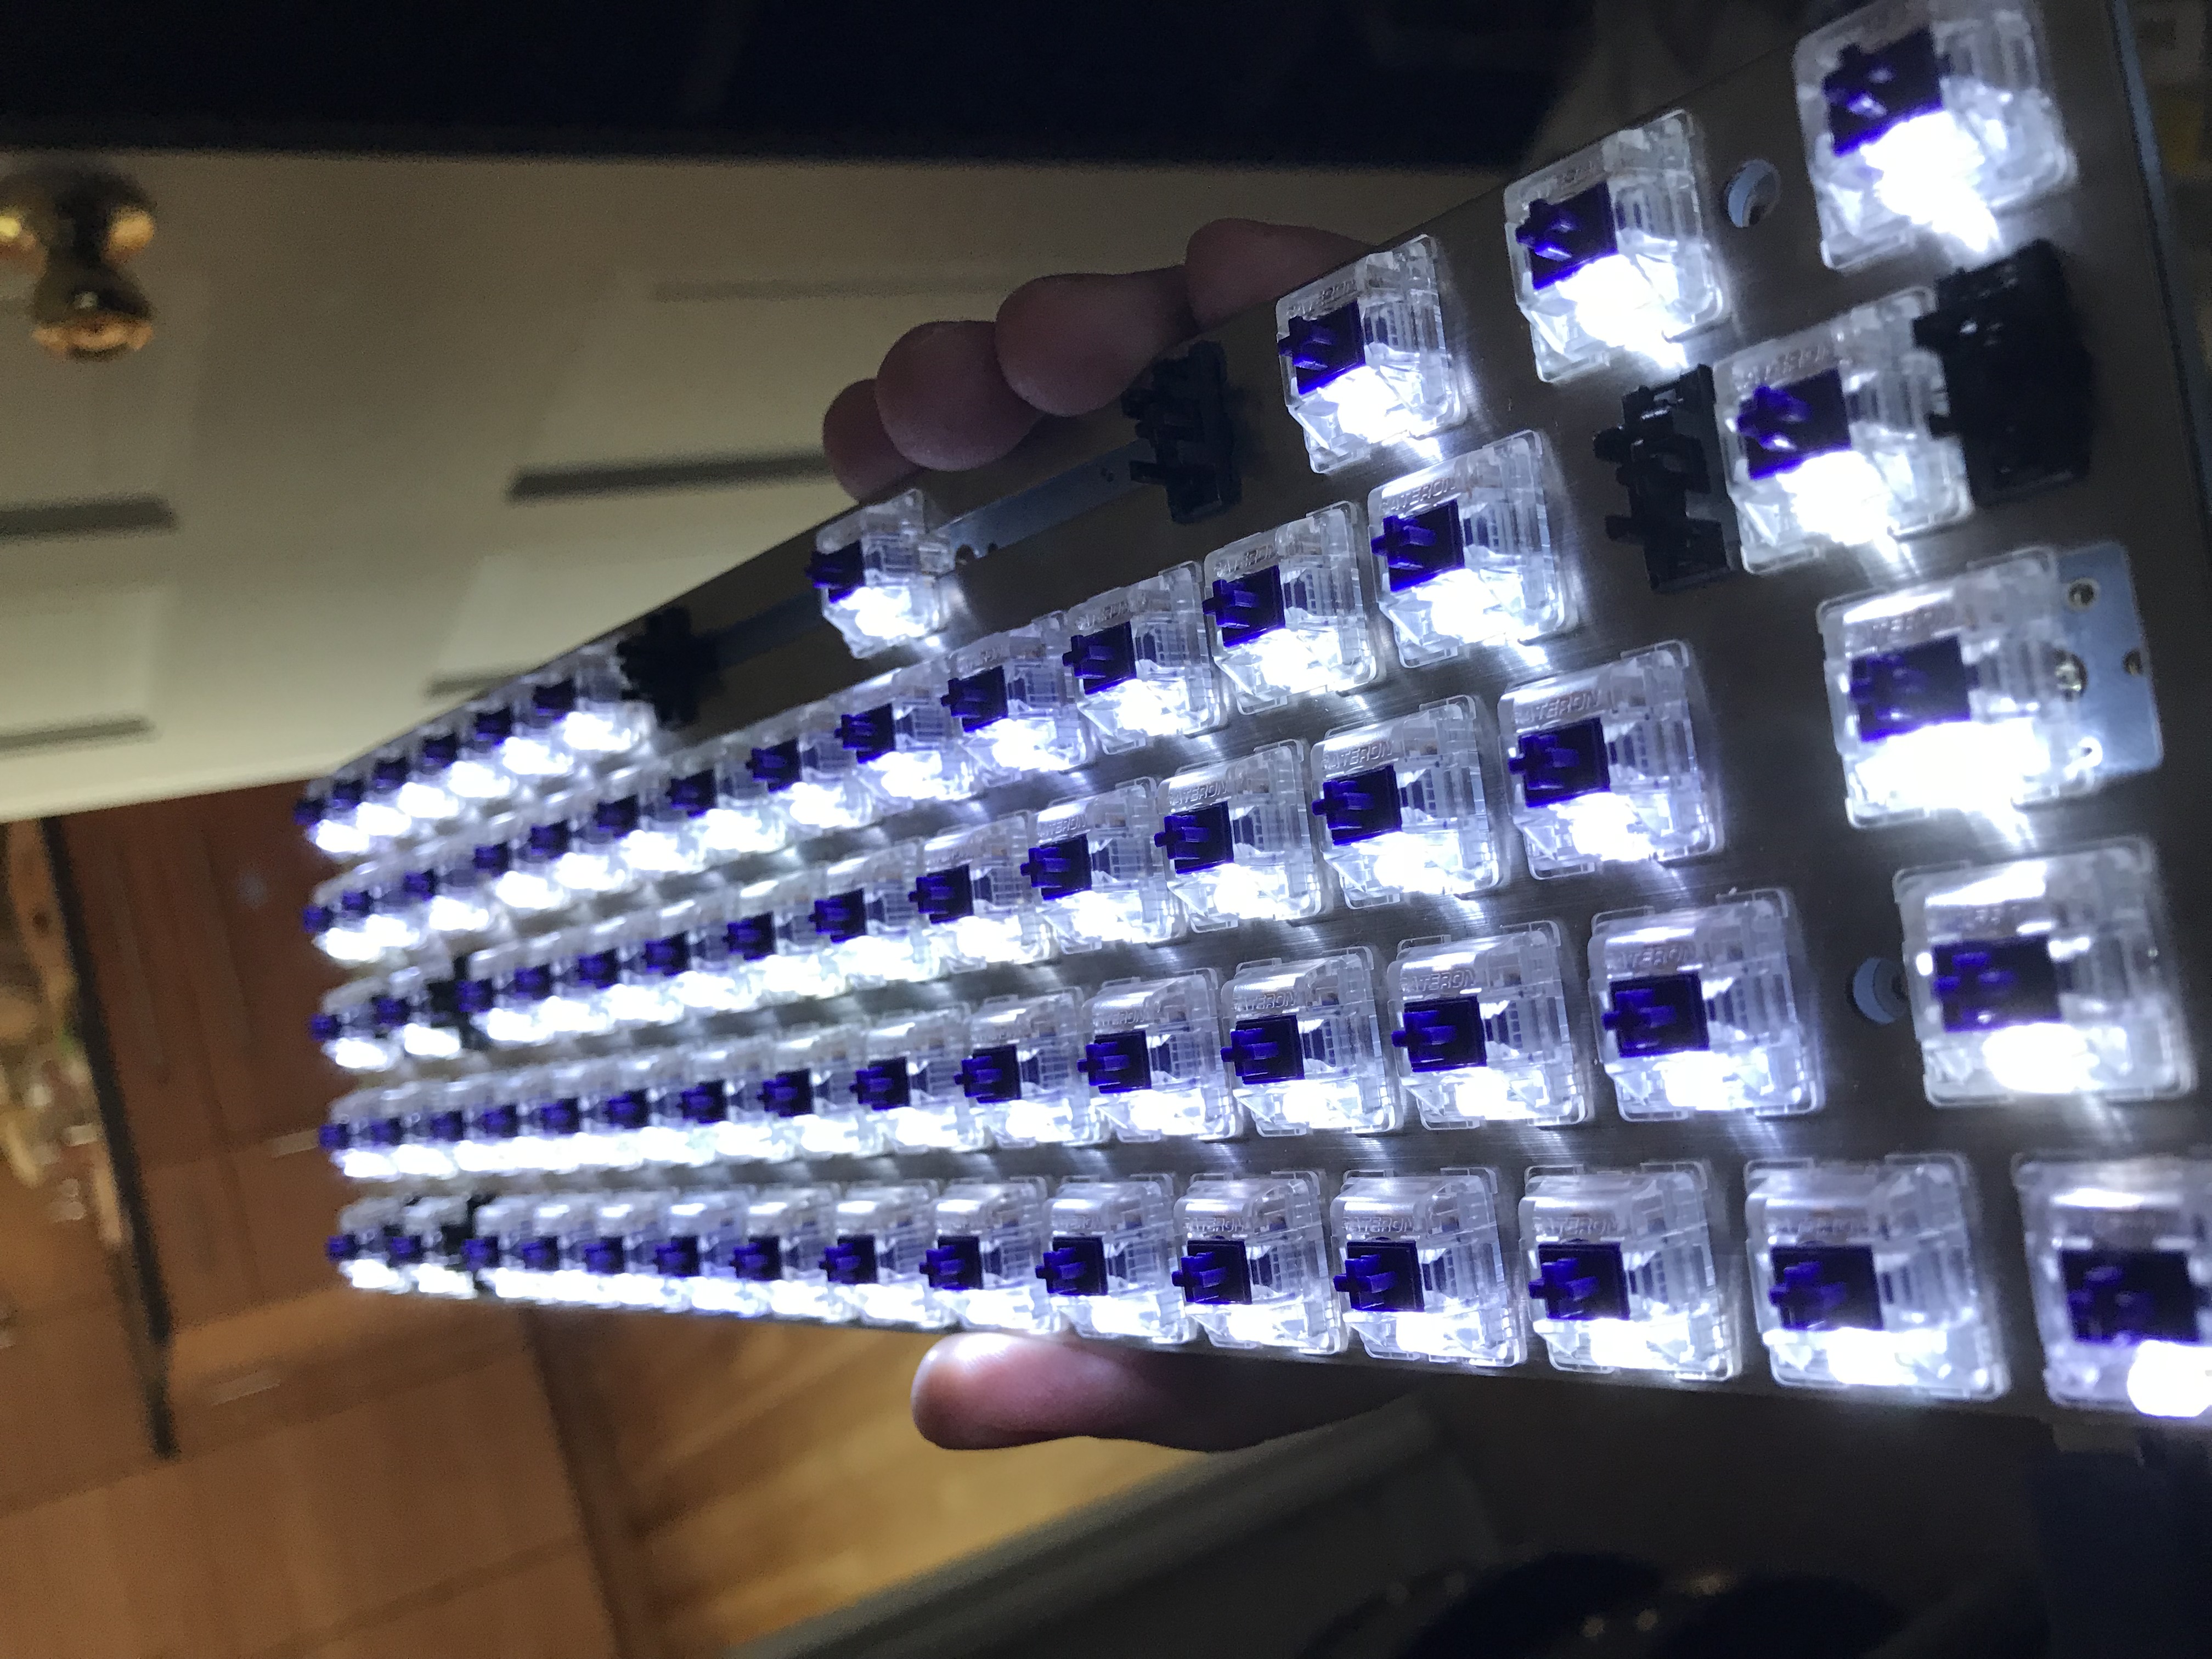
Back to the case-dampening portion of the program. The height of the brass spacers for the PCB are only slightly thicker than 0.1", so dropping a rectangle of Sorbothane between the spacers seemed reasonable. I installed and soldered switches in the usual way, and after testing the switches, I seated the board in the case.
The PCB was definitely making contact with the Sorbothane - I was able to (carefully) invert the case and the Sorbothane’s stickiness held the plate/PCB assembly in place. Thumping the case with my knuckle as before, I received a much duller, bassy thump. It’s all about that bass.
In the event you were waiting to hear about my ascendance to the ortho promised land - well, you’re going to be waiting a while. Please make yourself comfortable. Of course I haven’t invested anything like the kind of time that would be necessary to learn this layout, so any commentary at this point has questionable utility at best. But, yes, it was painful  . I kind of want to turn the Preonic into a super-size macro pad, if one of my kids doesn’t beat me to it first.
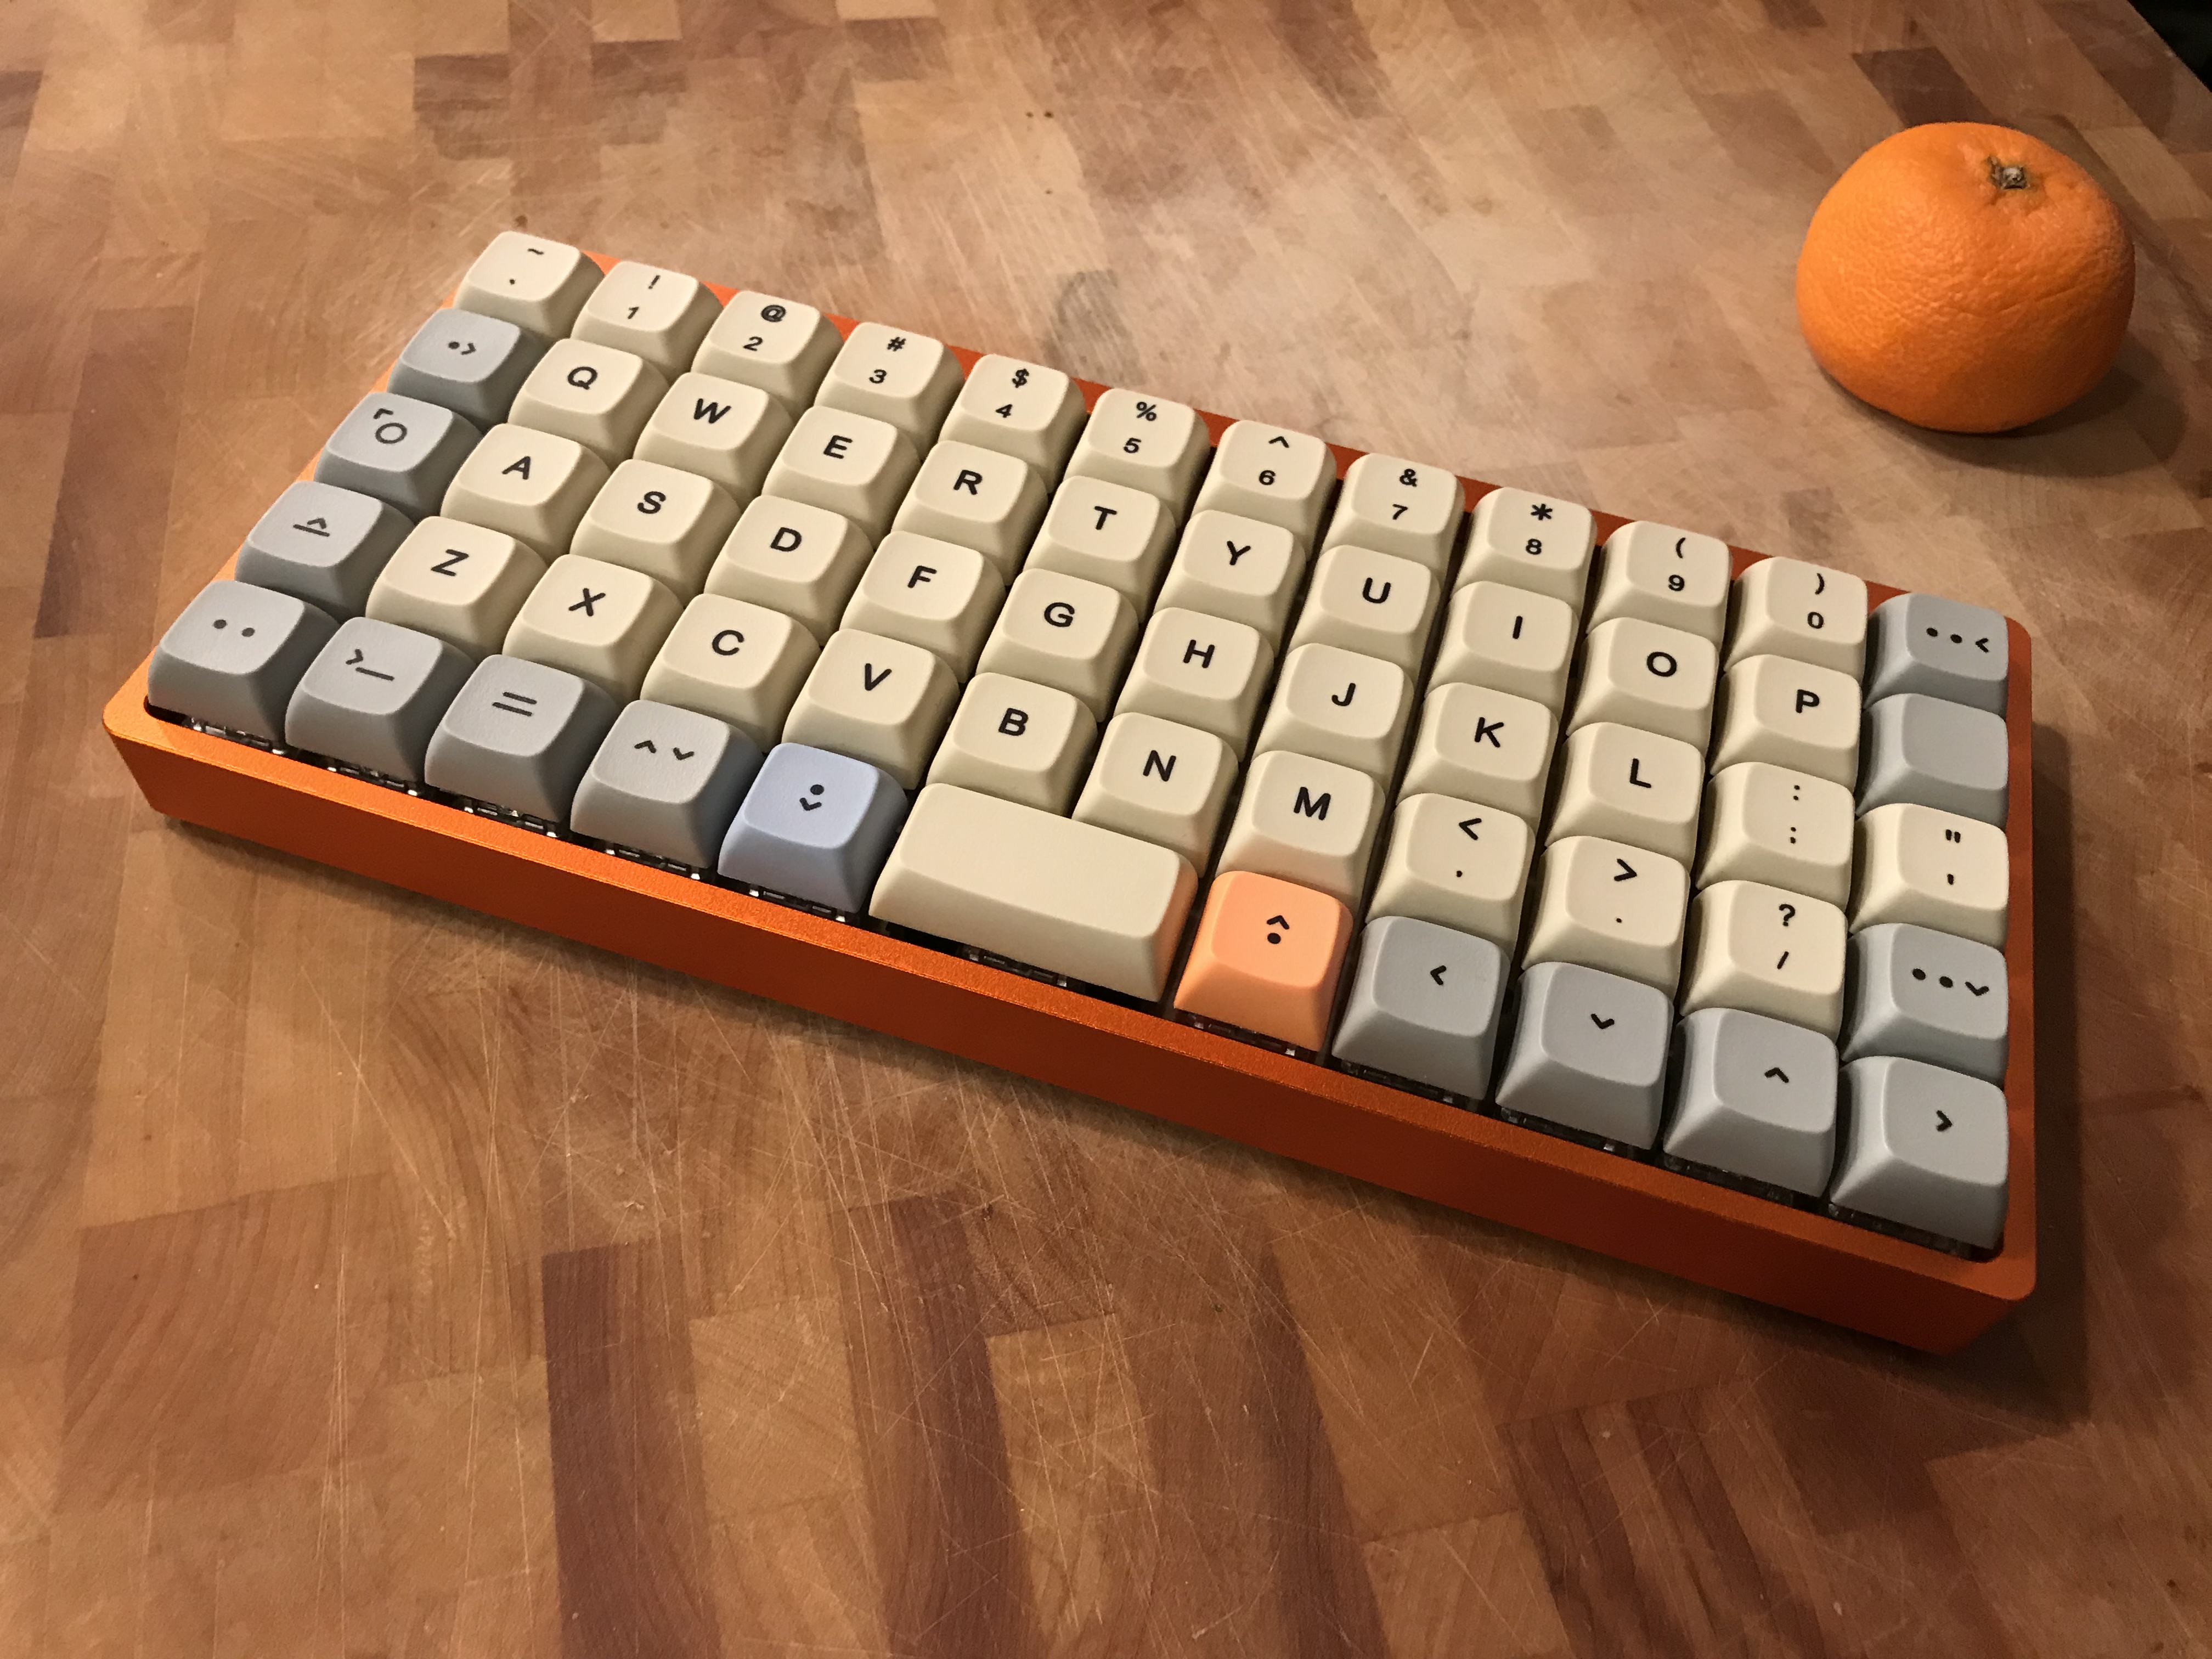
Tried 65g Zealios in a build for the first time here, and they are almost a contradiction to my fingers - the tactile bump is there on every keypress, but somehow it is so shallow that I feel like I’m bottoming out on every keypress as well. Also not sure how I feel about XDA; going in, I would have thought I’d be more or less at home on this profile, but the lack of sculpting of any kind seems to be throwing me off a bit. Of course, that could just be because the I is where the O is supposed to be. Kill me now.
Finally, the sound is not bad on this board - not much in the way of high-frequency pinging, although if you hold the board to your ear and type, you can hear a pinging. But I’m not at all sure what I’m hearing is the board any more; it may well be the switch springs. Switch lubing, I hear your siren song. I know you await me.
Lessons learned
- 0.031" solder is good for switch pads - 0.020" is good for LED pads. If you do LEDs, it’s worth having
both on hand. I didn’t discuss this before, but yes.
- Given that other people have had good results with teflon lube for plastic-to-plastic contact within stabilizers, I need to explore my poor result a bit further, most likely by trying again with a different stab.
- At least for 50 duro Sorbothane, thickness matters - we want contact, but just enough to absorb vibration, and not so much that component fit starts to become compromised by that dense rubbery Sorbothane pushing back.
- I like the sound change that Sorbothane dampening brings - lower pitched, and a bit more full bodied.
- 65g Zealios might be the tactile switch for the linear lovers in your home. Can’t imagine this is a surprise to anyone here, but it’s always nice to confirm received wisdom.
- Coming from staggered layouts, ortholinear requires commitment. It’s not you, babe, it’s me. No, don’t cry. Have an orange. Keeps the scurvy away.
Specifications
case: Preonic orange aluminum
PCB: Preonic R2
LEDs: per-key white
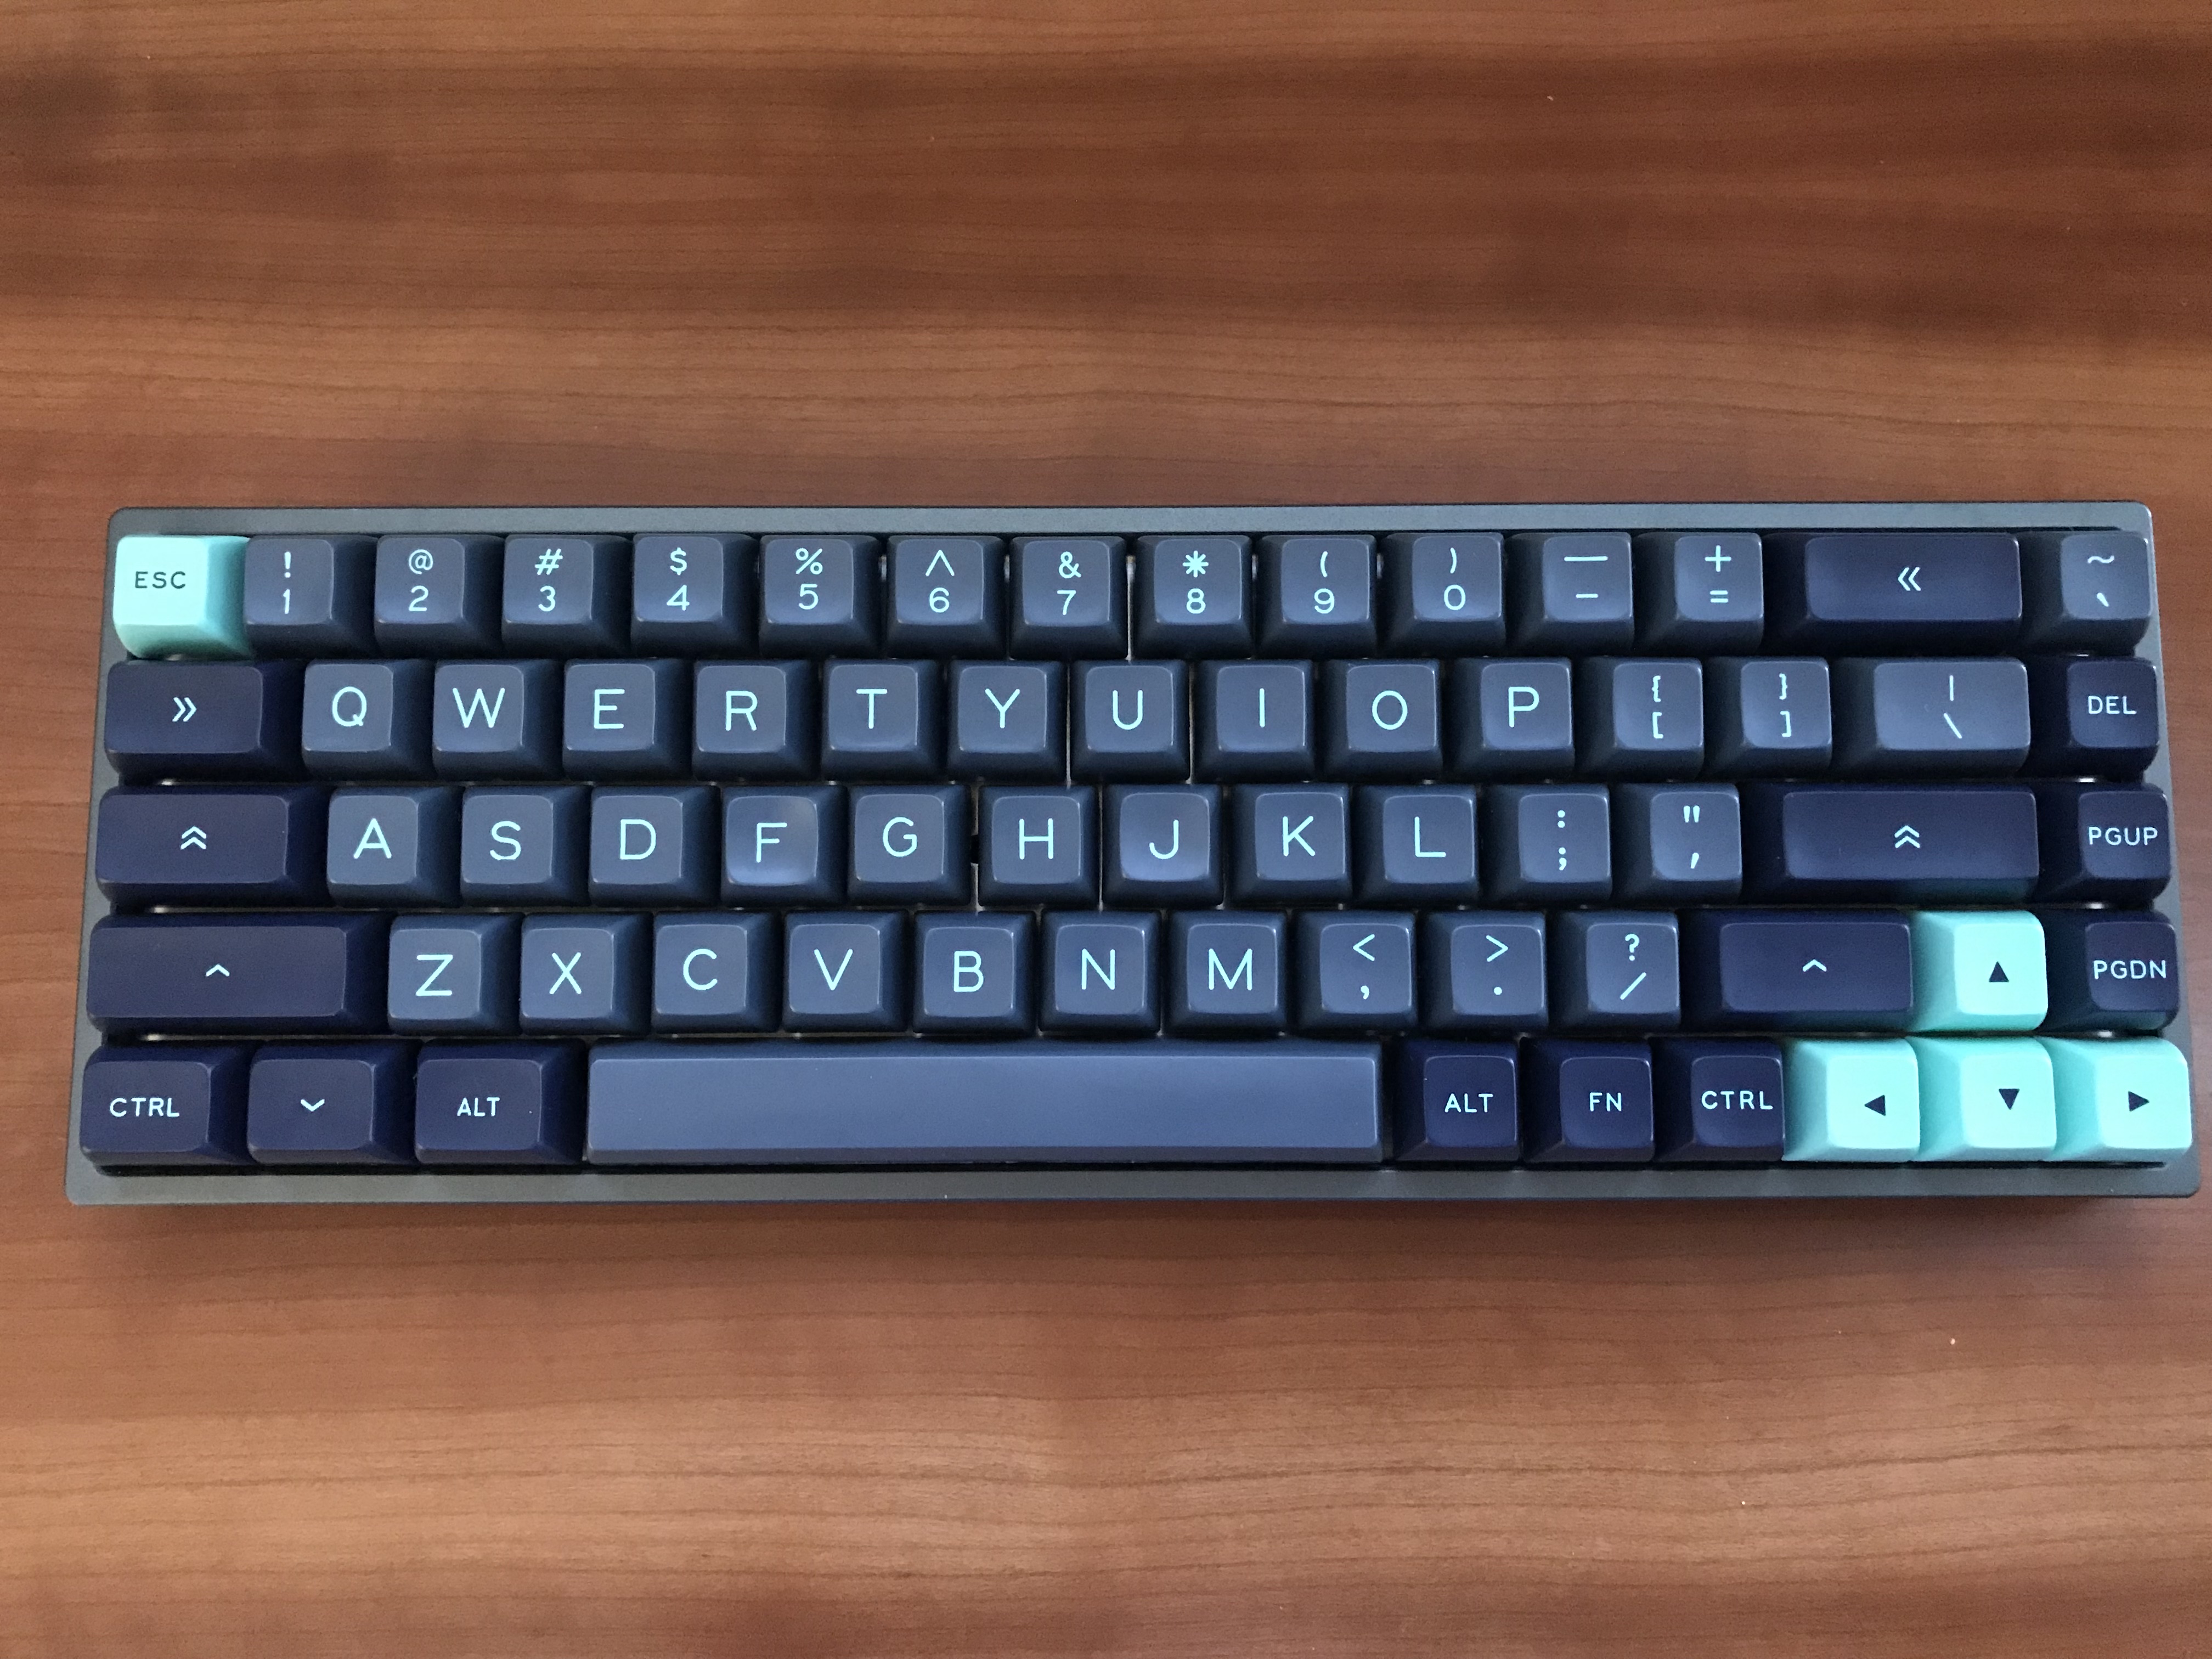
switches: R11 65g Zealios
switch lubing: N/A
layout: default Preonic
keycaps: XDA Canvas
stabilizer: OEM
stabilizer mods: clipped and lubed with SuperLube Synthetic Grease; silicone pads for band-aid mod
plate dampening: 0.1" 50 duro Sorbothane strips on plate between screw holes
case dampening: 0.1" 50 duro Sorbothane sheet in case
HxWxD (without caps): 0.69"x9.31"x4.19"
HxWxD (with caps): 1.0"x9.31"x4.19"
assembled weight: 1.38 lbs