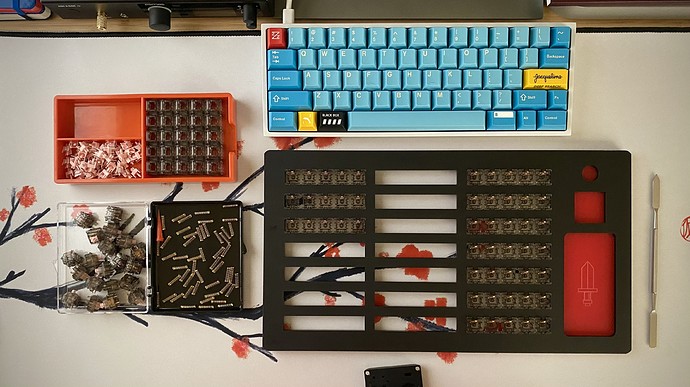
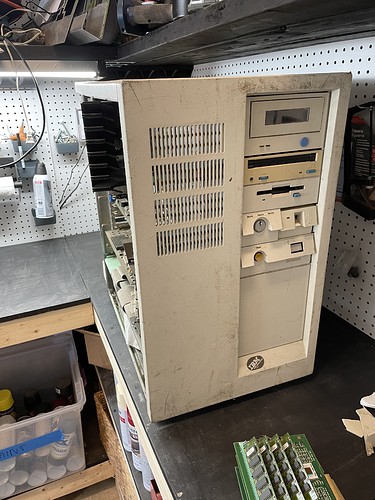
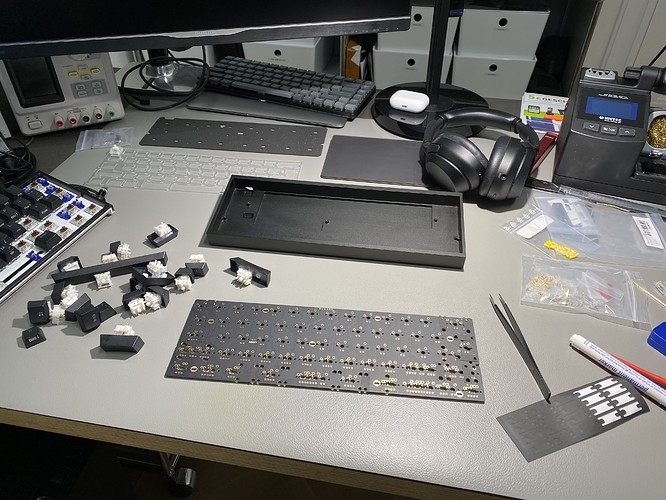
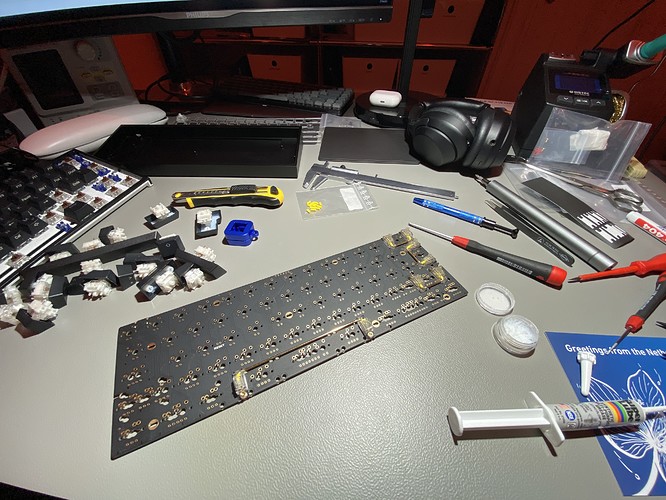
So good, so organized; great (WIP) workspace  That under-shelf light is clutch too.
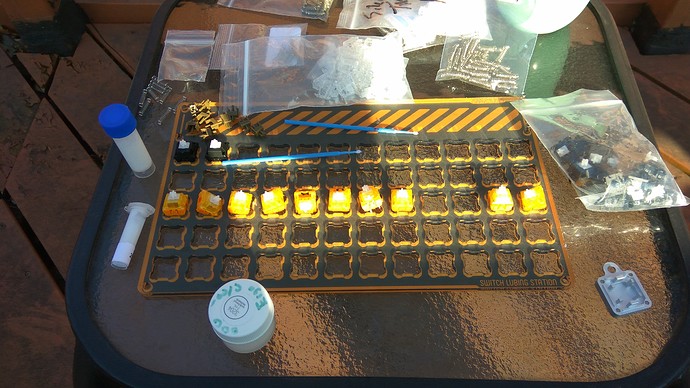
Giving the ol’ GK61x switch tester board a major refresh.
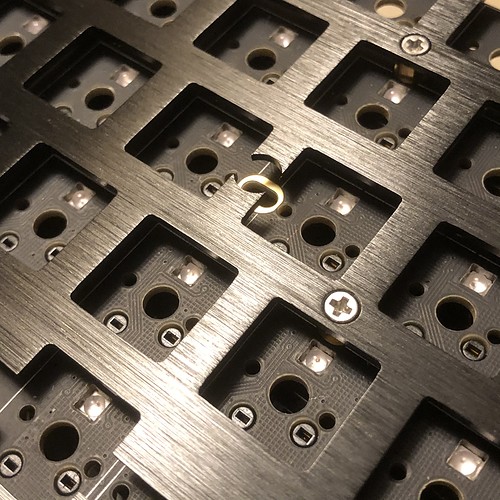
I’d previously replaced the plate with a single-piece stamped aluminum one, but the cut was kind of iffy and the Esc key was a couple millimetres out of alignment with the rest of the row. Couldn’t un-see. So - since the resin cases finally came, I finally had a standard-mount 60% to use with the other plate I’d gotten at the same time:
Much higher quality cuts on this one.
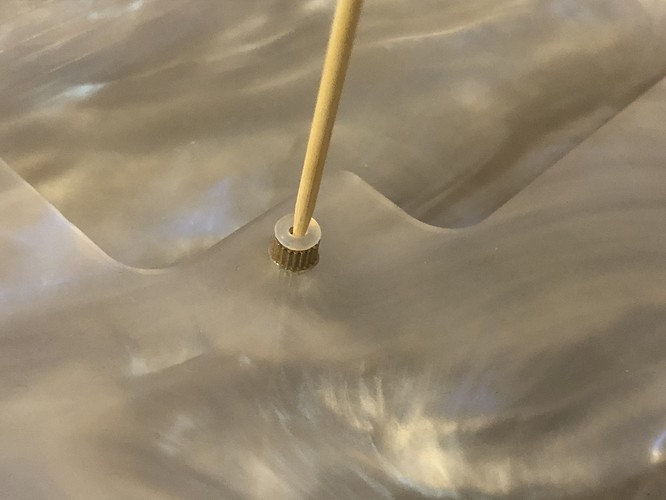
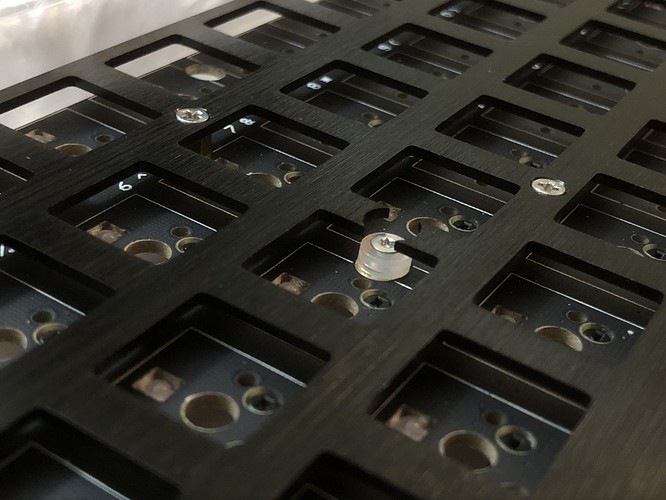
I decided to burger-mount this one, and I used some toothpicks to help make sure the little borgar buns stayed in place:
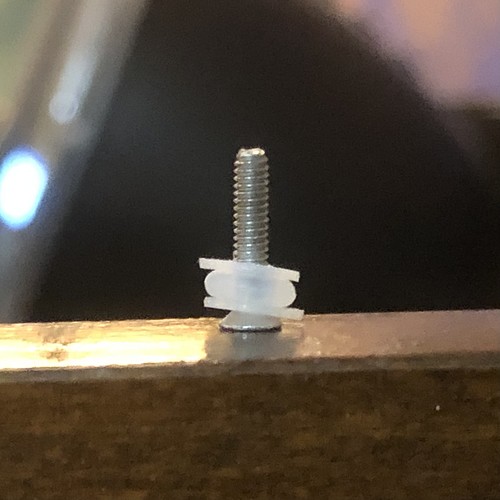
I’m honestly not sure where these longer screws came from or why I have them, but they were pretty much perfect for this. (I also stole one from an old Durgod board, since I only had five of the extra long ones.) Since they had small tapered heads, I used some plastic washers for them as well as the mostly slotted holes on the GK PCB:
Not exactly elegant-looking, but it does work:
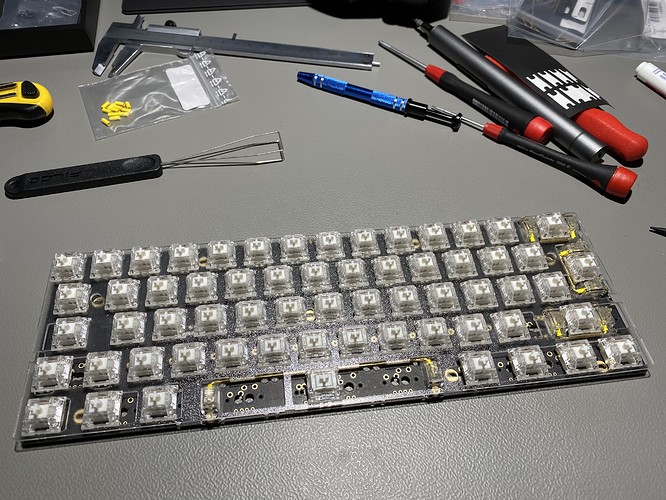
Testing the stabs, a theme emerges:
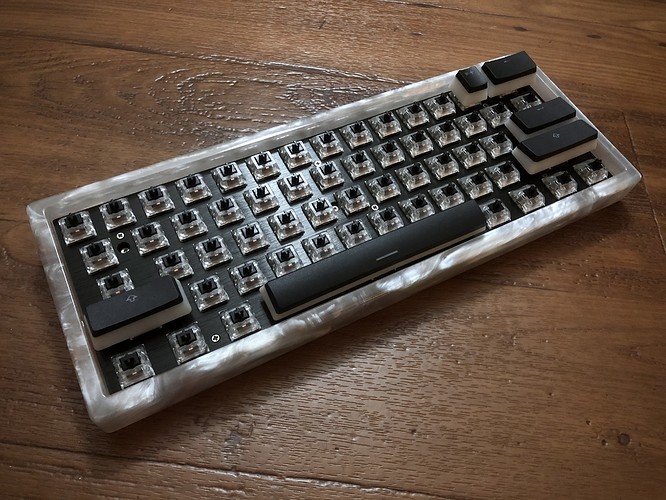
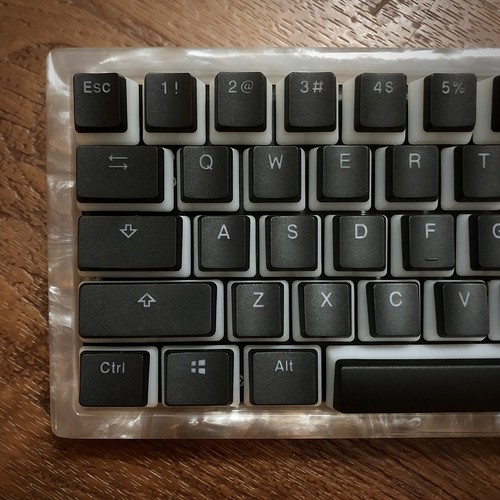
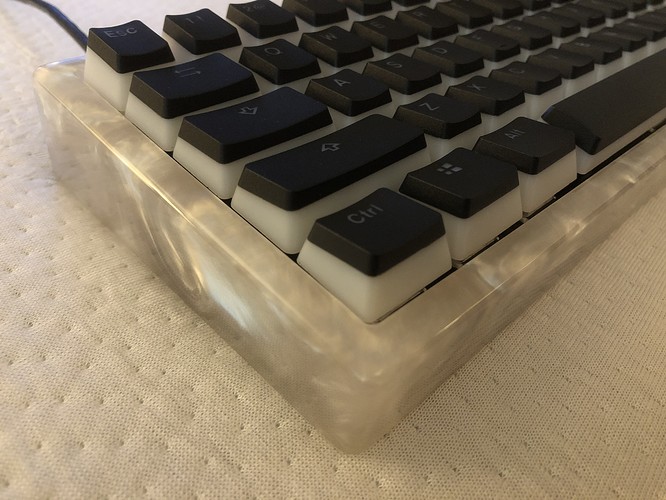
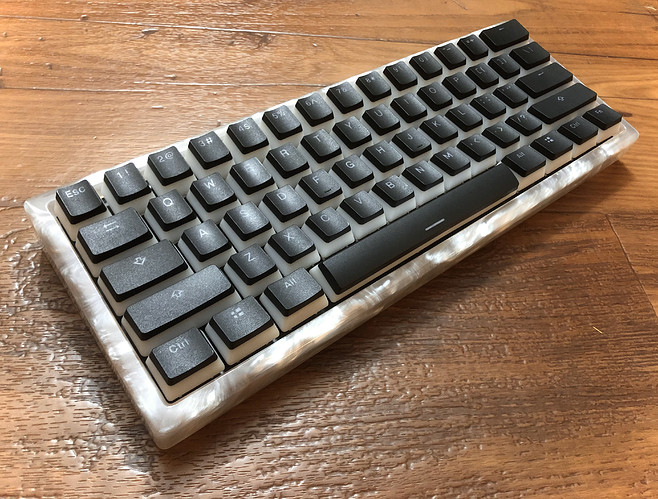
(True) Unholy Pandas; lubed, filmed, and topped with Ducky’s pudding caps - borgar-mounted into a cast resin case.
So pearly. I’ll eventually be using this case with another build and pairing it with pearly Bobas - but for now, it’s a big upgrade for my trusty tester.
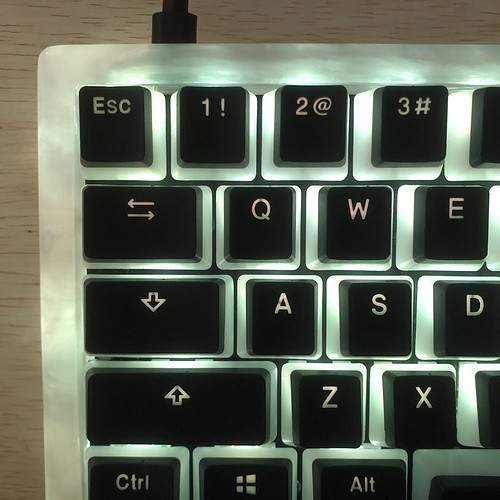
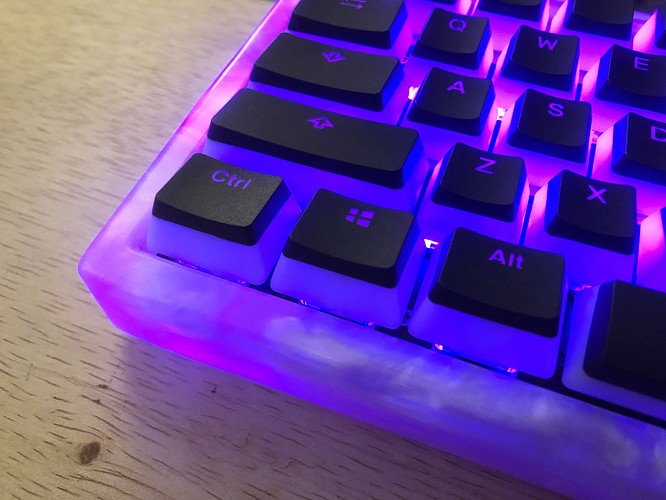
ARR GEE BEEZ
This wouldn’t have looked out of place behind the counter at “the beauty shop” where my grandma got her nails and beehive hair done.
Downright mystical.
It sounds like this:
Thank you for the detailed post! Been seeing these resin cases pop up on Taobao lately, it’s nice to see it being used in a project  I’ve a GK61 (the older variant) and I must say that the board’s very decent for the price
Soo many ribbon cables I do not miss those
Is that a shrink wrap stab mod?
Yep. Heat shrink tube on the angled part of the stab wires plus silicone grease on the ends. Works pretty well.
How do they feel? Like compared to just lube. Do they feel “dampened” with heat shrinks?
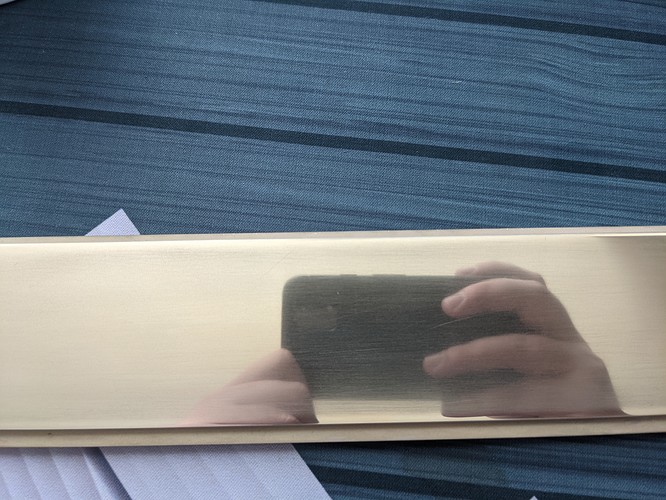
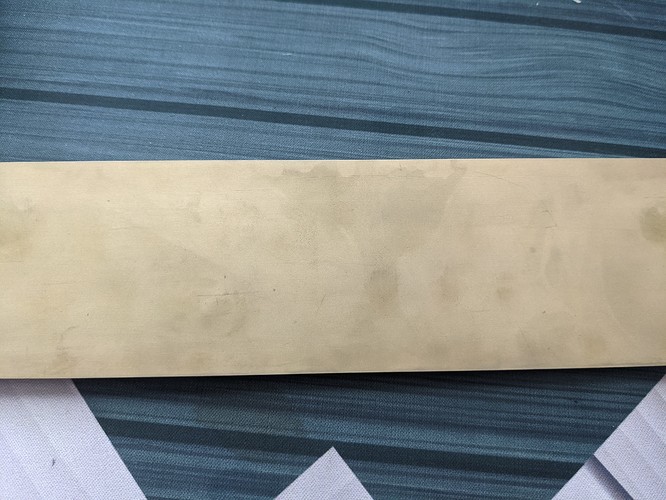
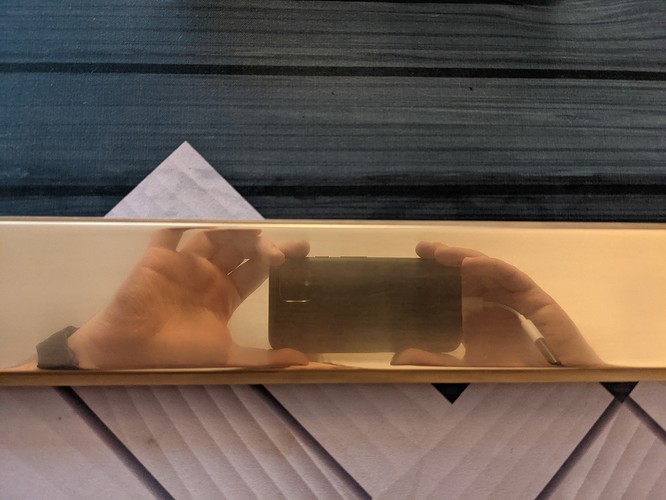
Doing my best to polish a brass weight. I’ve gone over it with sandpaper from 1500 up to 7000 grit but I think I might need to start from slightly lower to buff out some of the deeper scratches and surface imperfections.
It looks pretty bad in the image but it’s actually a pretty big improvement over what it started as, eg the opposite side:
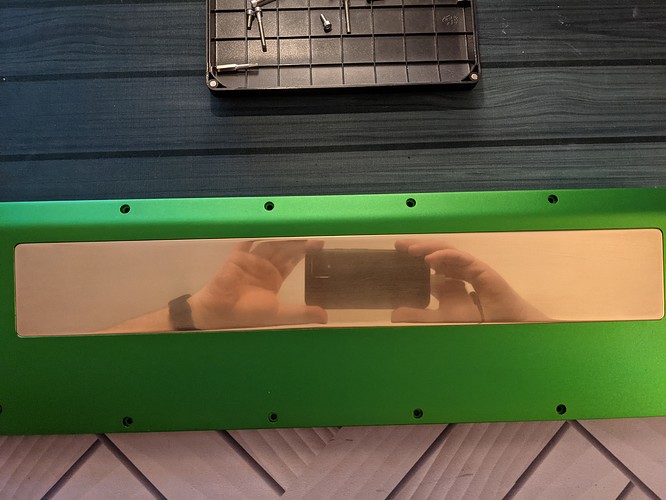
Started at 800 this time and worked out some of the big scratches but it appears that wasn’t really my main problem. I guess I’ll need to go higher if I want a more mirror-like surface. It just kinda bugs me that the bottom edge is so much smoother than the center of the flat but honestly idk how that happened.
Edit to add: back in the case it goes until I decide to get >7k paper
Can’t you go to buffing compound after 7000? Seems like that’s always how the shop guys do it on YouTube. Need a buffer though 
I used wright’s copper cream at the end, but yeah I might just need to apply that stuff with a buffer rather than by hand.
Just a thought you can try a drill attachment buffer for like $15 vs buying a dedicated buffer.
I couldn’t tell because the stabs are mounted next to Boba U4 which have a dampened bottom out by design. It’s a solder PCB because I needed ISO for work, so no quickly dropping in another switch for science, sorry. It’s the first time I used the heat shrink method as well.
