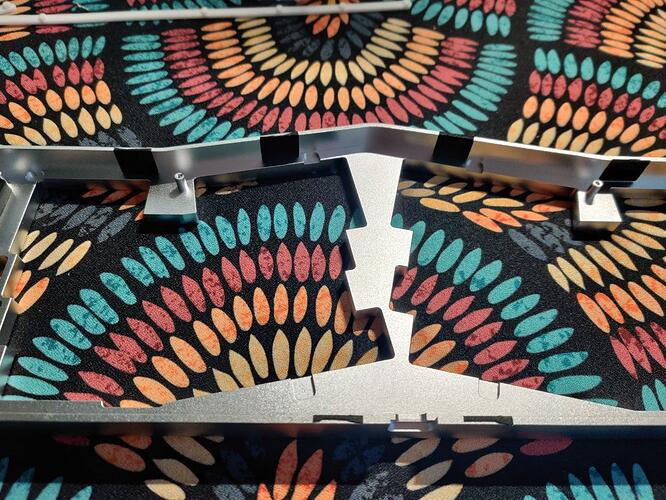
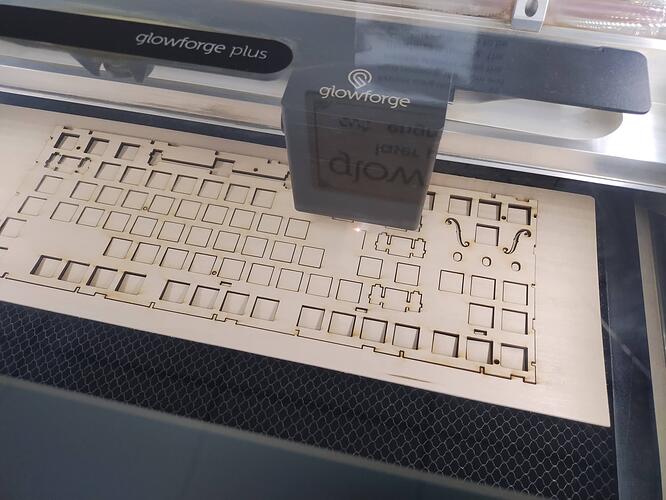
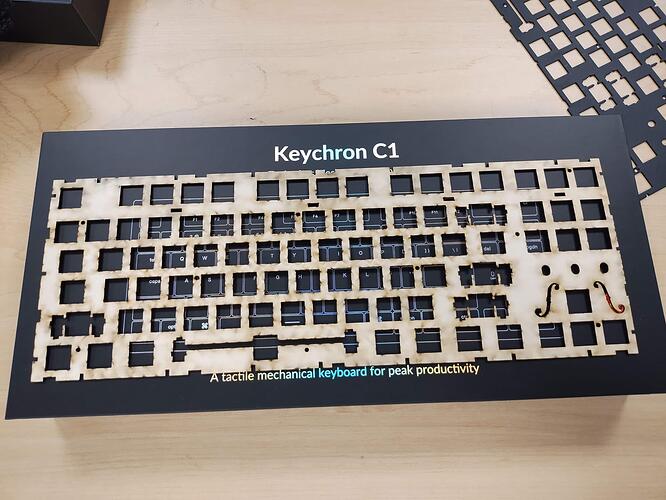
Following up on this inspiration from @Deadeye, today I laser cut a wooden plate (library maker spaces are awesome, by the way):
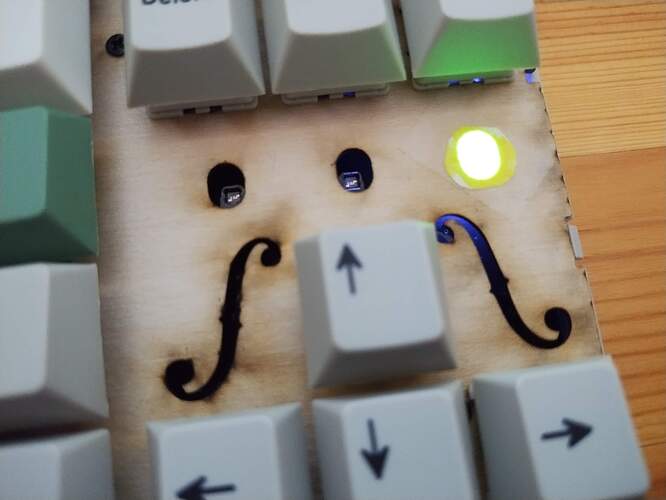
Yes, I even copied @Deadeye’s idea of putting in f-holes.
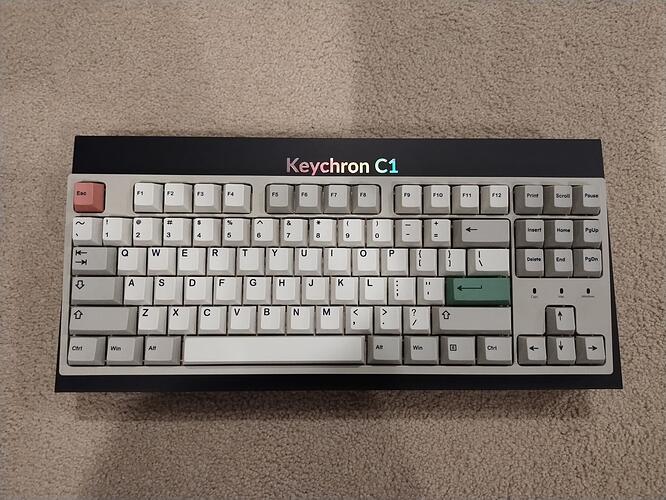
Since it was just an experimental, proof-of-concept that I did not want too much invested in, I put it in an unassuming and modestly priced build:
Some key learnings from this project:
- I used solid 1/16 inch basswood sheets, which wound up being too delicate. I had a few slight cracks, even while installing switches very, very carefully. I don’t think it would survive swapping out the switches. The wood is quite strong, when stressed against the grain, but will split and crack quite easily if bent along it.
- In future wooden plate projects, I’ll go with plywood. Although, @Deadeye noted some delamination issues, it still seems more durable overall, and maybe applying a bit of epoxy on the working edges might help.
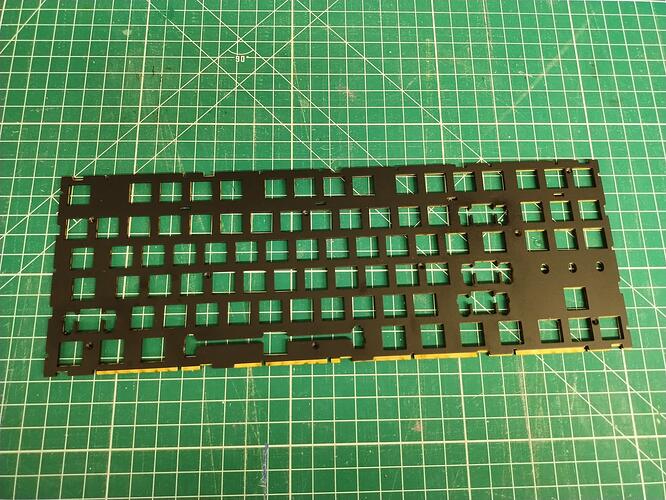
- The plate file supplied by Keychron is slightly off. See further notes and image in the hidden details.
- I recommend everyone to check if their local public libraries have maker spaces. You might find all sorts of useful tools and machines, like 3D printers, laser cutters, and maybe even soldering equipment.
More photos and comments
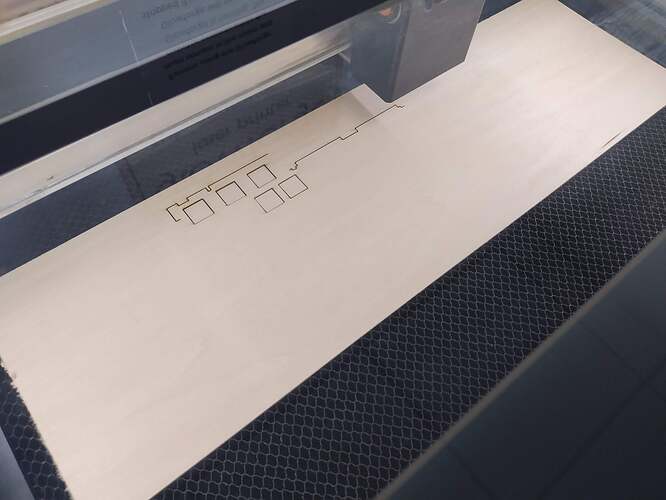
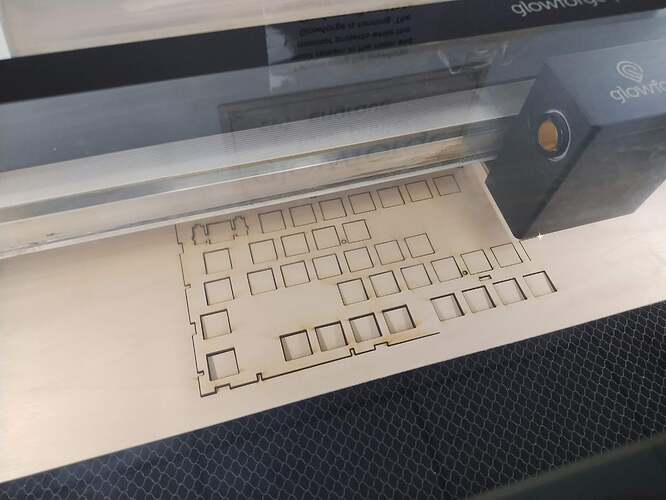
Here are a couple more photos of the cutting in progress. The whole cut went quite quickly, taking about 9 minutes.
Once I had an SVG file ready to go, the process of cutting was super easy, basically just opening a program, loading the file, and pressing print. A library worker was super helpful in guiding me through it.
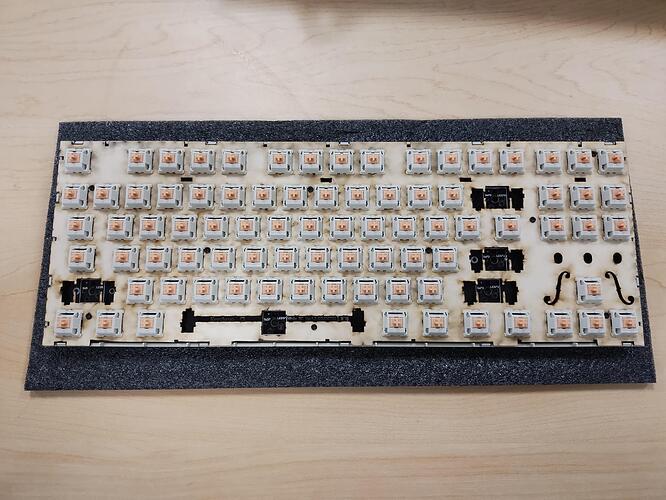
One thing that you might be able to see from the cutting photos is that the wood is already starting to curl. The thin sheet of basswood warps quite easily from the ambient humidity, but it is also quite flexible and you can bend it back straight. Also, the software flipped the cut upside down by default. I thought that this was to make the top appear cleaner after cutting, however, the top (which was facing down during the cut) wound up much dirtier (maybe due to soot getting trapped underneath) as you can see in the next two photos:
Oddly, the box calls the Keychron C1 “A tactile mechanical keyboard”, even though this model came with linear switches (as noted elsewhere on the same box). Probably due to a marketing person not understanding that “tactile” has a specific meaning.
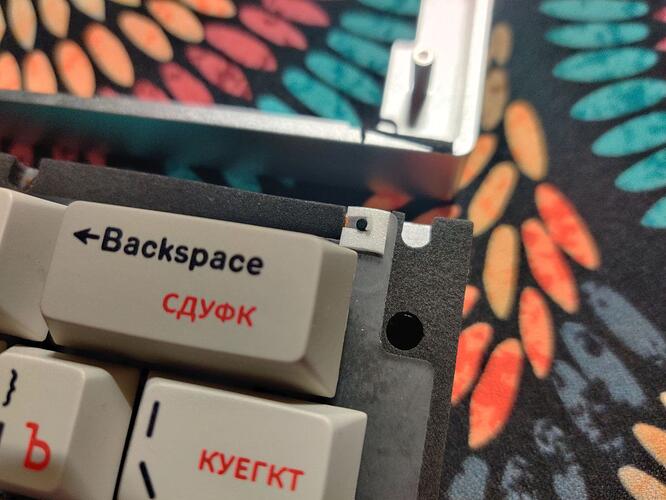
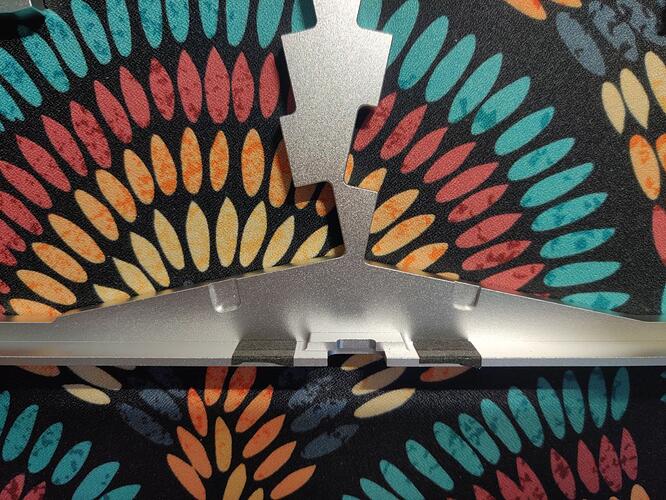
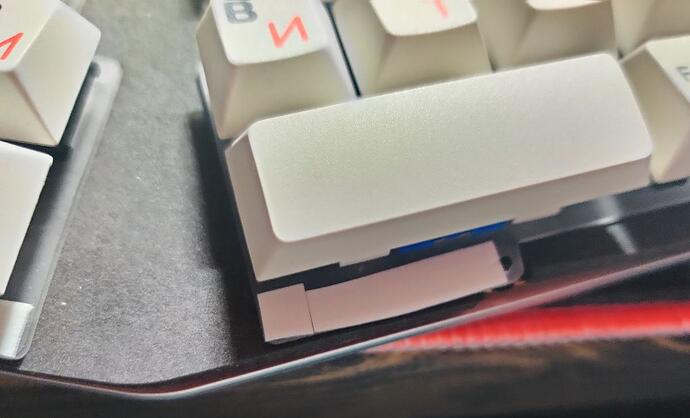
The photo above shows the plate mounted in the board, with switches having been carefully inserted. The actual cut is much crisper than it looks, as there are a bunch of soot stains that makes things looks less clean. Next time I do something like this, I’ll be sure to flip the cut right side up. You might also notice another slight difference between the mounted plate and the earlier pictures. This is because the plate file supplied by Keychron is slightly off, and does not exactly match the actual stock plate that I received with my recently purchased board.
Here is the stock steel plate laying on top of my wooden version:
Those extra bits of wood along the bottom edge makes it not fit in the board, so I manually cut those off with a utility knife. The horizontal cuts were much easier due to the material splitting readily along the grain.
Overall, I think this process went a bit easier than I expected. Cutting with the machine was very easy, and the only tricky issue, in the future for other boards, would be obtaining and preparing the SVG file to specify the plate. This time, I just imported the PDF into Inkspace, which immediately produced a usable SVG file (although the source PDF from Keychron was flawed). The library worker also mentioned that they had equipment to scan an existing piece to generate a file to work from. Maybe I’ll try that in the future, if working on a board without a plate file already available.
When looking for this post to reply to, I found an even earlier relevant post, which shows some commercially available wooden plates that are made of plywood.
