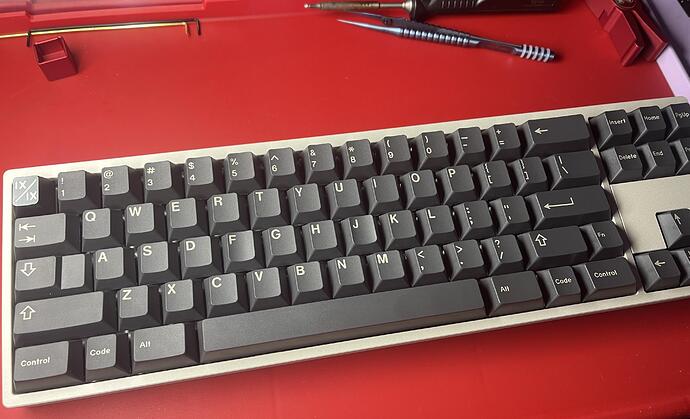
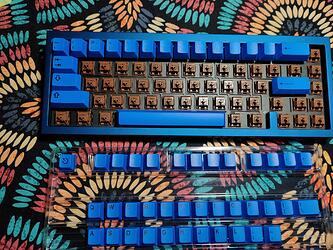
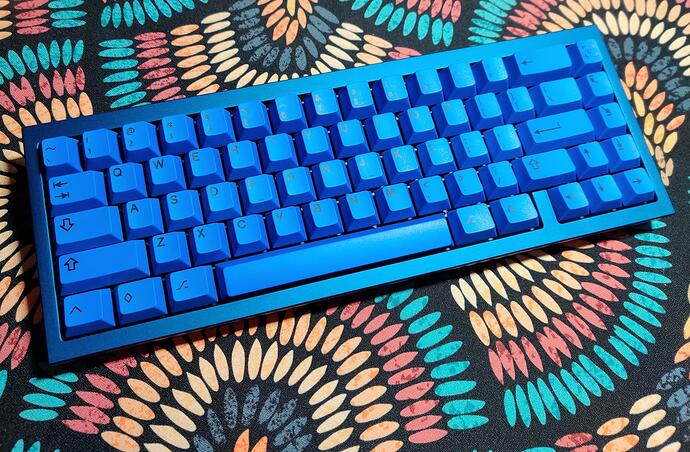
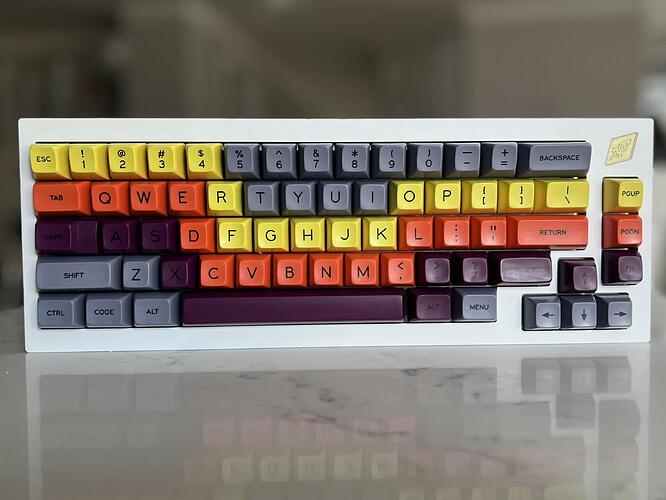
Not today, but this weekend I built my Neo70.
Build Summary
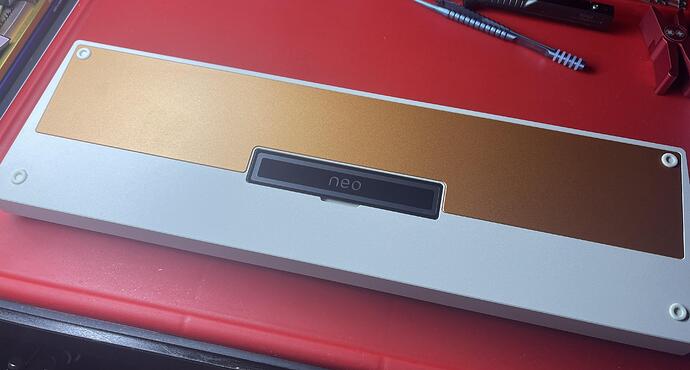
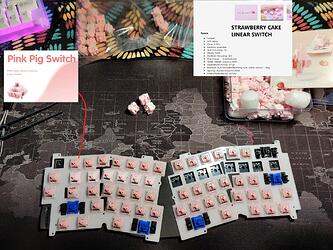
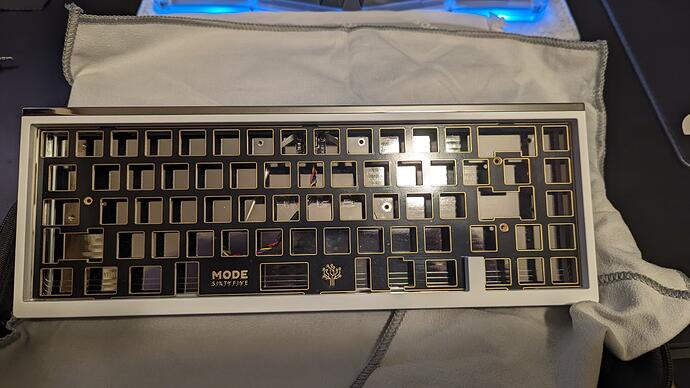
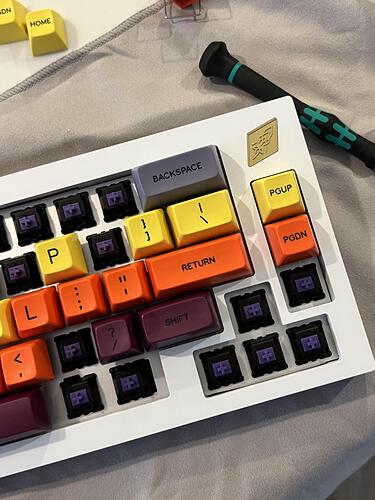
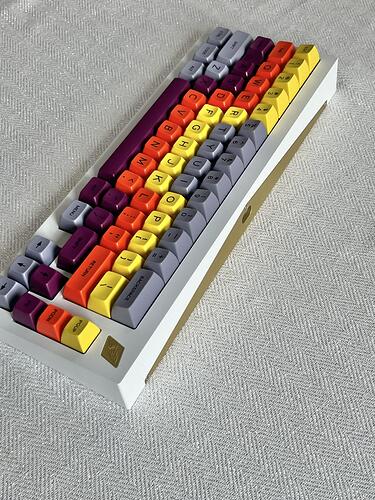
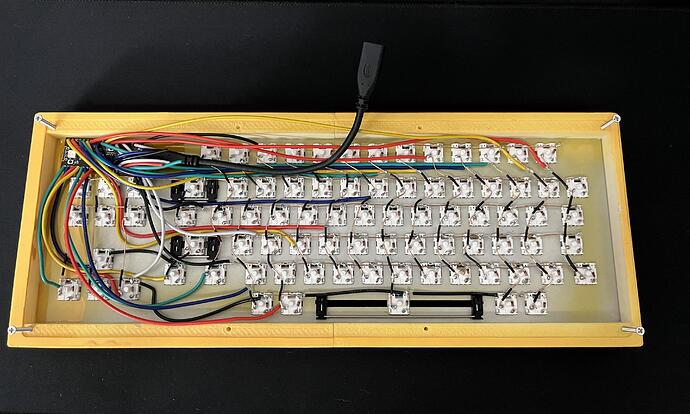
The spec I went with was the Retro White with a copper weight and a black badge. I went with the solder PCB and CF plate because I’m one of those weirdos that likes how the look and sound. For switches, I tossed in my Tofu linears as they have been sitting unused for long enough, and they also matched the case pretty well.
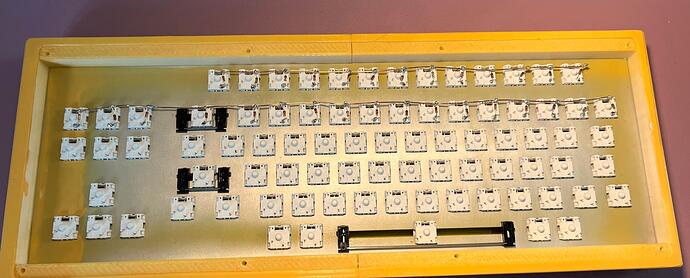
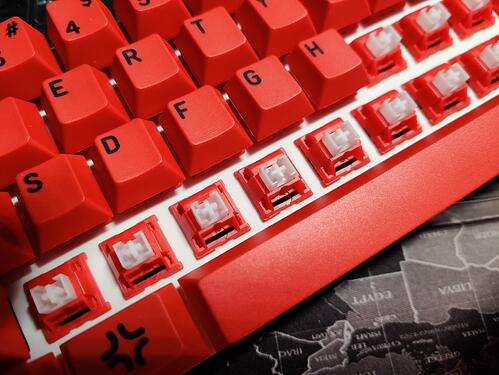
The Tofus were a Tecsee switch from a colab between Tofutypes and KNC. Long pole and fully nylon, they came (VERY) lightly lubed from the factory on the spring and leaf contacts. I added some 205 to the slide rails and lightly brushed the leftover 205 over the spring. Film is not needed nor is it recommended.
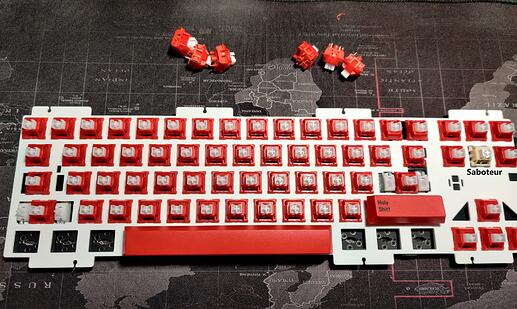
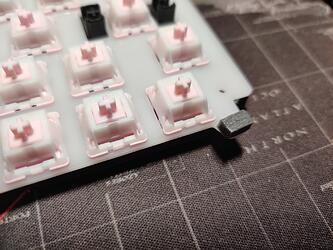
The switches were sold with the warning that they fit very tight into stiffer plates, and I found this to be mostly true. Luckily, the TX switch puller is wide and sturdy enough to grab the switch and push the clips in enough to clear the plate. From there, I just rock the switch puller from side to side and sort of “lever” the switch past the bottom housing plate clips. Once you feel them loosen, it business as usual. I can’t recommend this switch puller enough. TOTALLY worth the price.
Speaking of price, the Neo70 is punching WAY above it’s class for what it costs. Also, the innovative magnetic PCB connections means that once you have your plate built, assembly is a breeze. Not sure which config you want to go with? It comes with silicone gaskets and a 30A o-ring. It also comes with optional foam (which I chose to only use the bottom case foam sheet) and clip-in stabilizers that actually aren’t too bad.
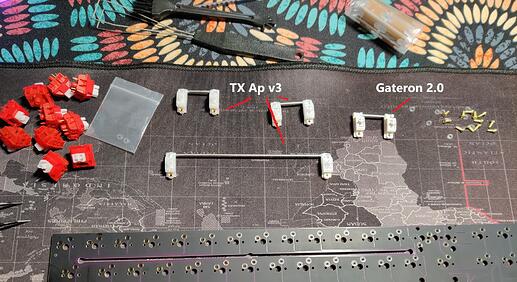
I decided to use my go-to combo of Cherry clip-ins and Cannonkeys’ black wires because just like this board, the price-to-quality ratio can’t be beat. I just buy the 2U’s in bulk and buy the wires in batches from Cannonkeys. They require very little balancing and I rarely find a wire that isn’t exactly at 90 degrees for the bends. A great option for folks that don’t want to mess with bent, curved, or twisted wires fresh out of the box.
The combination of GS2 on the stab housings and sliders and then Nyogel 767a on the wire has been perfect for me. If I do have any scratch or sluggishness, then I will put some GS3 in the stab’s slider and it’s Nice & Smooth ![]()
![]()
![]()
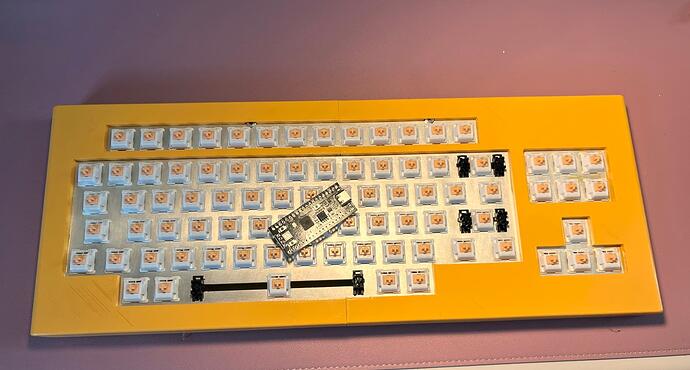
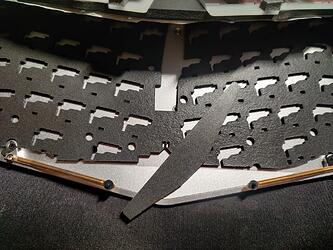
I chose to go o-ring rather than the silicon standoff gaskets. The o-ring option is only available for the main PCB, but not for the secondary PCB that contains the arrow cluster and nav keys. I had an extra 30A o-ring lying around so I cut it to fit the secondary PCB and plate and only used a few of the silicone gaskets to to act as the case rests for the o-ring and it worked out pretty well.
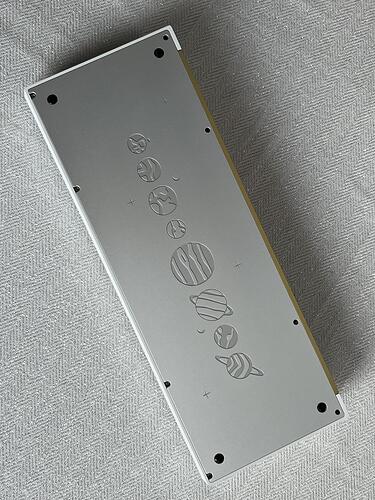
Magnets not only connect the PCBs to the daughterboard, but also the cover for the arrow and nav portion of the board and the badge on the bottom. It was liberating to not have to pull out my screwdriver once during this build, and the magnets feel like they are the perfect strength to keep everything together while also making disassembly a snap.
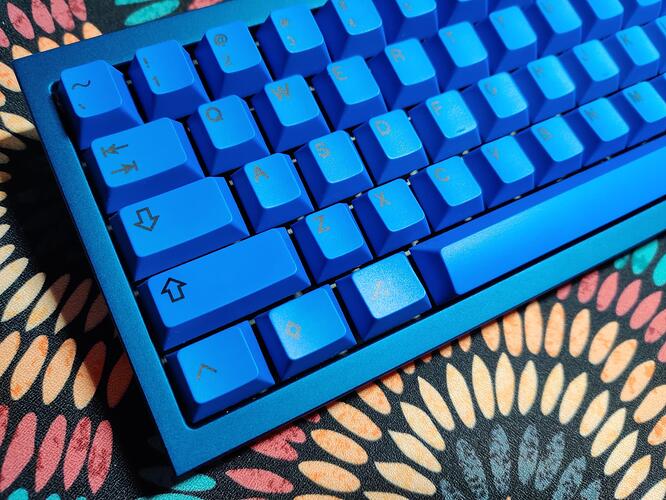
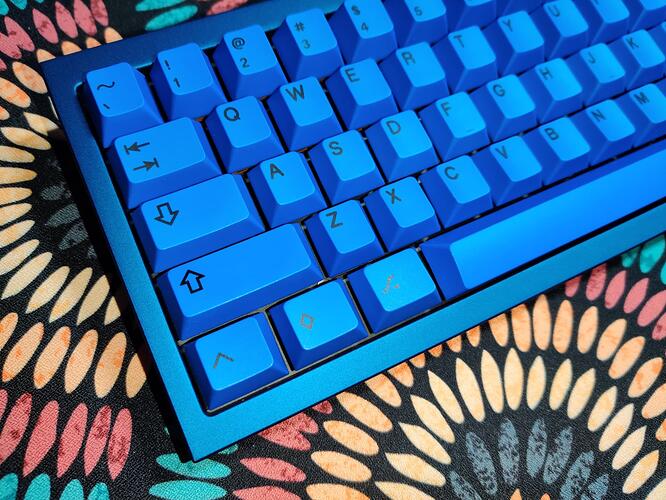
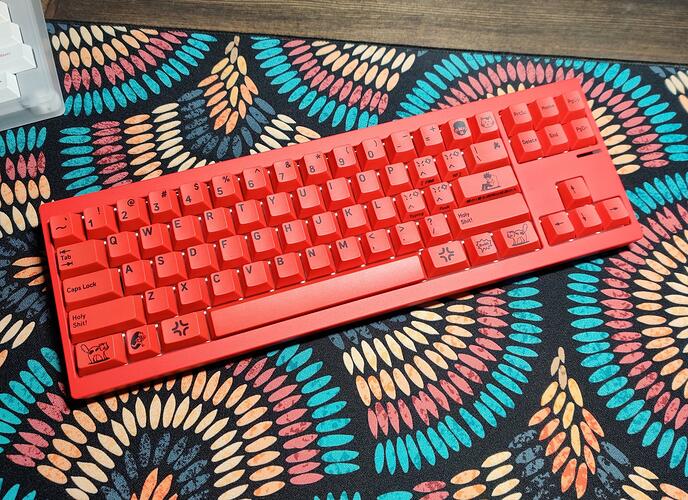
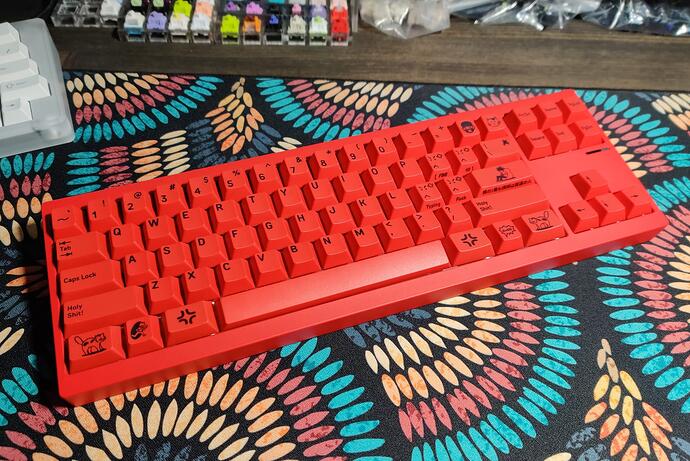
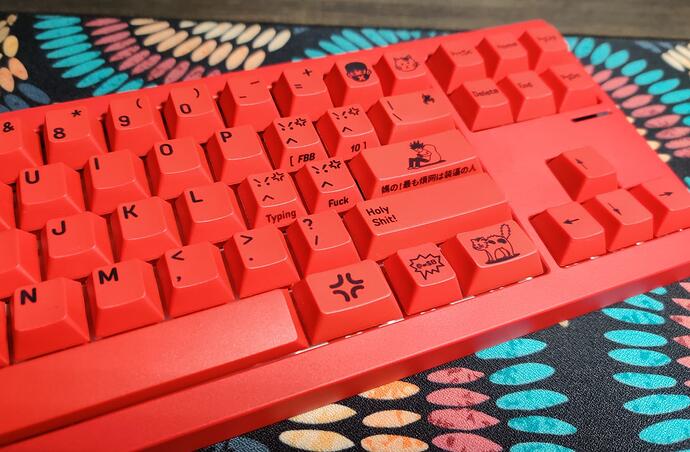
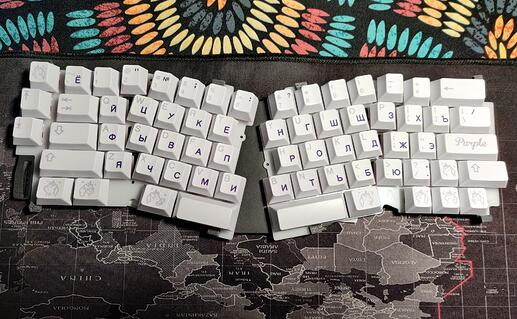
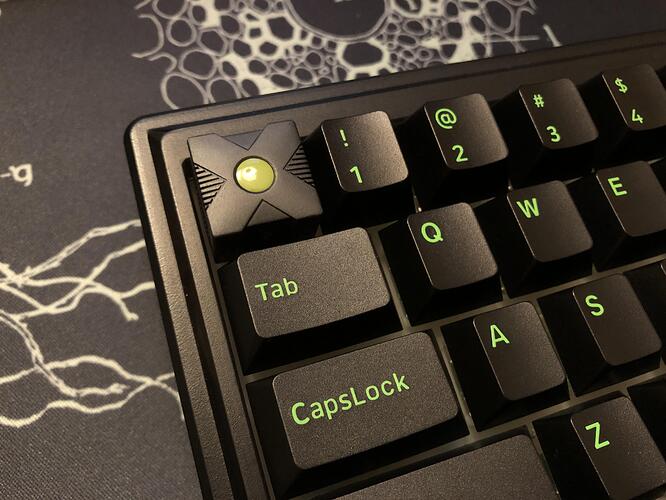
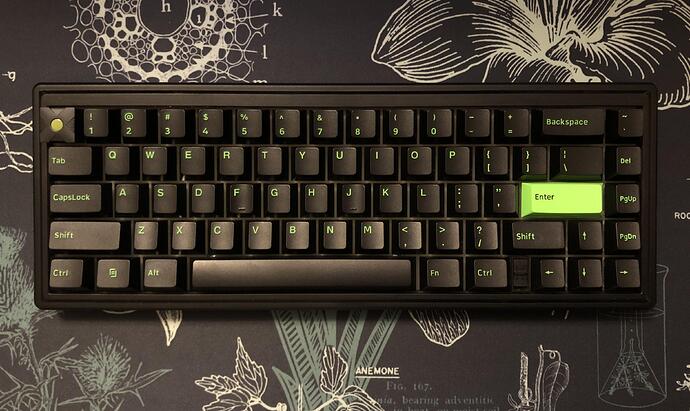
Finally, after a year and a half, my GMK Nines set has found it’s Forever Home. The colors match PERFECTLY and really complete the theme of this build. The icing on the cake was how perfectly they paired with the switches and the plate to make a board that I have absolutely fallen in live with. QK has done it again with their Neo line, and the fact that you can get it starting at $100 ($130 shipped to US) is absolutely insane.
My PC Envoy is getting a much needed break, as this is going to be my main for quite a while I feel. ![]()
![]()
