Build #20: KBD67 Jamón
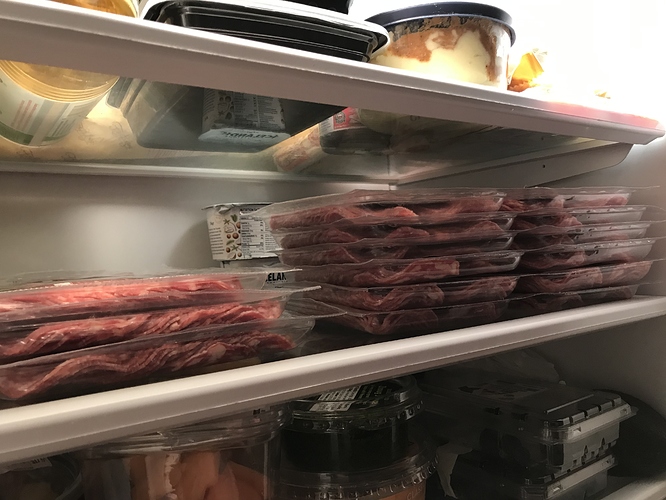
Some good friends of ours make artisanal salumi for a living, which means that every so often, out of the goodness of their hearts, the contents of our fridge look like this. What can I say? It’s truly a glorious thing.
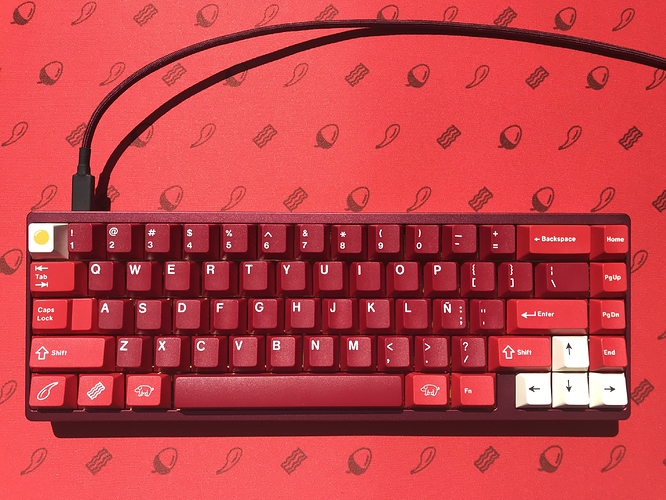
Suppose these were your friends, and, upon discovering your second life as a keyboard builder, these friends requested a build from you. What theme should this build have? What current keyset seems as apropos as any keyset could possibly be? What set might @Zambumon ask us to please consider?
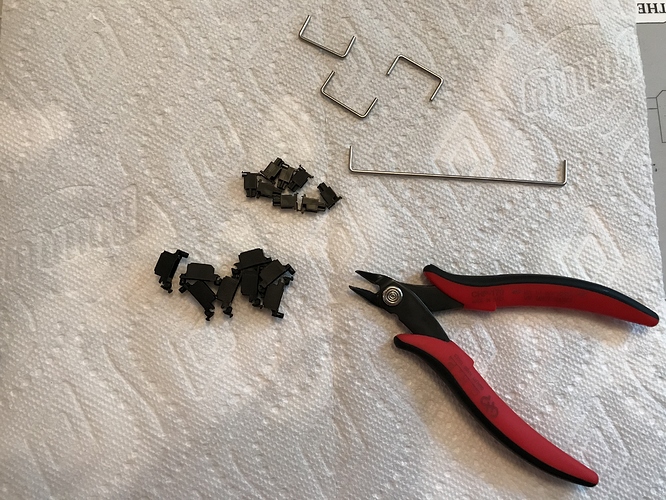
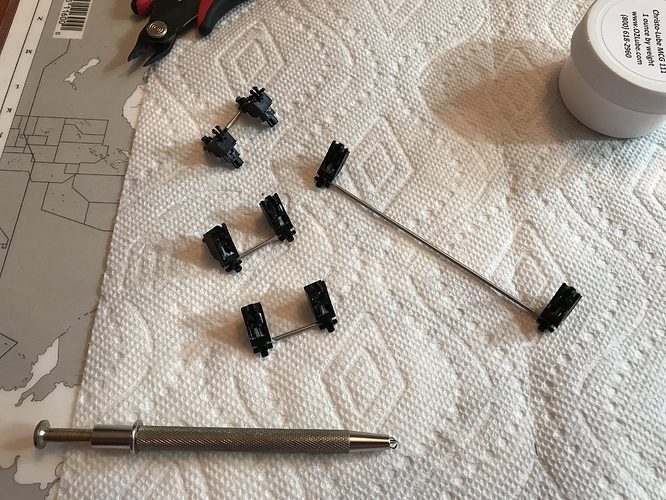
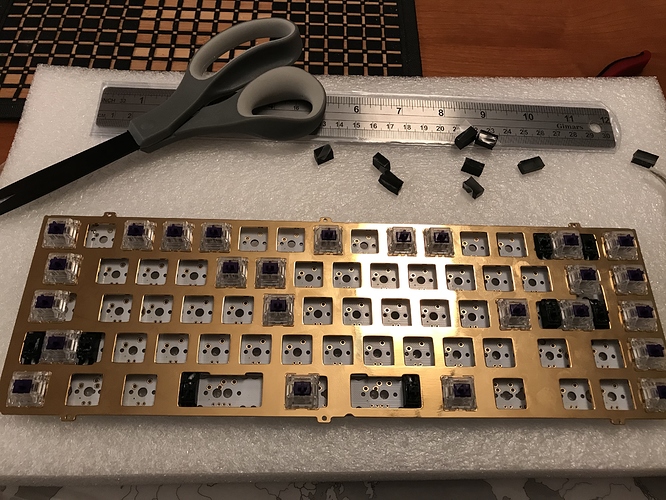
Let’s get to the build. To stay true to the color scheme, I selected a kbd67 kit in burgundy, with a brass plate. The kbd67 came with PCB snap-in stabs, and as these didn’t seem appreciably different from GMK PCB snap-in stabs, I used them. The standard layout for the kbd67 uses 3x2u and 1x6.25u stabilizers, which have been disassembled here.
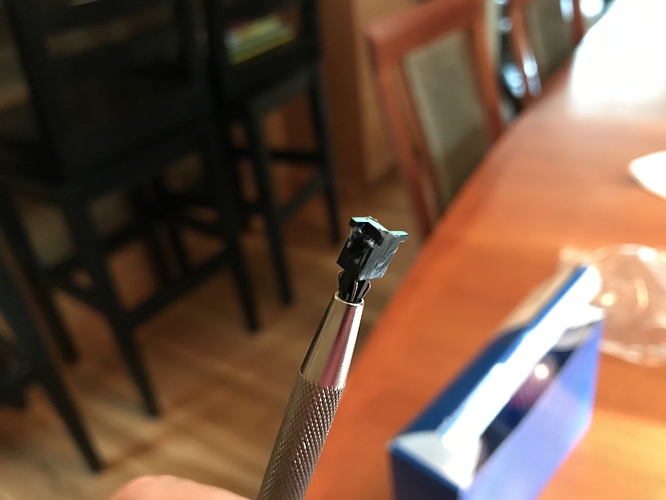
The stab stems, after clipping.
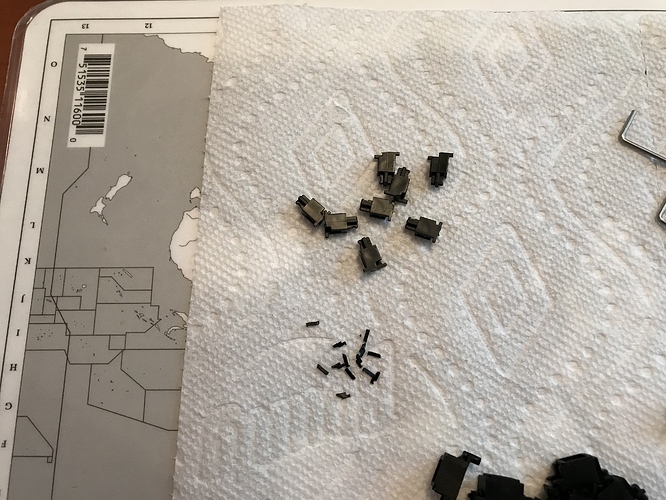
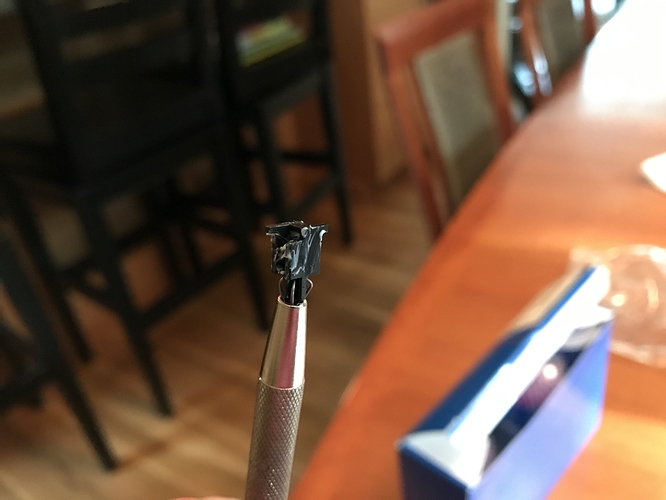
Recently, I’ve been getting good results with Christo-Lube 111 for stabilizers, and I used that lubricant here. 111 is very forgiving on stabs, and can really be slathered on. Here are a couple of looks at a stabilizer stem with 111 applied; this is substantially more lube than I would use if I was using SuperLube or some other dielectric grease.
You can also see that a significant amount of 111 is being used in the stab housings as well. Granted, 111 is white, and is more visible than SuperLube would be in a similar photo, but take my word for it; liberal application of 111 on stabs is just fine.
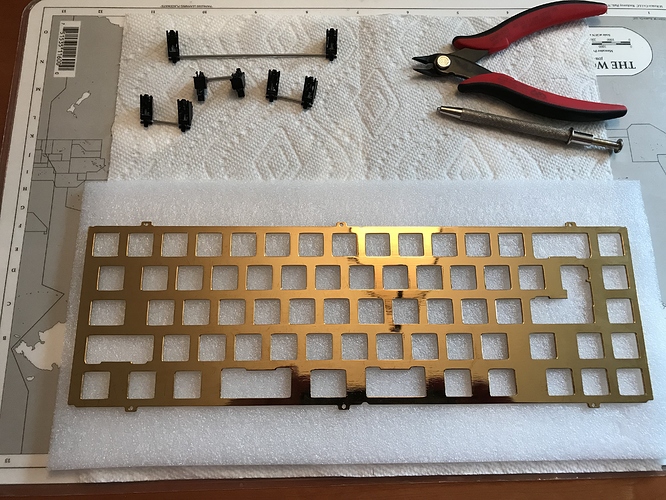
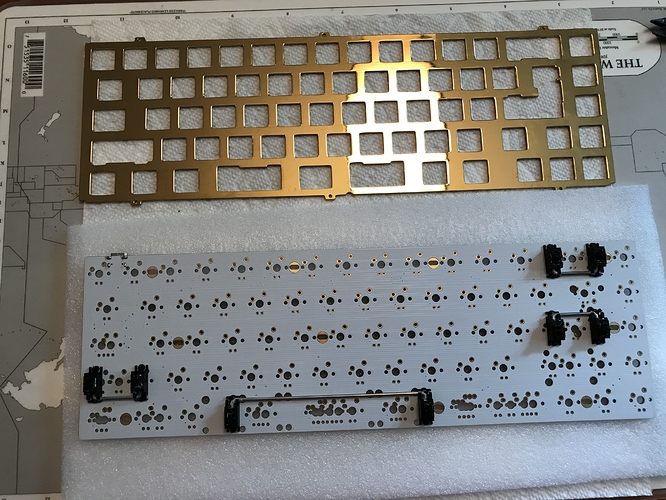
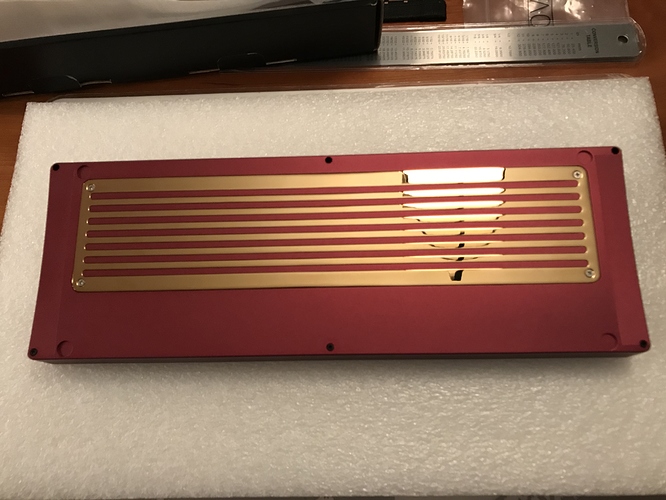
Let’s have our first look at the brass plate. While the finish on this is noticeably rougher than you might expect from a plate billed as “PVD brass”, it’s not bad. The kbd67 supports split spacebar and ISO layouts, so the plate does have some swiss cheese action, particularly on the bottom row.
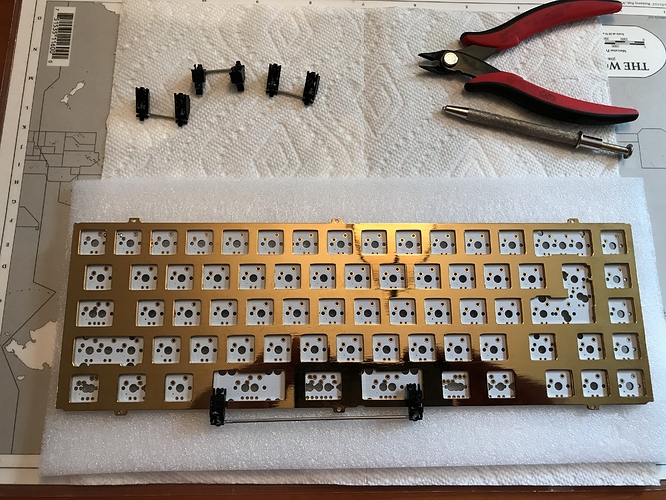
Because of that bottom row, and because it’s a wise thing to do in any case, we double check to make sure we’ll be installing stabilizers in the proper locations before clipping them into place.
Before starting the build, I asked our friends a few questions to try to dial in their preferences, since this was going to be their first custom keyboard experience. One of those questions involved sound - on a scale of 1-10, where 1, 5, and 10 were these sound tests of Healios, Creams, and Holy Pandas, respectively, what seemed acceptable and/or desirable?
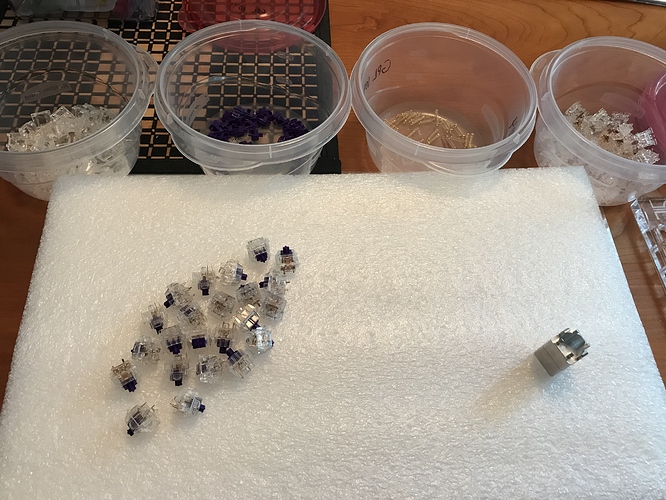
The answer: 7-10! I decided to split the difference, and take advantage the opportunity to build with a switch I hadn’t tried yet: 67g V2 Zealios. Tactile and clacky, to be sure, but to my ears and fingers, just a half-step dialed back from Holy Pandas.
These days, I tend to set up four Tupperware bins for switch disassembly. One of the bins is reserved for tub-lubing springs, and I mark it so I know which of the bins is “wet”.
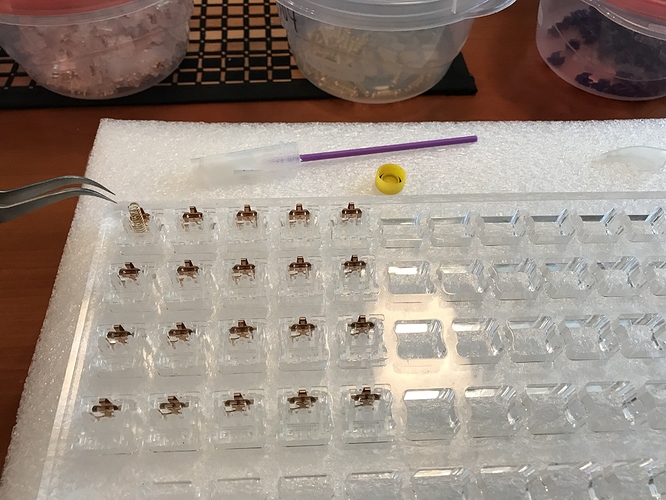
I prefer to lube switches in batches of 15-20, so that I can take breaks as needed to stretch my legs, make dinner, whatever. Here, I’ve just finished applying 3204 to the bottom housing and tub-lubing the springs with 104, and I’ve used tweezers to put the first spring back in place.
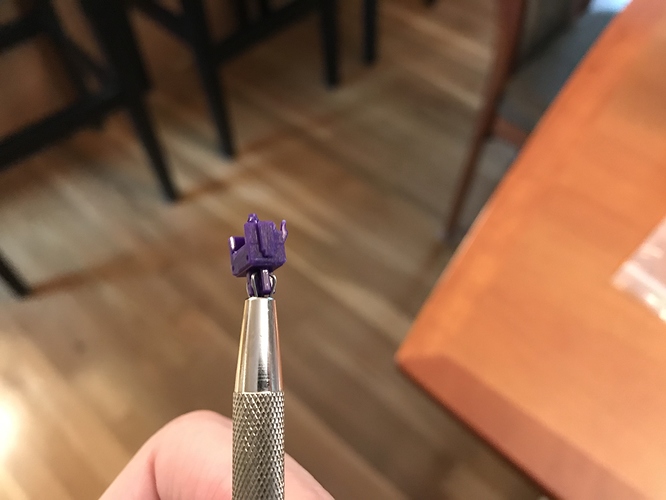
I’ve already showed you how much 111 I use on stabs; here’s how much 3204 I use on switch stems. You can also see that I try to avoid applying any lube to the legs - I want to keep as much of the tactility as I possibly can, even though this requires an extra level of diligence during lubing. Again, it’s good to have opportunities to take breaks and do other things in the middle of a switch lube job…
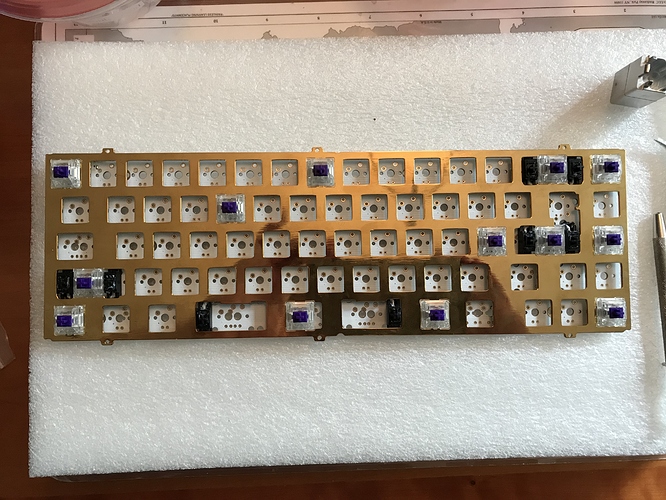
I was hoping the thumb-bruising experience I had with the tx108se was a one-off, but no. Several of the switches required significant force to be properly seated. But not all of them - the tolerances on this plate’s switch holes were all over the place. Possibly the least consistent plate from hole to hole that I’ve worked with. Here, the stabs and a handful of switches are placed, for a quick bit of initial soldering to establish good fit between the plate and PCB.
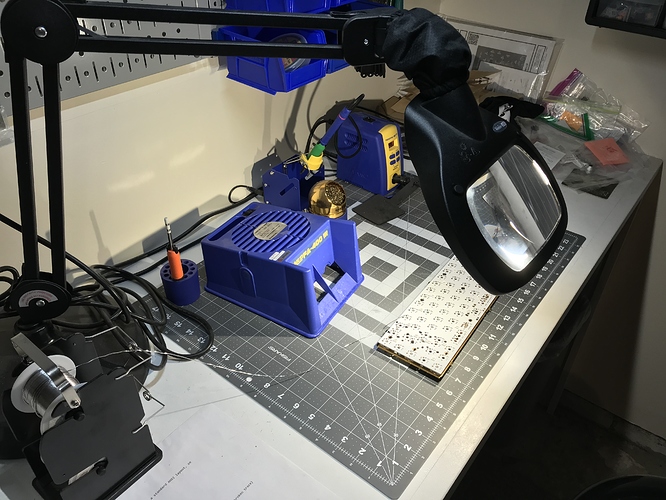
Where the magic happens.
We can now resume seating switches, but now is also a good time to address PCB/plate sound dampening.
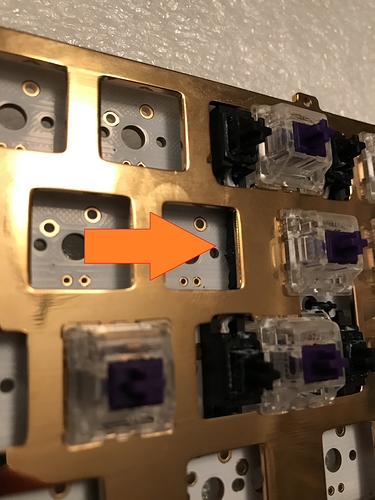
I’ve pretty much switched over to the @donpark Sorbothane strut mod approach, cutting a few very small squares of Sorbothane, and wedging them into spaces between the plate and PCB. Here’s one of those squares, tucked into the space below the backspace key:
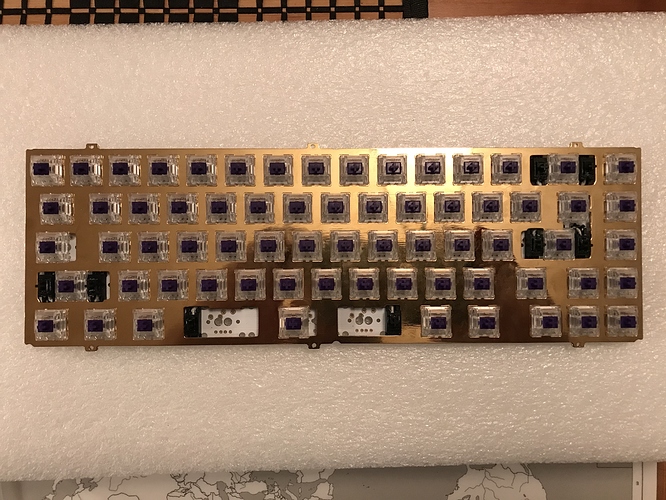
From here, it’s just seating all of those switches in that stubborn plate, more soldering work, and a quick round with a keytester to make sure everything is functioning as expected. The complete PCB/plate assembly:
If the keyboard thing doesn’t work out, maybe there’s a second career as a hibachi.
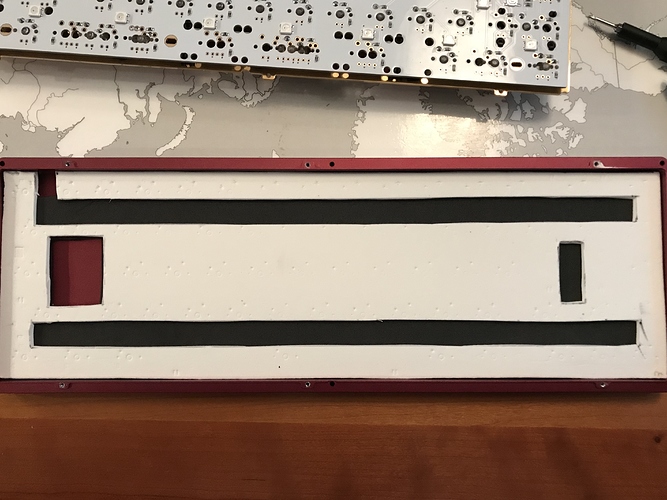
Let’s get it out there right now - if you’ve never built a kbd67 before, you are going to need sound dampening. Without any treatment, the sound of the board (especially with a brass plate) is harsh, pingy, and hollow. Normally, I use Sorbothane for all sound dampening applications in my builds, but I do like to try new things, and this seemed like a good build to try out craft foam.
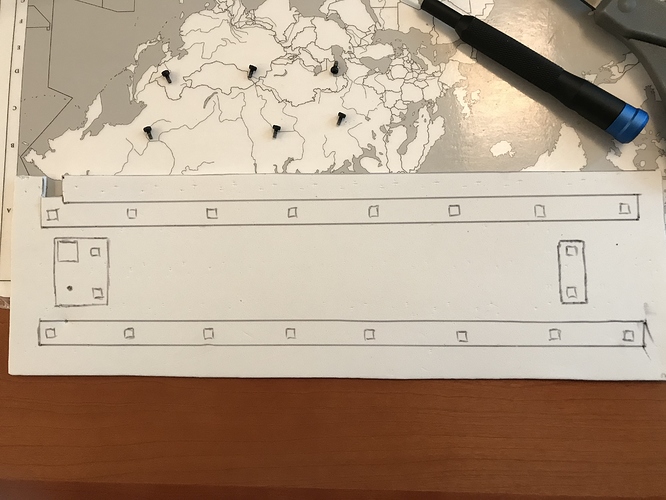
Here, after making the cutout for USB jack clearance, I’ve marked the locations of the underglow RGBs on the PCB, in preparation for making more cutouts to allow the LEDs clearance.
Also can’t hurt to avoid undue pressure on the controller or the reset button.
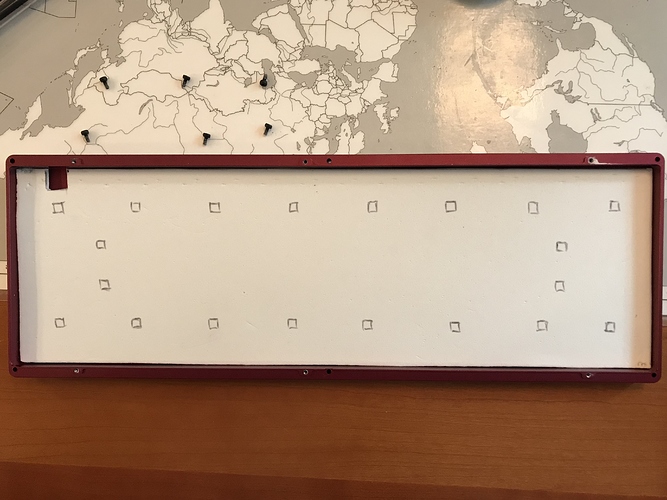
The final foam layout (two sheets, black and white) is held in place by pressure from the PCB. Here, you can see the indentations produced by the switch pins when the plate and PCB are mounted in place:
The kbd67 case separates into two pieces. The plate is attached to the bottom of the case by six screws; the top has cutouts to make room for the screw heads. You then put the top and bottom of the case together, flip it upside down, and use six long screws to attach the case halves.
Before you screw everything together on a kbd67, note that the reset button on the PCB is not accessible once the case is put together, so now is the time to flash new firmware to the PCB if you’re going that route. I’ve learned that lesson the hard way, so in addition to flashing before final assembly, I also make sure the flashed firmware provides the RESET keycode on another layer, so that we don’t have to open it up again to flash it if we don’t want to.
In addition, our friends are Mac users, so I had to spend a bit of time setting up a new keymap with Mac-centric keycodes, something I hadn’t done before, but that wasn’t a big deal. One minor gotcha - the Mission Control and Dashboard function keys aren’t available as QMK keycodes, so strictly speaking, they can’t be built into the firmware in the same way that media control keys can be (this is a simplification of the underlying technical issue, which is described in much more detail on GitHub). However, on a Mac you can use the Keyboard preferences to set up macros to do the same thing, so I just had those function keys send the default macros that the Mac uses. Not perfect, but I suspect most users would never notice.
To complete this entire package of fun, I threw in a Jamon-themed deskpad, and sleeved and soldered a couple of color-appropriate USB cables. Before we partake of a slice or two of fine ham, let’s review.
Lessons learned
- Thin layers of craft foam, with sufficient pressure between the case and PCB, can do 80-90% of the sound job that Sorbothane does, and for this build, it worked well. With that said, if no metallic ping of any kind is tolerable, then Sorbothane is still the best option.
- 67g V2 Zealios are definitely heavier-feeling than their V1 counterparts. Neither here nor there, just an observation. The sound is not quite as focused as a Holy Panda, but that’s also just an observation. I find the sound from both switches to be quite pleasing.
- I glossed over the cable builds, but that was the first time I’ve done that project. If you’re sleeving the cable with paracord, it’s really important to have the ends of the cut cable be flush; otherwise, the wires inside the cable will eventually snag on the paracord as you’re threading it, and at that point, not only is it impossible to proceed further with the sleeving, but any snag will likely crimp the paracord in such a way that no further sleeving attempt will make it past that crimp, either. I found it best to stretch the wire sheath outward to effectively recess the internal wires an 1/8th of an inch or so, to completely avoid the issue.
With that, it’s time to return the favor of meat.
Specifications
case: kbd67 (burgundy, PVD brass weight)
case dampening: two layers of thin craft foam
PCB: kbd67 rev1 non-hotswap USB-C
plate: brass
plate/PCB dampening: 0.25" 50-Duro Sorbothane "struts"
stabilizers: PCB snap-in
stabilizer mods: clipped and lubed with Christo-Lube MCG 111
switches: 67g V2 Zealios
switch mods:
- springs tub-lubed with Krytox GPL 104
- housings and stems hand-lubed with Tribosys 3204
keycaps: GMK Jamón
- base, Jamonelties
HxWxD (without feet or caps): 1.19"x12.19"x4.19"
HxWxD (without caps): 1.25"x12.19"x4.19"
HxWxD: 1.50"x12.19"x4.19"
assembled weight: 3.14 lb
