Build #28: E6.5
If there were any doubts that the mechanical keyboard hobby is exploding in popularity, Exclusive’s E6.5 group buy in March was one of the early warning shots signaling a new phase. Exclusive had intended to run this as a 100-slot first-come-first-served buy, but went to sleep after posting the entry form, woke up to a surprise - far more orders than expected, well beyond the intended 100-order limit - and elected to close the buy after half a day. Rather than impose a 100-order cutoff, Exclusive chose to honor all orders before the GB close: 268, assuming the posted Google form remains accurate, not including a small number of additional orders for a founder’s edition.
While I was pleased that Exclusive chose to err on the side of making people happy, I wondered how this might impact the group buy; we’re all familiar with horror stories of group buys gone bad under increased fulfillment load. How would this story go?
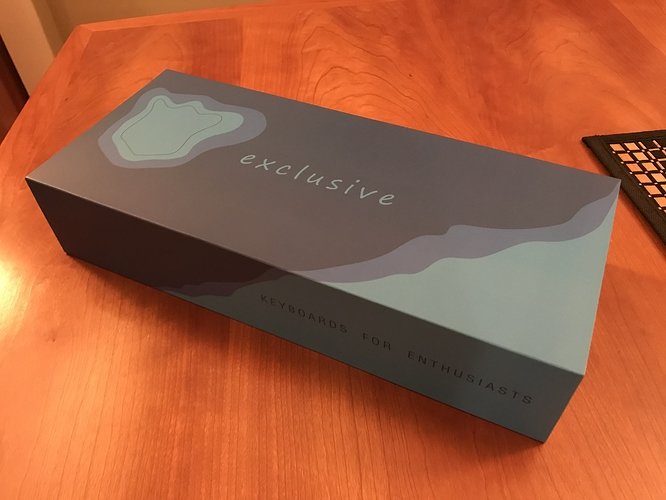
In early August, we found out that orders with the e-black finish, including mine, would have to be changed to another finish, as Exclusive was not happy with the e-black results. For me, not a big deal with the color scheme I had in mind for this build, since black anodization was an alternate option. Nonetheless, between this finish issue and the size of the GB, I expected a substantial delay at that point, so I was pleasantly surprised when shipping commenced a few weeks later and this showed up in late August:
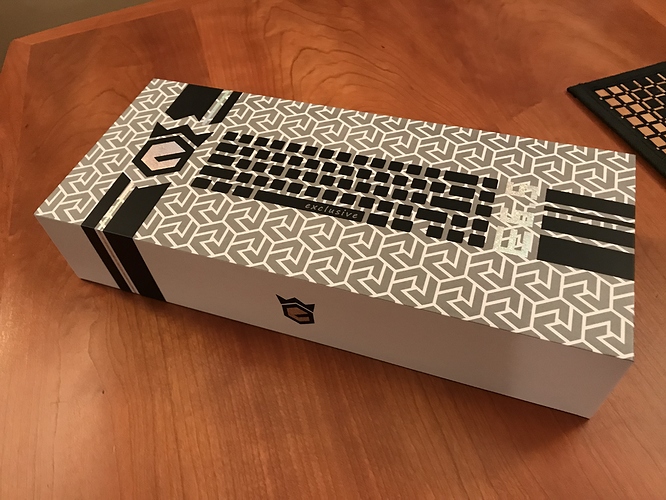
Removing the banderole, here’s the box for the E6.5 kit. Nice packaging.
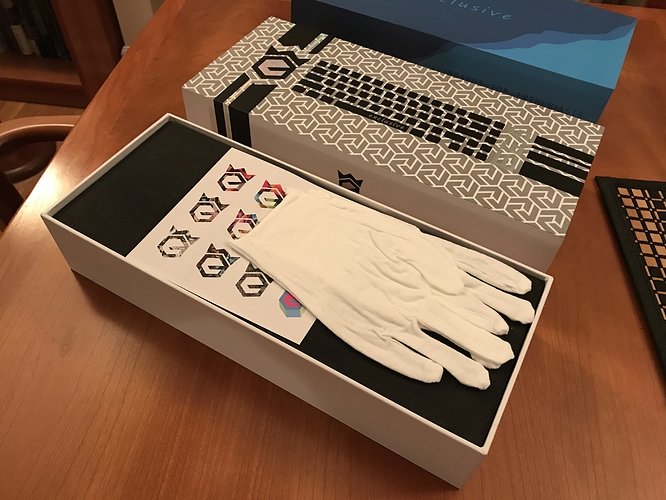
Opening the box, the first thing you see is a pair of gloves, and a set of Exclusive logo stickers (with a handwritten ‘thank you’ on the back of the sticker sheet). Nice touch.
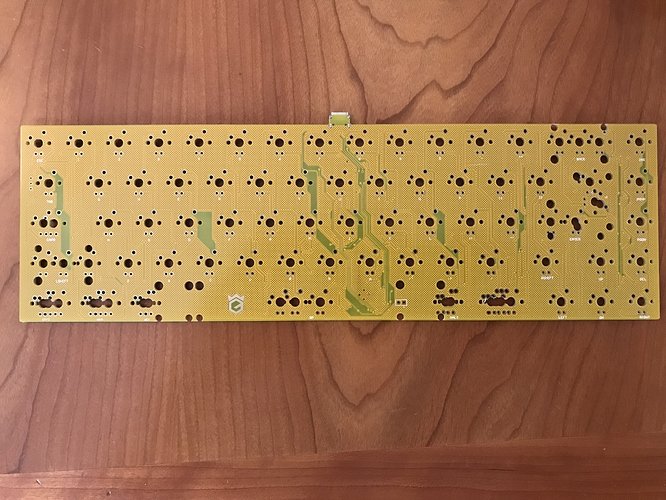
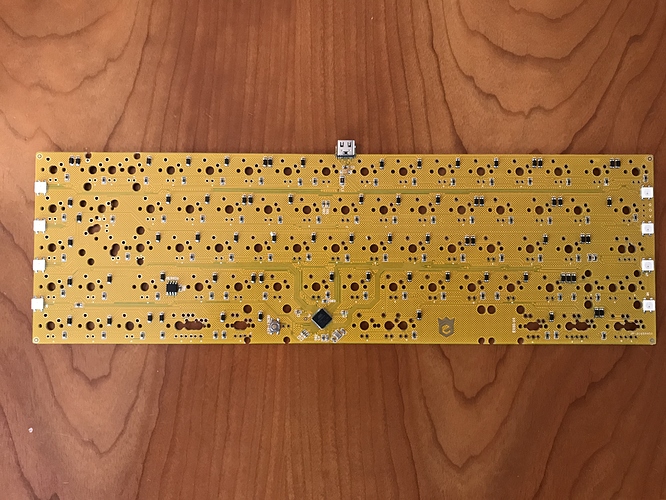
The PCB has a yellow solder mask with an interesting mesh texture.
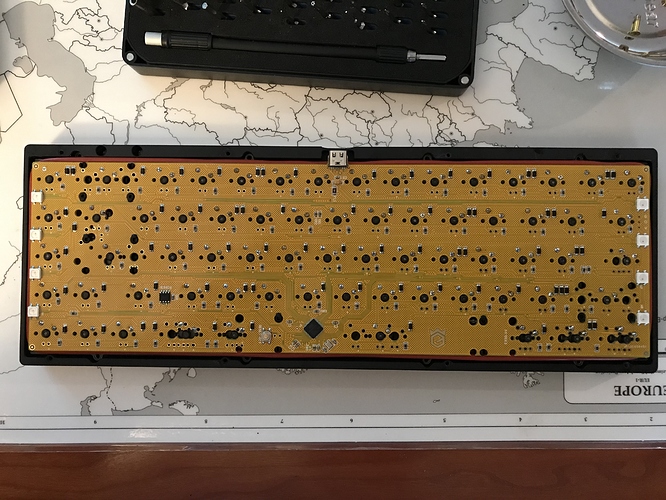
The underside of the PCB. Note the 4 LEDs on each side of the board. I hadn’t really given underglow much thought when I joined the buy, but this arrangement made me curious…
As readers of my build logs know, I like to try new things with every build, and this was no exception:
- Along with two PCBs, I picked up two plates for this board: polycarbonate and aluminum. I wanted to build two plate/PCB assemblies with the same switches in both, to get as direct a sound comparison between the two as I could manage.
- While I’m a tactile guy, I find that tactiles often have a less precise sound than linears. So in the interests of sound comparison, I went with Gateron Black Inks for both plate/PCB builds.
- Finally, this board has an interesting gasket mount approach - a silicone O-ring for the entire PCB, positioned in the gap between the plate and PCB. We’ll take a look at that later.
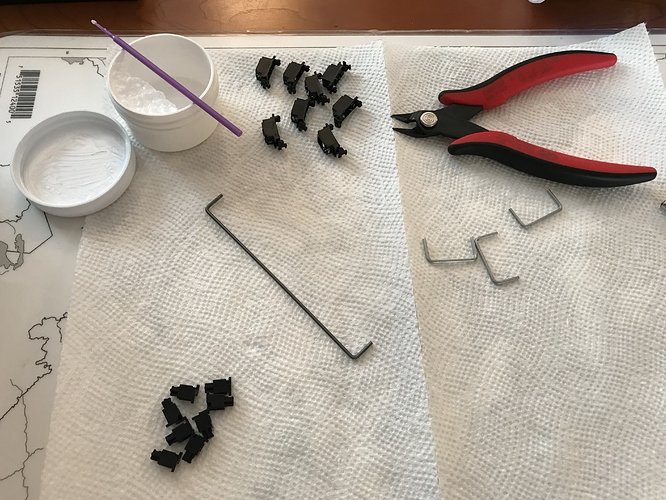
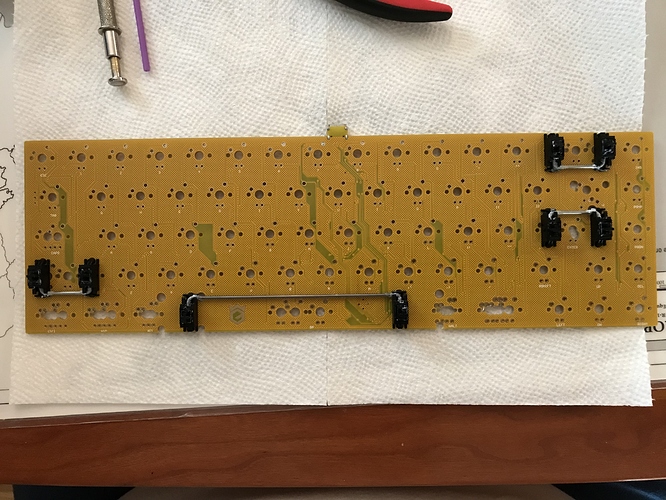
Let’s get to the build. First, because of that gasket placement, I went with snap-in stabilizers, to avoid any issues with the screws on the usual screw-in stabilizers interfering with the gasket placement. Second, since a sound comparison was going to be a central aspect of this project, I wanted the stabilizers to have a clean, crisp sound, and for that, I find Christo 111 to be the best choice. SuperLube imparts a softer stabilizer feel, but I find that it can soften and mute the sound as well, which I didn’t want for this build.
Christo 111 has the nice property that you can’t really overdo it, as you can see here on the stabilizer wires and contact points with the stab housings.
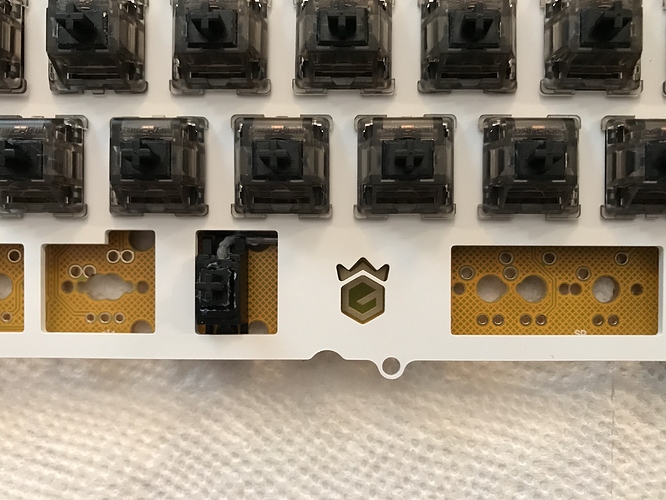
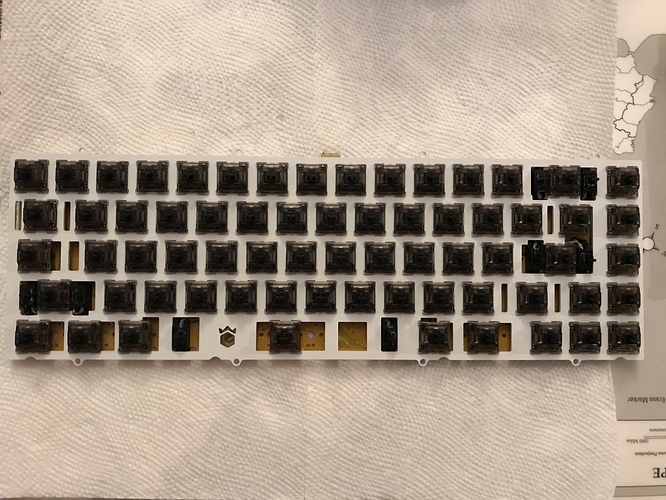
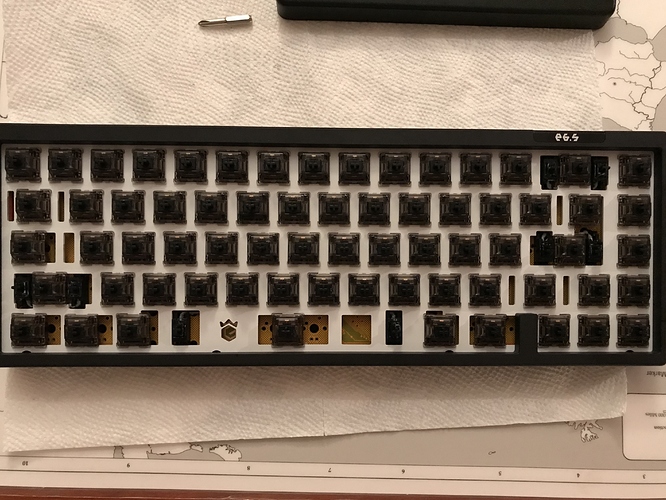
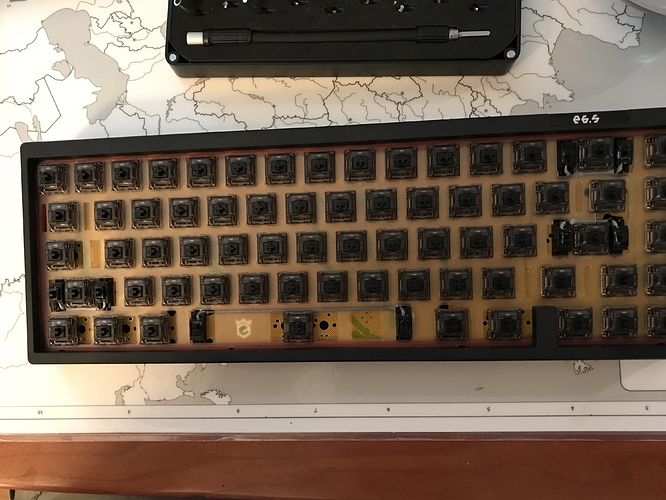
Mounting the Gat Inks and checking alignment. Note the logo cutout on the plate, directly over the logo on the PCB. Sometimes it’s the little details.
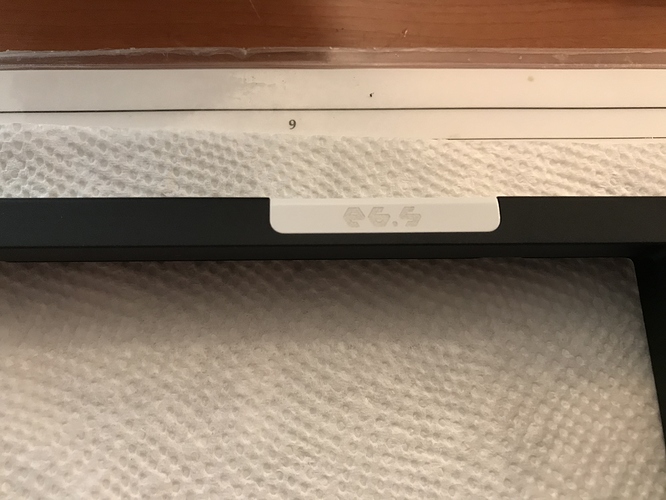
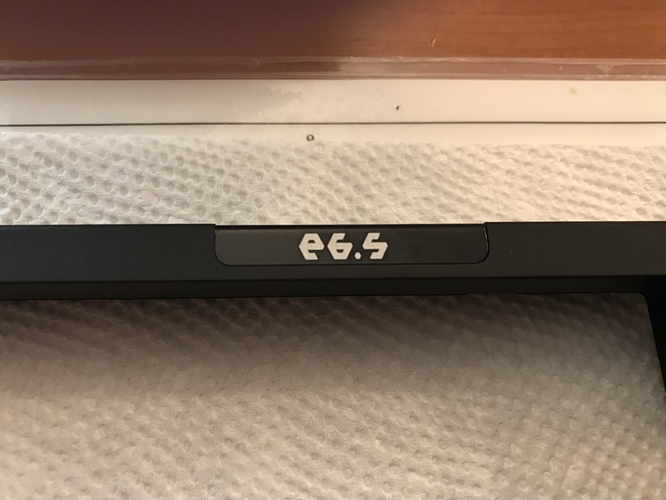
One of the features of the E6.5 buy was the option to engrave a badge in the upper right of the case top, using a custom font. Most people seem to have chosen their online handle, but that’s not my thing, so I instead used “E6.5” - simple and direct. I spent a while online trying to find a font that echoed the hexagonal design of Exclusive’s logo. Not quite perfect, but I think it’s in the ballpark.
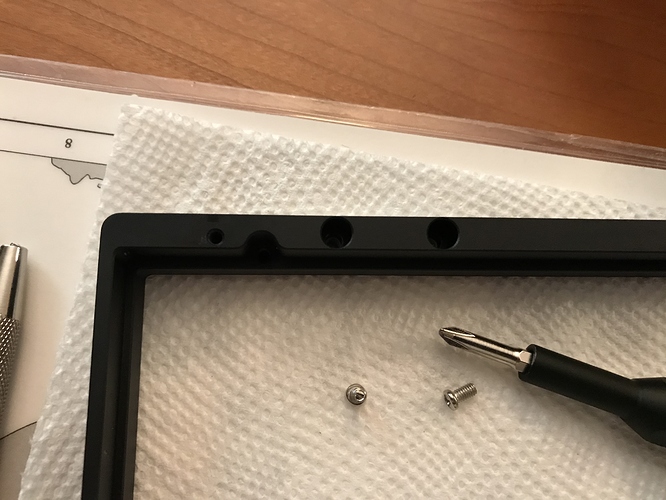
However, white-engraving-on-white-badge doesn’t have the contrast I had hoped to see…but we’re seasoned veterans here (cough), which is why we ordered an extra badge. Replacing the badge just requires a screwdriver.
There, that’s more like it.
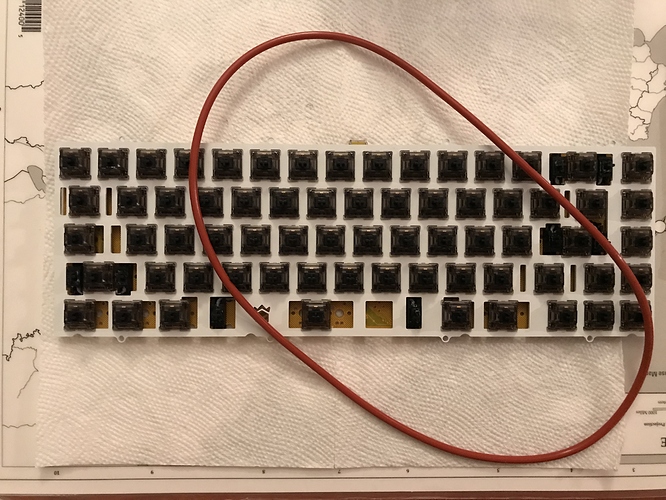
After soldering switches, the aluminum plate/PCB sandwich is ready for the next step.
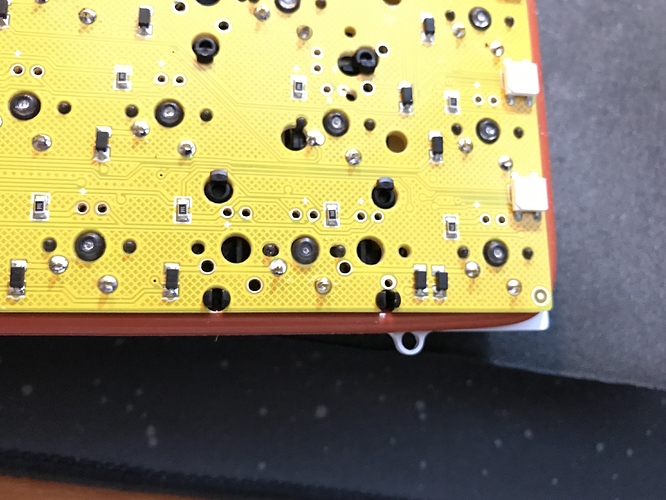
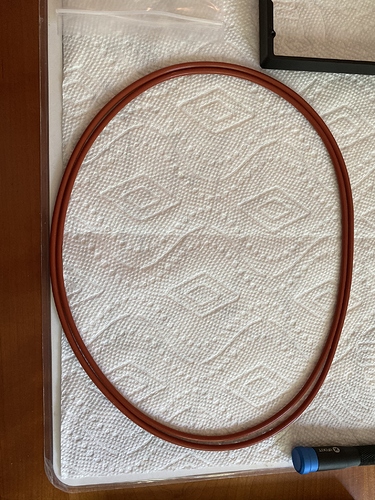
And the next step is: the gasket! It’s a silicone O-ring with a circular cross-section.
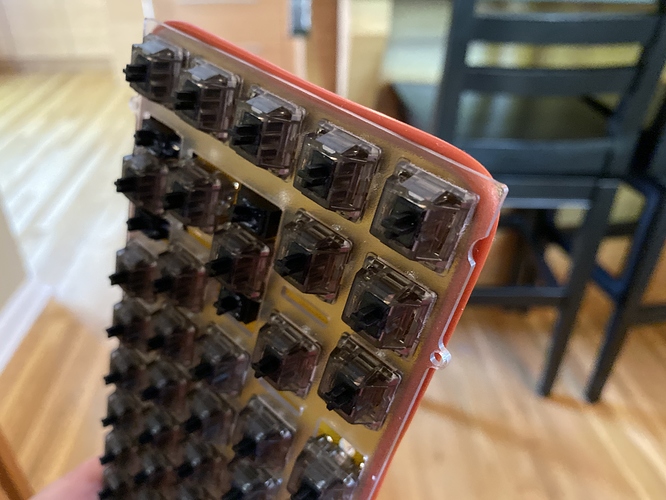
Installation is a matter of placing it between the plate and PCB at one corner of the board, and then stretching it to work it into place around the other corners of the plate/PCB assembly. The O-ring is just elastic enough to allow you to do this. Here’s a look at one corner to show what it looks like when it’s installed, and to give you a look at the snaps for the stabs. You can hopefully see why screws in those holes might have interfered with the gasket.
The E6.5 supports either top-mount or gasket-mount installation. In the former case, the PCB/plate assembly attaches to the top of the case with screws, just like any other top-mount. In the latter case, the PCB/plate assembly just sits in the top half of the case, and screwing the bottom half into place holds the assembly by compression - you don’t need the top-mount screws when you’re doing gasket-mount on this board, which is the direction I went.
We can see what’s going on a little more clearly by looking at the underside of the case top with the PCB/plate assembly resting in place.
And now a brief digression. When I placed my order for this board, I inexplicably failed to order a second gasket for the second plate/PCB assembly. Sigh. I could have just contacted Exclusive and arranged for another one, but this must be something you can just find on Amazon, right? Well, I found one, but it took a couple of weeks to get here, and, well, close but no cigar. This one was a bit shorter and a bit narrower than the original:
However, informed by my first attempt, the second time was the charm. For any E6.5 owners out there - while YMMV, I found a gasket that appears to be a good substitute for the original. As a side benefit, I learned about O-ring specs:
- The outside diameter (OD), the maximum distance between the outside edges of the O-ring when it’s laid down in a circle;
- The inside diameter (ID), the maximum distance between the inside edges of the O-ring when it’s laid down in a circle;
- The cross-sectional width of the gasket.
And, in case you’re wondering, yes, OD = 2 * width + ID, so any two of the three measurements should be sufficient. Without further ado, here’s the second PCB/plate assembly, using the PC plate and the OD=225mm ID=217mm width=4mm O-ring I found on Amazon:
An unanticipated benefit of using the PC plate instead of the aluminum plate is that we can see the positioning of the gasket through the plate.
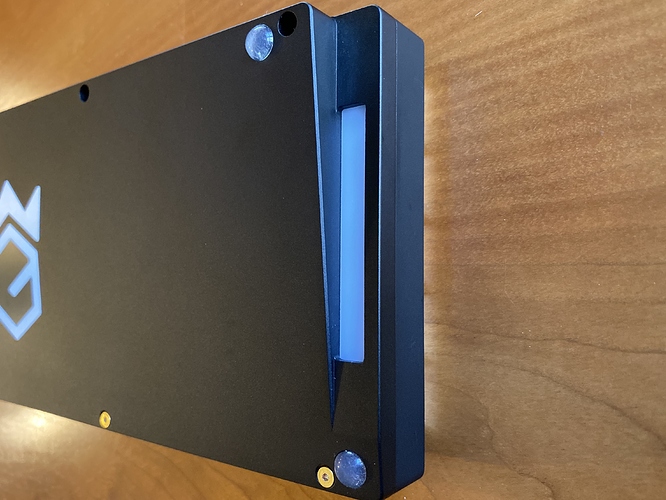
Back to the build. After screwing the whole thing together, we can take a look at the underside of the E6.5. There are plastic diffusers on either side of the board, so you get underglow from the finger grips if you’re into that sort of thing.
With a PC plate, you’ll get some of that underglow through the top, as well.
OK, so how does it sound and feel? Really good, actually. With lube, the Gat Inks are very smooth and deliver a nice, crisp sound. Given my typical preferences, I expected to prefer the PC plate over aluminum, but at this stage, I’d have to say it’s a tossup: PC provides a softer feel than aluminum, which I generally prefer, but it also takes a bit of the crispness away from the switch sound, and at least in this board, and with these switches, I think the overall experience is slightly better with aluminum. But every time I’ve switched assemblies, I find myself thinking “oh, this is nice”, so again, too close to call.
More generally - the hype is real. The anodization is quite nice (although you will need those gloves if you have an aversion to smudges), and the tolerances are tight. Most importantly for my purposes, this is the first board in a long time where I’ve felt no need to do any sound dampening treatments beyond what the build kit offers, either between the plate and PCB, or in the bottom of the case. This is a comparatively light board by custom standards, less than three pounds fully built. Yet it has a crisp yet liquid sound and feel that I really enjoy - and it’ll be the first linear board I’ve built that will join my regular daily driver rotation. Bravo!
Lessons learned
- I forget to do this somewhat frequently, so let me drop a reminder here now: before you install the PCB into the case, be sure you have the QMK RESET code available on one of your layers, in the event the PCB’s physical reset button isn’t accessible once the PCB is installed.
- I lubed the switches with 3203 on the stems and 104 on the springs - nothing on the housings, instead making sure that all stem/housing contact points were lubed on the stems - and once again, this saved time and produced a good result.
- Gateron Black Inks are now at the top of my linear list. I hope the problems people have been raising with recent Ink batches are atypical, because I’m looking forward to building more boards with these in the future - and this is coming from a tactile guy.
- If this entire experience is typical of an Exclusive release, then I’m sold. From design to packaging to QC to build experience, attention to detail was solid throughout. I’ll be following his work going forward.
- The gasket installation and function left me wondering whether it might be possible to retrofit O-rings between the PCB and plate on top-mount boards which didn’t originally offer them.
- I suspect the gasket is making a substantial difference in terms of sound profile, but as I write this build log, I realize that I didn’t get around to trying the obvious experiment: top-mount, sans gasket, with either PCB/plate assembly. No board is ever done, is it?
Well - this one might be.
Specifications
case: E6.5
- black anodized aluminum case
- e-white crown-ring weight
- e-black anodized center weight
- e-black badge with white engraving
case dampening: n/a
PCB: E6.5
plates: 1.5mm e-white aluminum, 1.5mm polycarbonate
plate/PCB dampening: silicone O-ring gaskets
- approx dimensions: OD: 225mm ID: 217mm width: 4mm
stabilizers: GMK PCB snap-in
- 2x (1x6.25u, 3x2u)
stabilizer mods: clipped and lubed with Christo-Lube MCG 111
switches: 2x 67x Gateron Black Inks
switch mods:
- springs tub-lubed with Krytox GPL-104
- stems hand-lubed with Tribosys 3203
- no housing lube
keycaps:
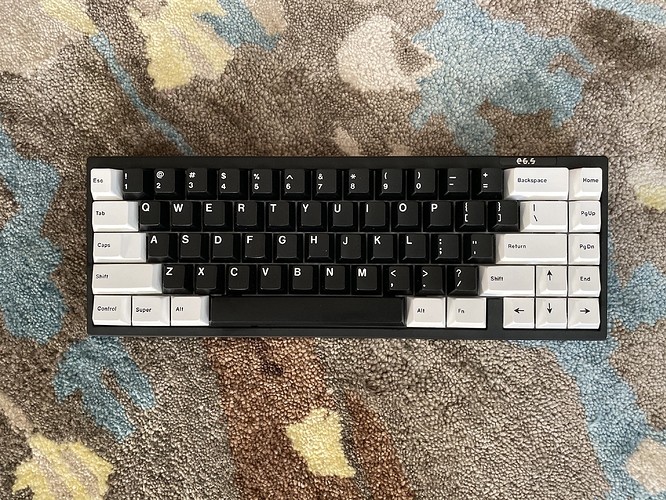
- GMK White-on-Black alphas
- GMK Minimal modifiers
HxWxD (without caps or feet): 1.19" x 12.31" x 4.25"
HxWxD (without caps): 1.25" x 12.31" x 4.25"
HxWxD: 1.5" x 12.31" x 4.25"
assembled weight: 2.77 lb
