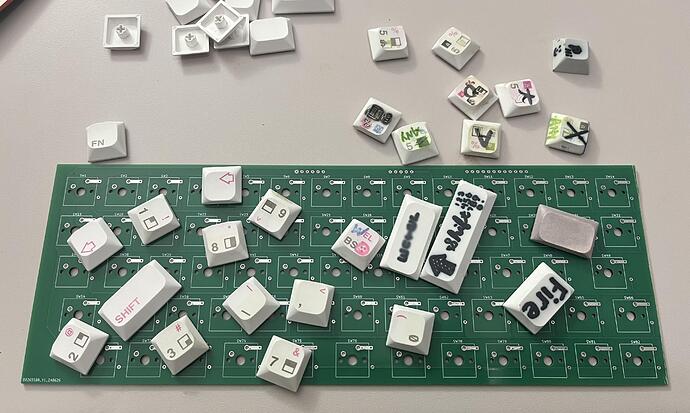
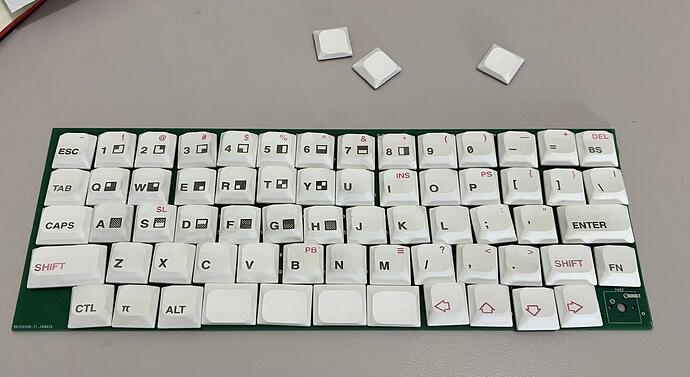
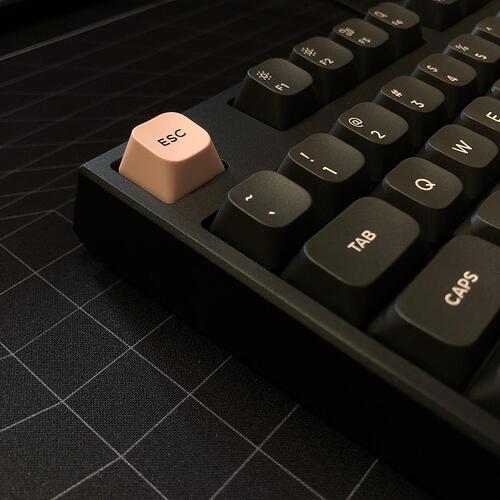
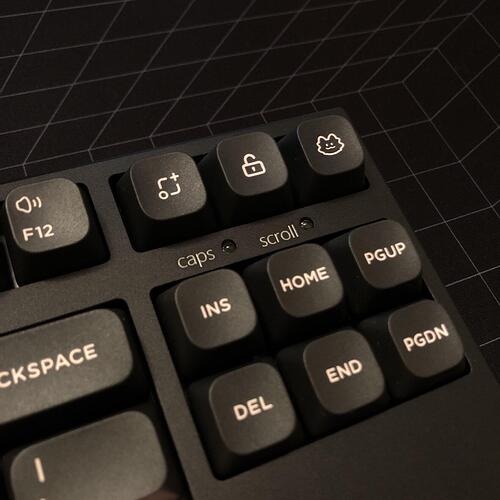
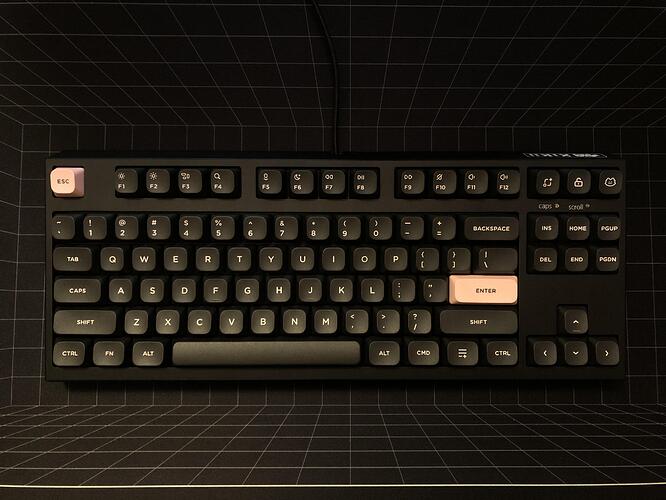
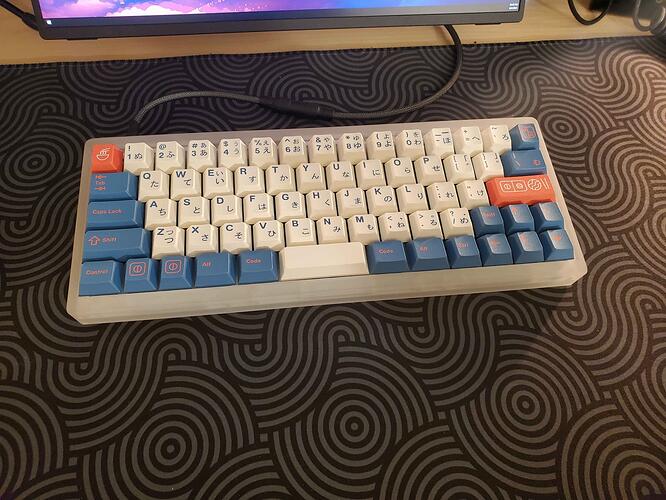
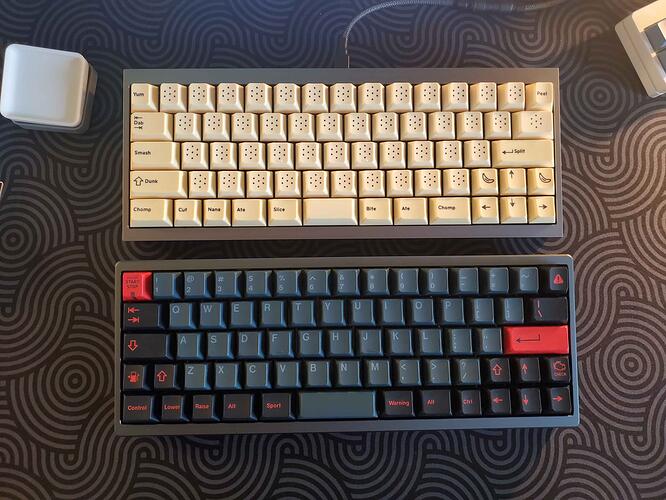
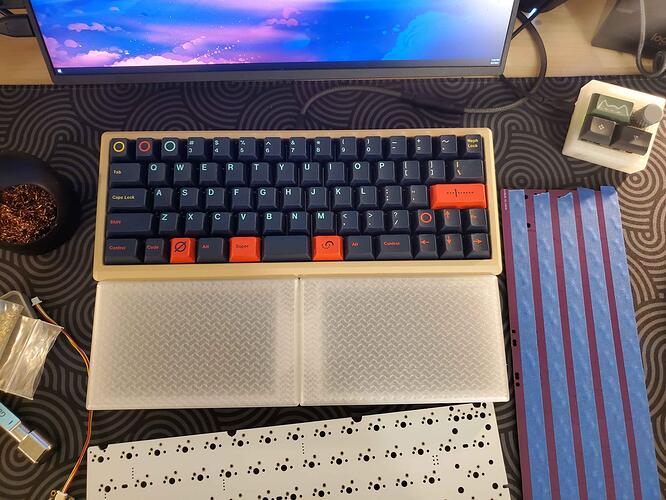
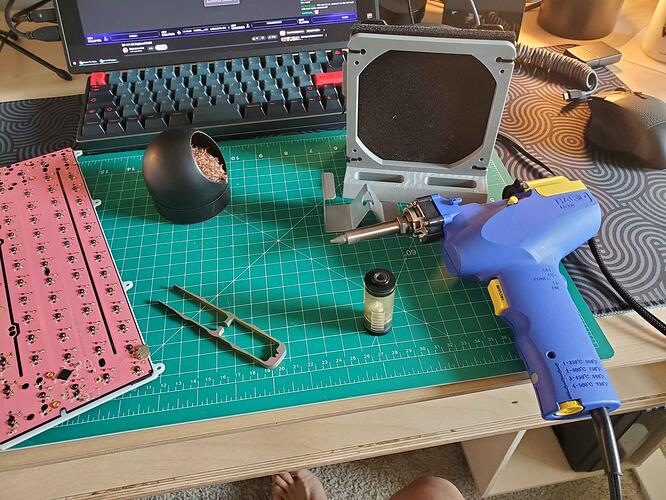
So, first, a caveat: I’ve done some destructive testing, and best I can tell, it’s more or less “real” dye sublimation, but only to about 1/3 to 1/2 the already shallow depth of dye-sub penetration. Still, unless a set becomes a daily driver, a clean zap should last a good while. Lets say somewhere in that vast gulf between between pad printing and proper dye sub.
Alignment remains my biggest challenge, and I can only feel confident in my accuracy to about a millimeter. This is not really good enough for center legends, but it’s okay for non-centered legends doing batch jobs in natural groups.
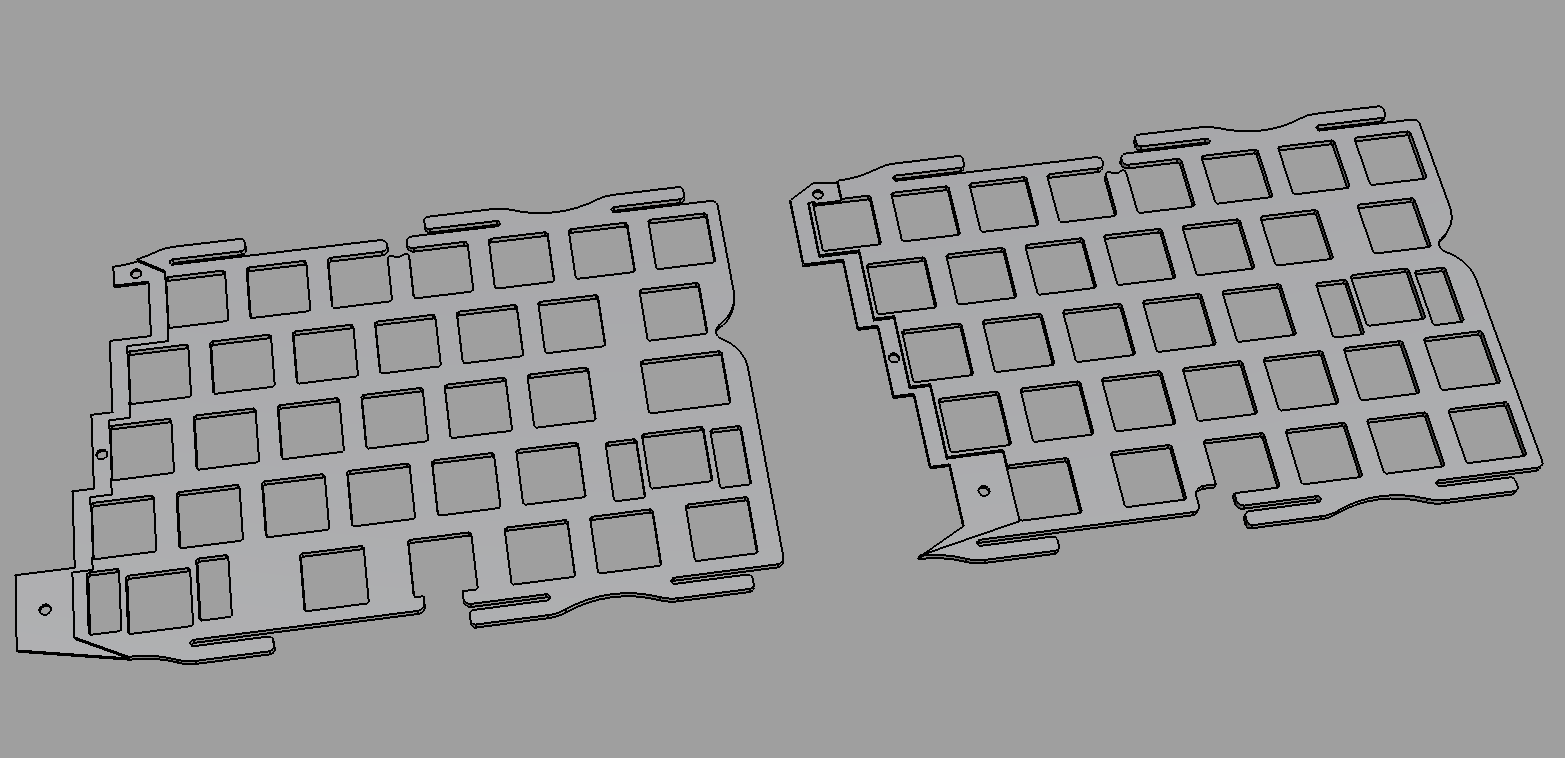
I have a 5 watt (optical power) diode laser, basically your average Comgrow Z1 open frame thing from Amazon. First you’ll need a jig. I have mostly been doing flat profiles, so I laser cut a jig with a bottom layer that’s just perforated to eject keycaps with a ballpoint pen cap or something else non-marring. Scultped keycaps would benefit from some sort of shims to get them level, and the exact footprint may no longer be 18mm square. For mine, the top layer is a 7x4 grid of 18mm, except the last two on the bottom row are combined and the frame is open on the right. That allows me to do larger keycaps, though just one at a time, and I have to tape it down or something.
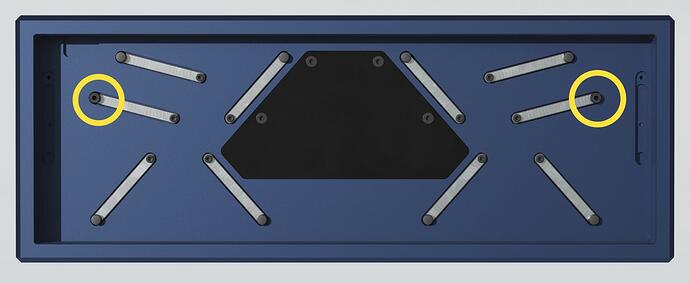
My jig has three indexing pins outside the keycaps themselves. These are built-in and give me a consistent place to check alignment. I have one lower left, one upper right, and one in the center. I put a standoff in each one that gets more or less to the top of an XDA keycap and a shine the laser at .1% or whatever to see where it is. This is where my source of error comes in, all the little tiny differences between SVG file, the jig, the focus, my physical setup (primitive), and the inherent accuracy of the steppers all combines to being just a touch off. A cheap zero-degree keyboard could also be a good jig, as long as your legend template in Inkscape or Illustrator has a good way to consistently register the corners.
So anyway, to design the keycaps, I take the SVG I used to cut the jig, and in Inkscape I approximate the typing surface of each keycap on a new layer, just with a light colored rounded square of what seems to be the right size. Then above that, I actually place the legends. Finally, I use the selection tool to gather up the legends themselves and a couple of tiny circles in the middle of the two corner index pins’ cutouts. I export the selected items only to a 300dpi .png file.
Back to the jig, I place that batch’s keycaps into the jig, clean them with alcohol, and coat every square mm that might get any lasering with a Cricut “Infusible Ink” marker. Because the jig holds 26 1u keycaps, I can make sure that, even if they’re not perfect, the entire set of alphas can be consistent with each other (and do the same with other groupings). The letters are the single largest group that absolutely must look like one another with no variation, though, so that informed the size of the jig.
So once the inked-up keycaps are in the jig, the jig goes on the laser and I try to make sure it’s hitting the alignment pins as best it can. Then I run it low and slow. The process works by vaporizing a tiny amount of ink and/or softening the plastic to let the ink in (I’m no chemist). It has been a real challenge finding the exact sweet spot, and while I don’t think I’ll ever get the bold transfer you could get with something heat- and pressure-based, for my particular diode laser, two passes of 2% power at 45mm/minute and 15-20 lines/mm resolution creates reasonably crisp edges and a usable amount of ink transfer. My attempts to run it hotter tend to cause the surrounding areas to get hot, leading to bleeding. Trying to go all out, even super fast, the laser just blasts little troughs into the PBT and creates a clown-faced mess of sublimated ink all around the edges. I need to grab a few gray blanks and see if it was just beginners’ luck that they came out with better contrast than the white ones, or if color/chemistry of the plastic actually matters to a visible degree.
After laser, acetone nail polish remover will take the un-lasered ink right off, but it can get into the “grain” of the plastic and require a couple of passes or a bit of mild scrubbing. Alcohol can also work, but acetone is like magic. Just wear gloves, as it dries out your skin and is almost certainly terrible for humans, despite being used on bare fingers all the time.
