What's on your workbench today?

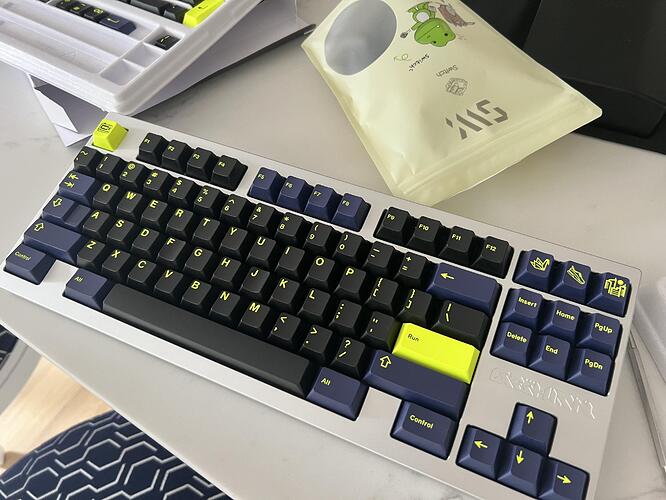
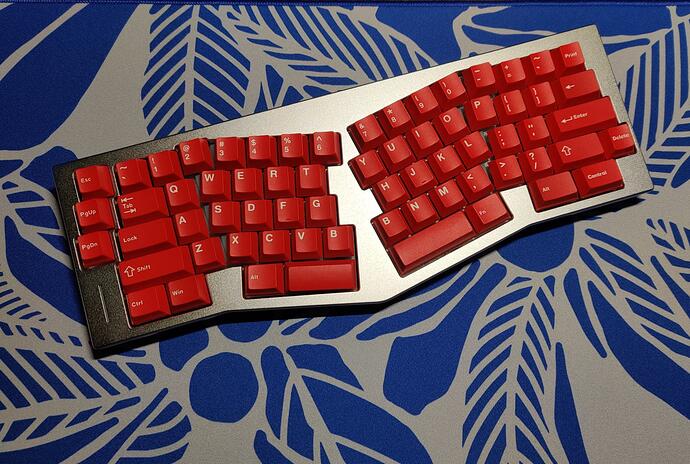
Reshuffling my three keybird69 boards:

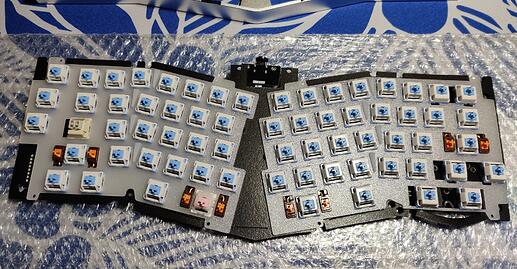
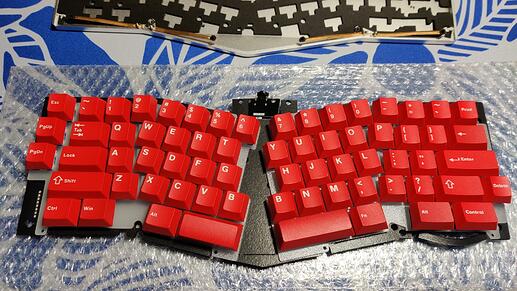
  • Giving the Kailh Box Jades another try with JTK HSA Hyperfuse. We’ll see if I get annoyed again by switches activating above their tactile points…

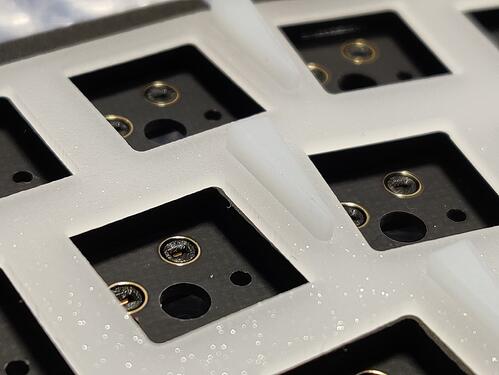
  • I reverted the first keybird69 to a low-profile case. The acrylic layers I designed to surround the keyswitches are tight to the 3/4” key spacing, which isn’t enough clearance for my SP DSS Dolch keycaps – the keys round the edges tend to get stuck. (HSA and MTNU are fine, tho.) The board is now basically the same as it was when I first built it. Keeping it for when I want a rough keycap texture and some Cherry Clear spring ping :crazy_face:

  • I have moved MTNU Susu onto the board with the Gateron Cap Milky Brown switches. This is my current favourite: partly the exquisite MTNU texture, partly the moderate tactile bumps, and partly the cheerful clatter.

Keybird69 seems to be fairly good at bringing out the sound of switches (it’s an FR4 plate and base with Lego ABS surround). For comparison, the Cherry ping is much less distinct on HHKBeeb, which is a low profile alu / acrylic sandwich. The Cap browns are fairly clacky by themselves, I think, but keybird69 amplifies the lower pitches so the result is pleasingly marbly.

2 Likes

Interesting. I just tried this on my board with box jades, and I can reproduce it on some switches, but not others, and when I can reproduce it I have to be very deliberate. Same with box whites, but the “sweet spot” is even smaller, and I could have sworn that once I got a click without an actuation. Couldn’t reproduce it at all with Box Navy, reaffirming that they are indeed God’s Own MX Switch.

In general use, it’s not an issue for me. I’m mashing the keys with reckless abandon and laughing at the notion that actuation force and bottom-out force need to be reported separately. :rofl:

1 Like

Yeah, when I have complained about it elsewhere others have also said they didn’t have the problem. I suspect I might have previously installed a duff switch or two where I usually rest my fingers, so the problem appeared worse than it was. And given how popular Jades are, I thought they deserved a second go. I have 5 spare in case I find a misbehaving one. (I bought one test switch and 70 for real, and I have Navies on esc, return, and space.)

Oh, and another note about the Gateron Caps: I got some test Clickiez, which I liked apart from the price and lack of UK sellers. I noticed they sounded good without the click leaf, and they are known to use the Cap housing, so I thought it would be worth trying some regular Cap switches. Turned out, it was! Added bonus that Gateron Caps are much cheaper :slight_smile:

1 Like

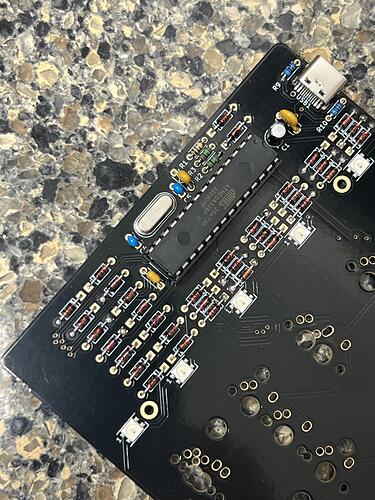
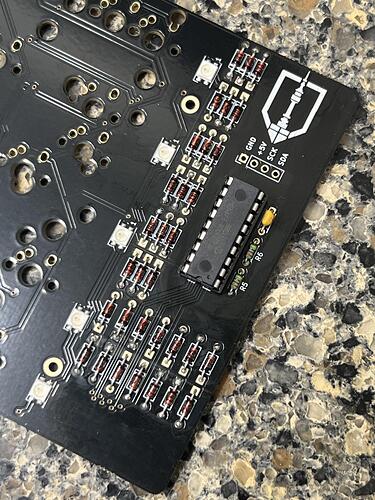
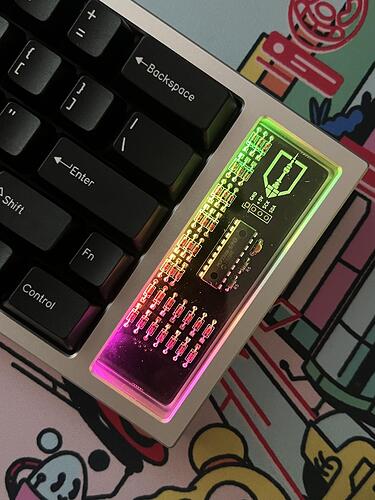
Got all the components soldered onto my argyle today. All keys testing and working. Now to get some switches in. That might be a bit. About to leave for vacation.

I managed to get everything nice and straight but I couldn’t control the solder flow. So some diodes have solder coming through the front a bit. Not sure how you could avoid this randomness.


Definitely want to find an even sharper chisel tip for work like this.

Soooo satisfying to put those chips in at the end.

9 Likes

You can try adding flux via a syringe and reflowing the current solder that is already there to see if that helps lead the solder to where you’d like for it to go, perhaps.

Love the look of this, regardless. The uniformity of those bends is just so satisfying!!

1 Like

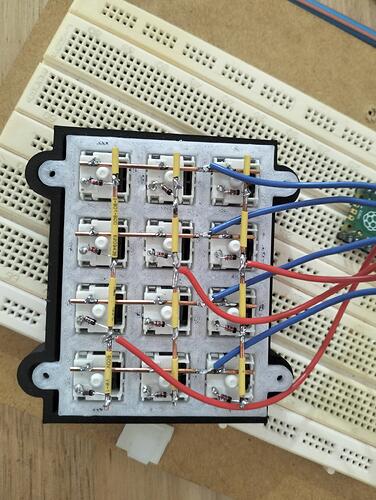
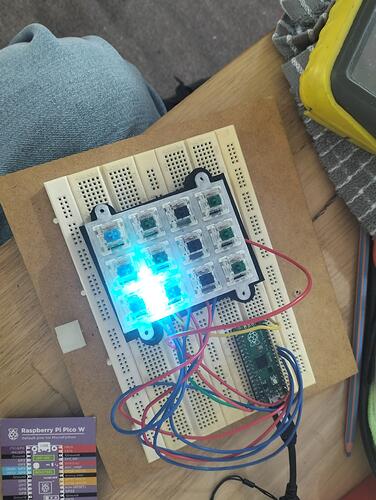
Decided that before I make any mistakes on my Fujitsu keyboard rebuild, I’ll make a small key pad for both soldering practice and so I can play around with various firmware.
Just a 3x4 using a Pi Pico and initially kmk firmware


7 Likes

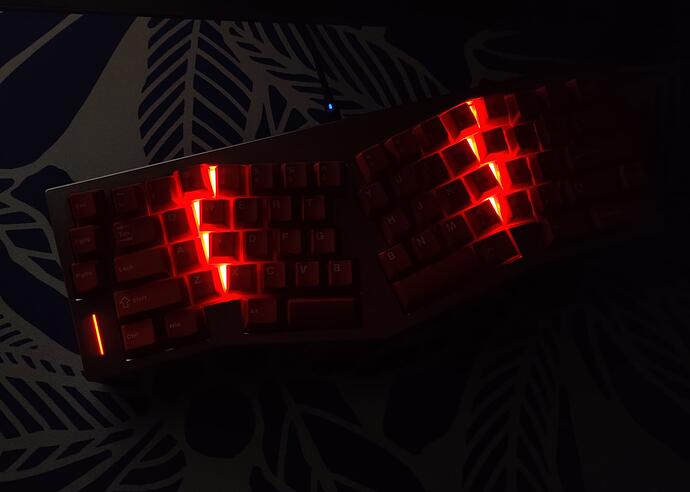
Back from vacation. I put Gateron Deepping switches in my silver Gehrin. Topped with Night Runner. Now to give it a spin.


Really surprised by Night Runner. I held off on buying it for a long time, but it is a very good set IRL. Interesting how the yellow reacts with the light. Very UV reactive.

13 Likes


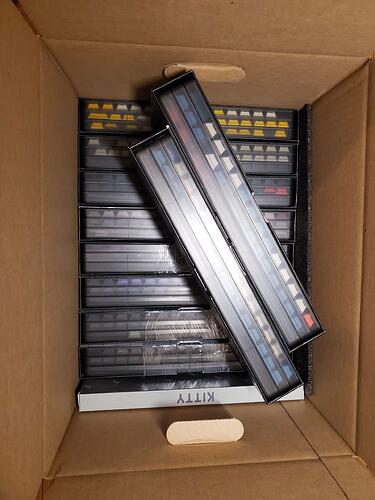
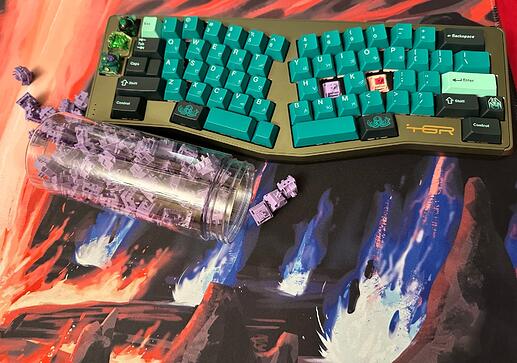
Not exactly my “workbench,” but I’m moving (I hate it) and realized the PBTfans trays for my GMK caps fit almost perfectly in a small Uhaul box. Topped it off with RamenStop and Future Suzuri

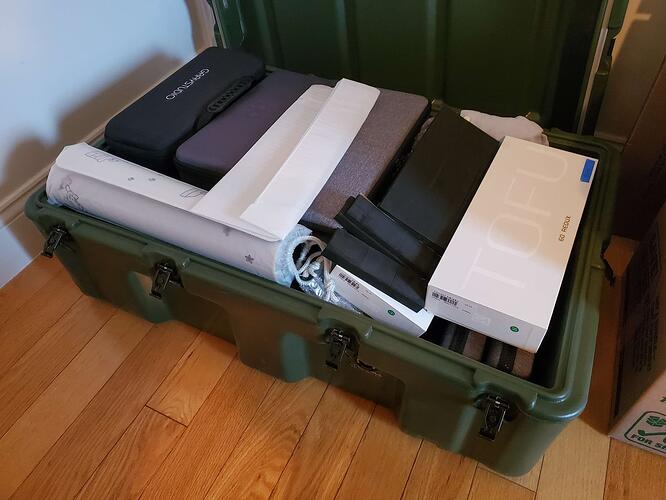
Also stuffed most of my built keyboards into this container.


Got like 4 60%'s I couldn’t fit in there I’ll throw in a box or something.

Moving is so stressful… :sob:

8 Likes

5 Likes

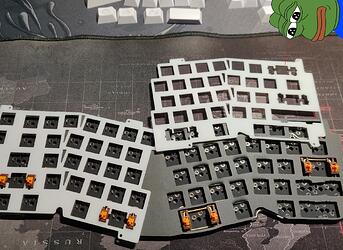
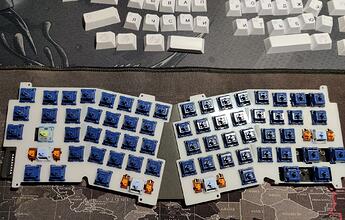
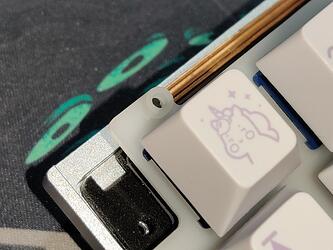
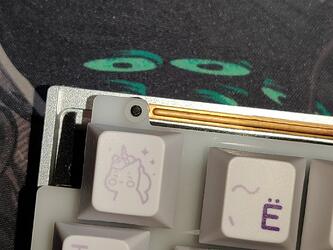
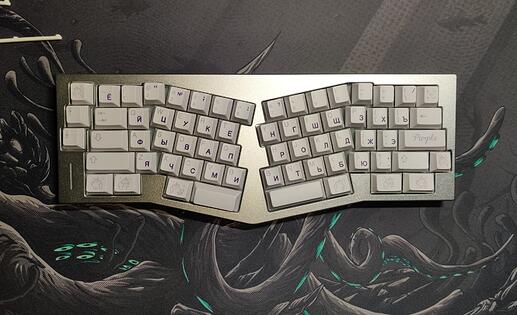
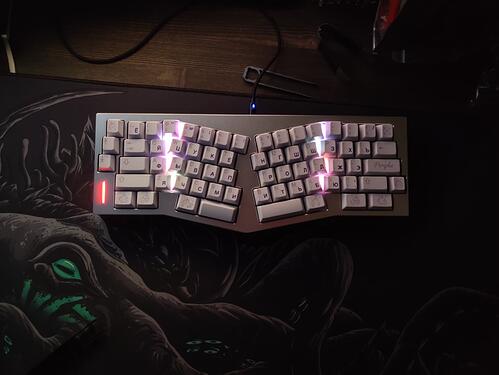
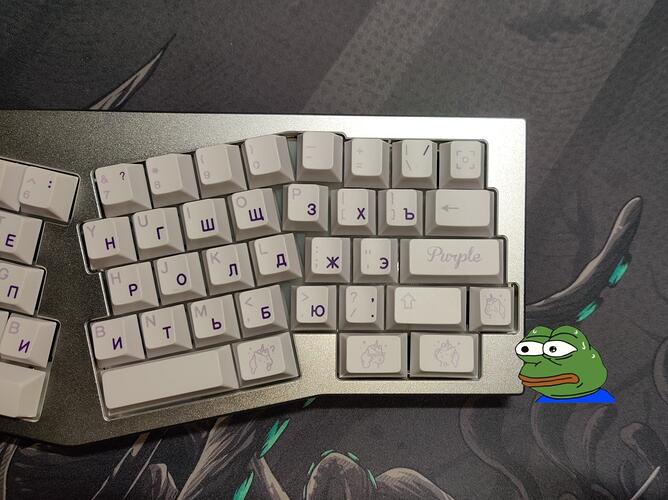
I decided to assemble the assembly on a new board.
This is already the 4th board in the “spring” keyboard format.
And 3rd from the same person who designs and sells them.

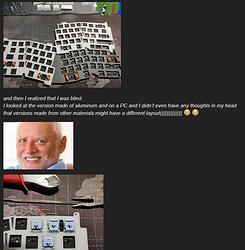
and then I realized that I was blind.
I looked at the version made of aluminum and on a PC and I didn’t even have any thoughts in my head that versions made from other materials might have a different layout((((((((((((( :sob: :sob:

image


Assembly on switches from Wuque

Pangu default stabilizers. I didn’t make the wire straight, I didn’t even check whether it was crooked or not. Didn’t lubricate it. Nothing.
Just took it out of the box and inserted it. All.
They are even 1.6 although the board is 1.2.
Since my purchased version is 1.2, in the topic about “what did you receive in the mail”, as I showed, they arrived - neo)))))))))))))))
And the replacement makes the 5th circle of hell at the post office in my country. Yes, my country’s state post office is a branch of hell. and there is a separate boiler for those who work there in sorting.


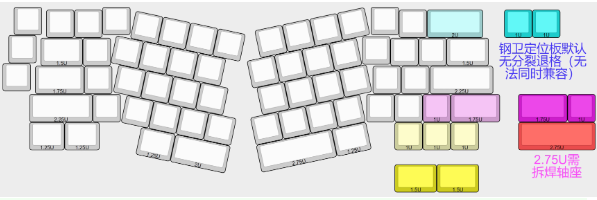
This custom board has many additional options. have your own foam. their brass gaskets. and of course there are rings that need to be put on. WHICH “WEIKAV spring” does not have at all.(((((((


Summary

There is VIA support via file.
But there are a lot more settings here than usual.
And much more than the stock from Ovlab.
There are also many RGB modes here. These two RGB elements have their own settings.
There are also many settings for “capslock” and “numlock” RGB settings.

3 Likes

L’Argyle…

C’est fini!


Gateron Deepping switches. Screws near space bar removed. This one sounds and feels pretty amazing

Good old DCS WoB and TX AP screw in stabilizers

13 Likes

Damn, it’s a beauty bud! So classy with DCS WoB too!

3 Likes

C’est magnifique !!!

2 Likes

Oui!

3 Likes

Just got HMX V2U’s in - spent a good while scouring Taobao so I could get them cheaper than from dropshippers, but it seems only Clouds/V2Us are widely available - around 22 USD for 110x, shipped. I note most other HMX variants are out of stock with restocks planned for sometime in April - most GBs ran earlier this year.

Working on swapping out the stock Sarokey Strawberry Wines. I thought BSUN were great for stock switches but goddamn… HMX do not disappoint. How have off the shelf switches gotten this good…

6 Likes

Received the 4th tester. Only in January I bought the third one. And already bam and it’s full. I had to buy a fourth one.

4 Likes


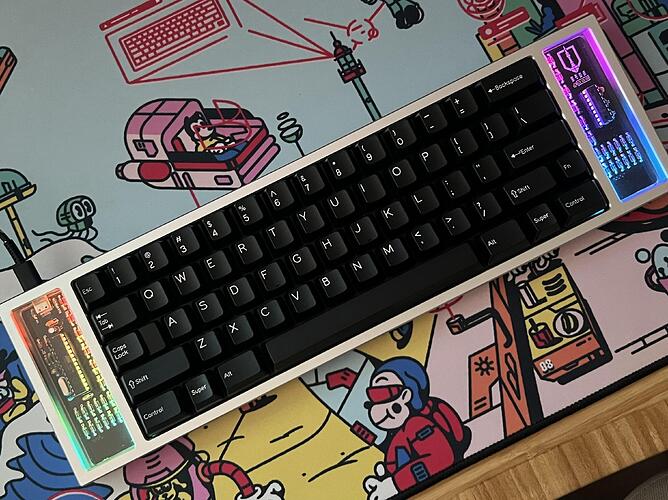
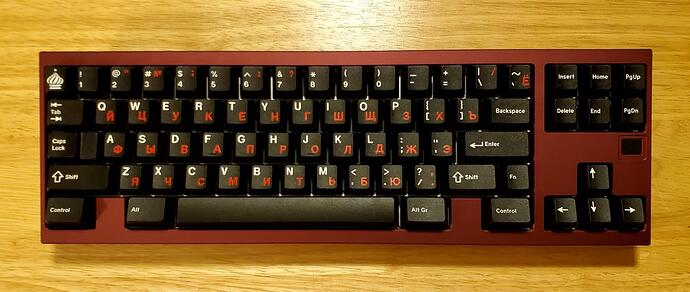
Finally got around to building the solder setup for my XOX70! Went with a alum half plate, Duhuk Lumia Matcha V4s (55g variant), Swagkeys Knight stabilizers, & topped it off with GMK WoB Red Cyrillic. First impression of the Matchas is really good. I went full send, soldered them in stock, have yet to find anything I dislike about them. Super smooth, consistent lubing (these are supposedly hand lubed), nice & deep sounding thanks to the TC308 stem, & the softest bottom out I’ve ever felt with a long pole switch thanks to the stem material too! The only complaint I can even reach for is their below average stem wobble, but it’s not noticeable to me with Cherry profile caps TBH.

I was a little worried the sound would suffer from going half plate, but really hasn’t. It’s a little quieter overall for sure but still retains the punchy sound it had with Smoothies on a full alum plate. The typing feel is a bit softer & bouncier too since the PCB has flex cuts between the alphas & mods. Overall I am very pleased with how it turned out though! Also pretty happy to have the layout set the way I want on a board of this size too!

8 Likes

Previously in the previous episode…

I ordered and received for the custom PSB board its original foam and a new polycarbonate plate with cutouts for stabilizers on the PSB board.


This plate is made of excellent quality polycarbonate, all foam options are also of good quality, and are also ideal for a “WEIKAV spring” keyboard.

I made an assembly on default stock.
Stock switches.
Stock stabilizers.
Factory grease out of the box.

What I like about this custom PCB board is the huge number of layouts. Almost everything I want from “Alice”.

image

8 Likes

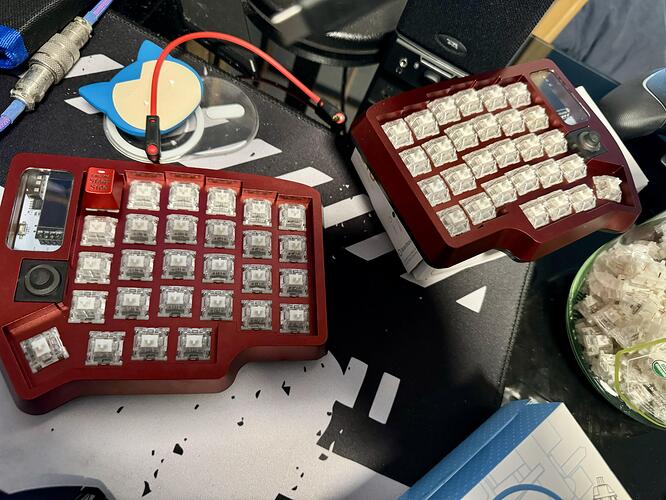
Built the Lulu out today on stream.

Found out the cheap TRRS cable I got doesn’t quite fit right but should work, however only one half could type depending on which one had the USB cable plugged in.

The Peg (GUI front end to KMK) seems like it needs a lot of work. There doesn’t appear to be any switch tester mode, so I couldn’t test that all the switches work and move on to keycaps.

Some of the features in Peg are nice, OLED features and all, but I will probably end up switching to QMK and Via, but we will see.

5 Likes

Recently I have been slowing waaay down on my builds and really trying to pay attention to each piece of my build and how to understand it’s function and if there is any way to help it perform more efficiently or smoothly.

No build has been more enlightening than the Class60 for me as this has been my first electro-capacitive keyboard build.

While it comes with everything I need to build it from the factory, I am not really one to leave things as stock. While waiting for it to be delivered, I went down the internet rabbit hole a bit as to upgrade, or standard mods for EC or Topre boards as well as how I can apply that to what I already do to my own MX style builds.

Right away is the fact that this build allows for MX-style plate mount stabilizers, so I decided that this would’ve a great chance to try out the third iteration of TX’s AP stabs in their plate mount form.

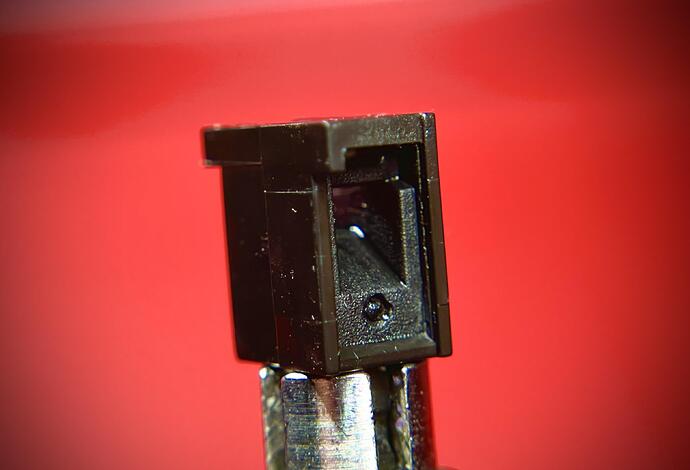
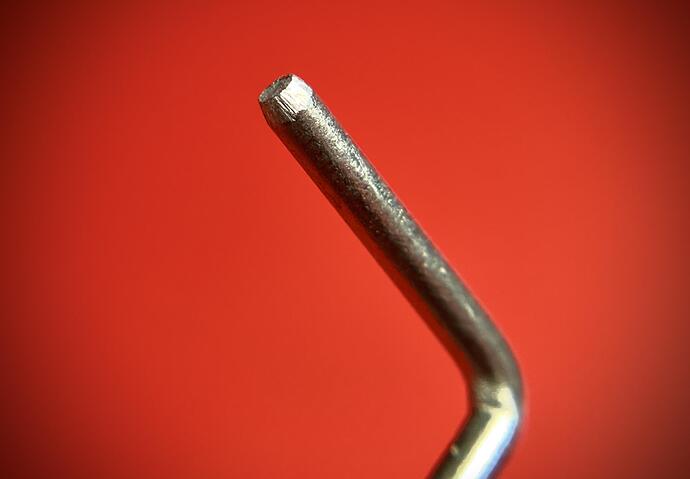
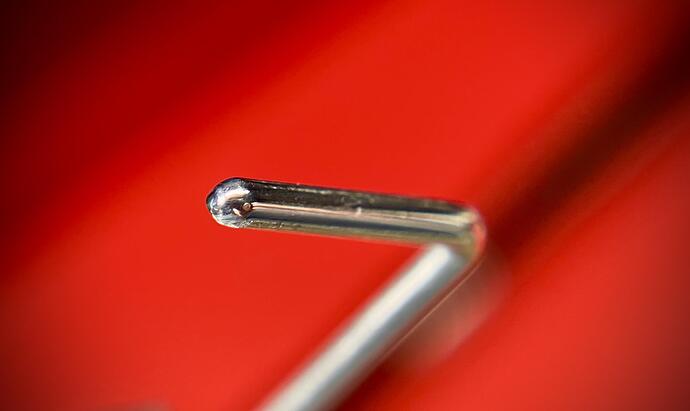
I am really coming around to the fact that these come from the factory with some of the best clearances I have seen so far and seem to benefit the most from my light improvements of sanding down the moulding lines and also finish rounding and polishing out the ends of the stabilizer wires.

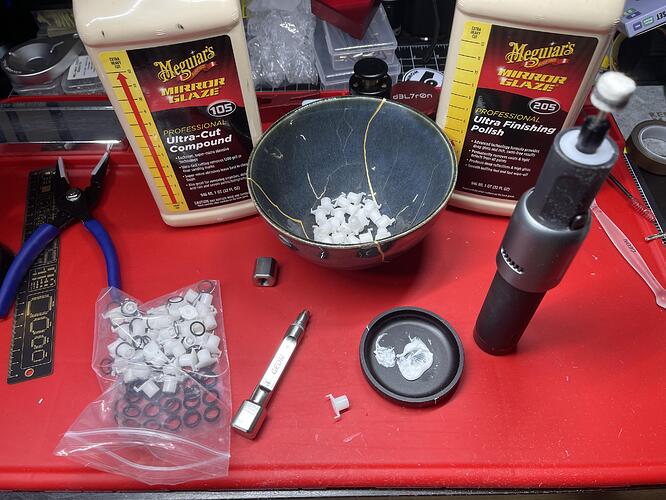
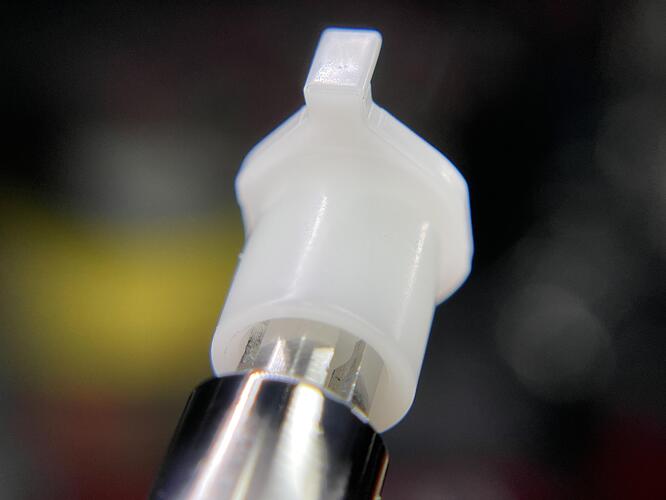
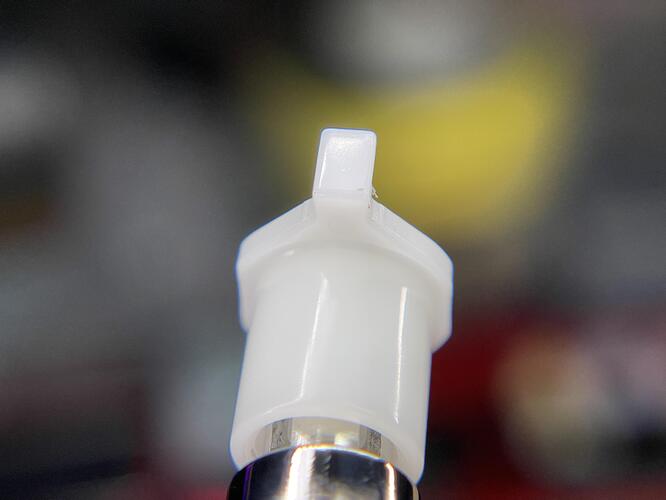
With this being my first time working with the slider/housing combo of an EC build, it appears that lots of folks really seem to have issues with how smooth the sliders and the housing works together, so I decided to go all in and polish the stems and sliders that came with my kit. I have been in the hobby of polishing and detailing cars for over a decade so I have more polishes, compounds, waxes, coatings, etc than should be allowed, but decided to try out some of my tried and true plastic polishing techniques towards this hobby.

With my trusty HOTO rotary tool and some cotton and wool polishing wheels, I decided to use my one-two combo of Meguires M105 and M205 to cut and polish the sliders and housings and so far have seen pretty good results.

Yes, it is time consuming and tedious, but I am of a mind of trying to perfect it the first time so I don’t spend too much time “what if-ing” it after it’s built.

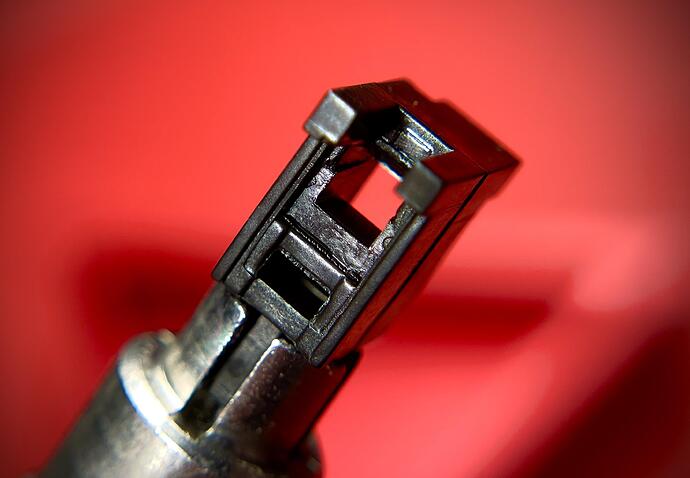
The sliders have so far come out really well with just the cutting pass…

Before:

After:

While it doesn’t seem like much, once these are polished and lubed, these babies are going to transcend buttery-smooth…

Next steps are polishing and then giving them a bath in the ultrasonic cleaner. Then they go for a few coats of dry lube before one very thin coat of Carbon GS1 of them as well as the housings (which received the same cut/polish treatment of the stem hole).

I will try to keep you guys posted as I go, but work has been making movement on this build very slow going, not to mention sourcing and waiting for some of the other aftermarket parts I orders for upgrades… :wink:

13 Likes