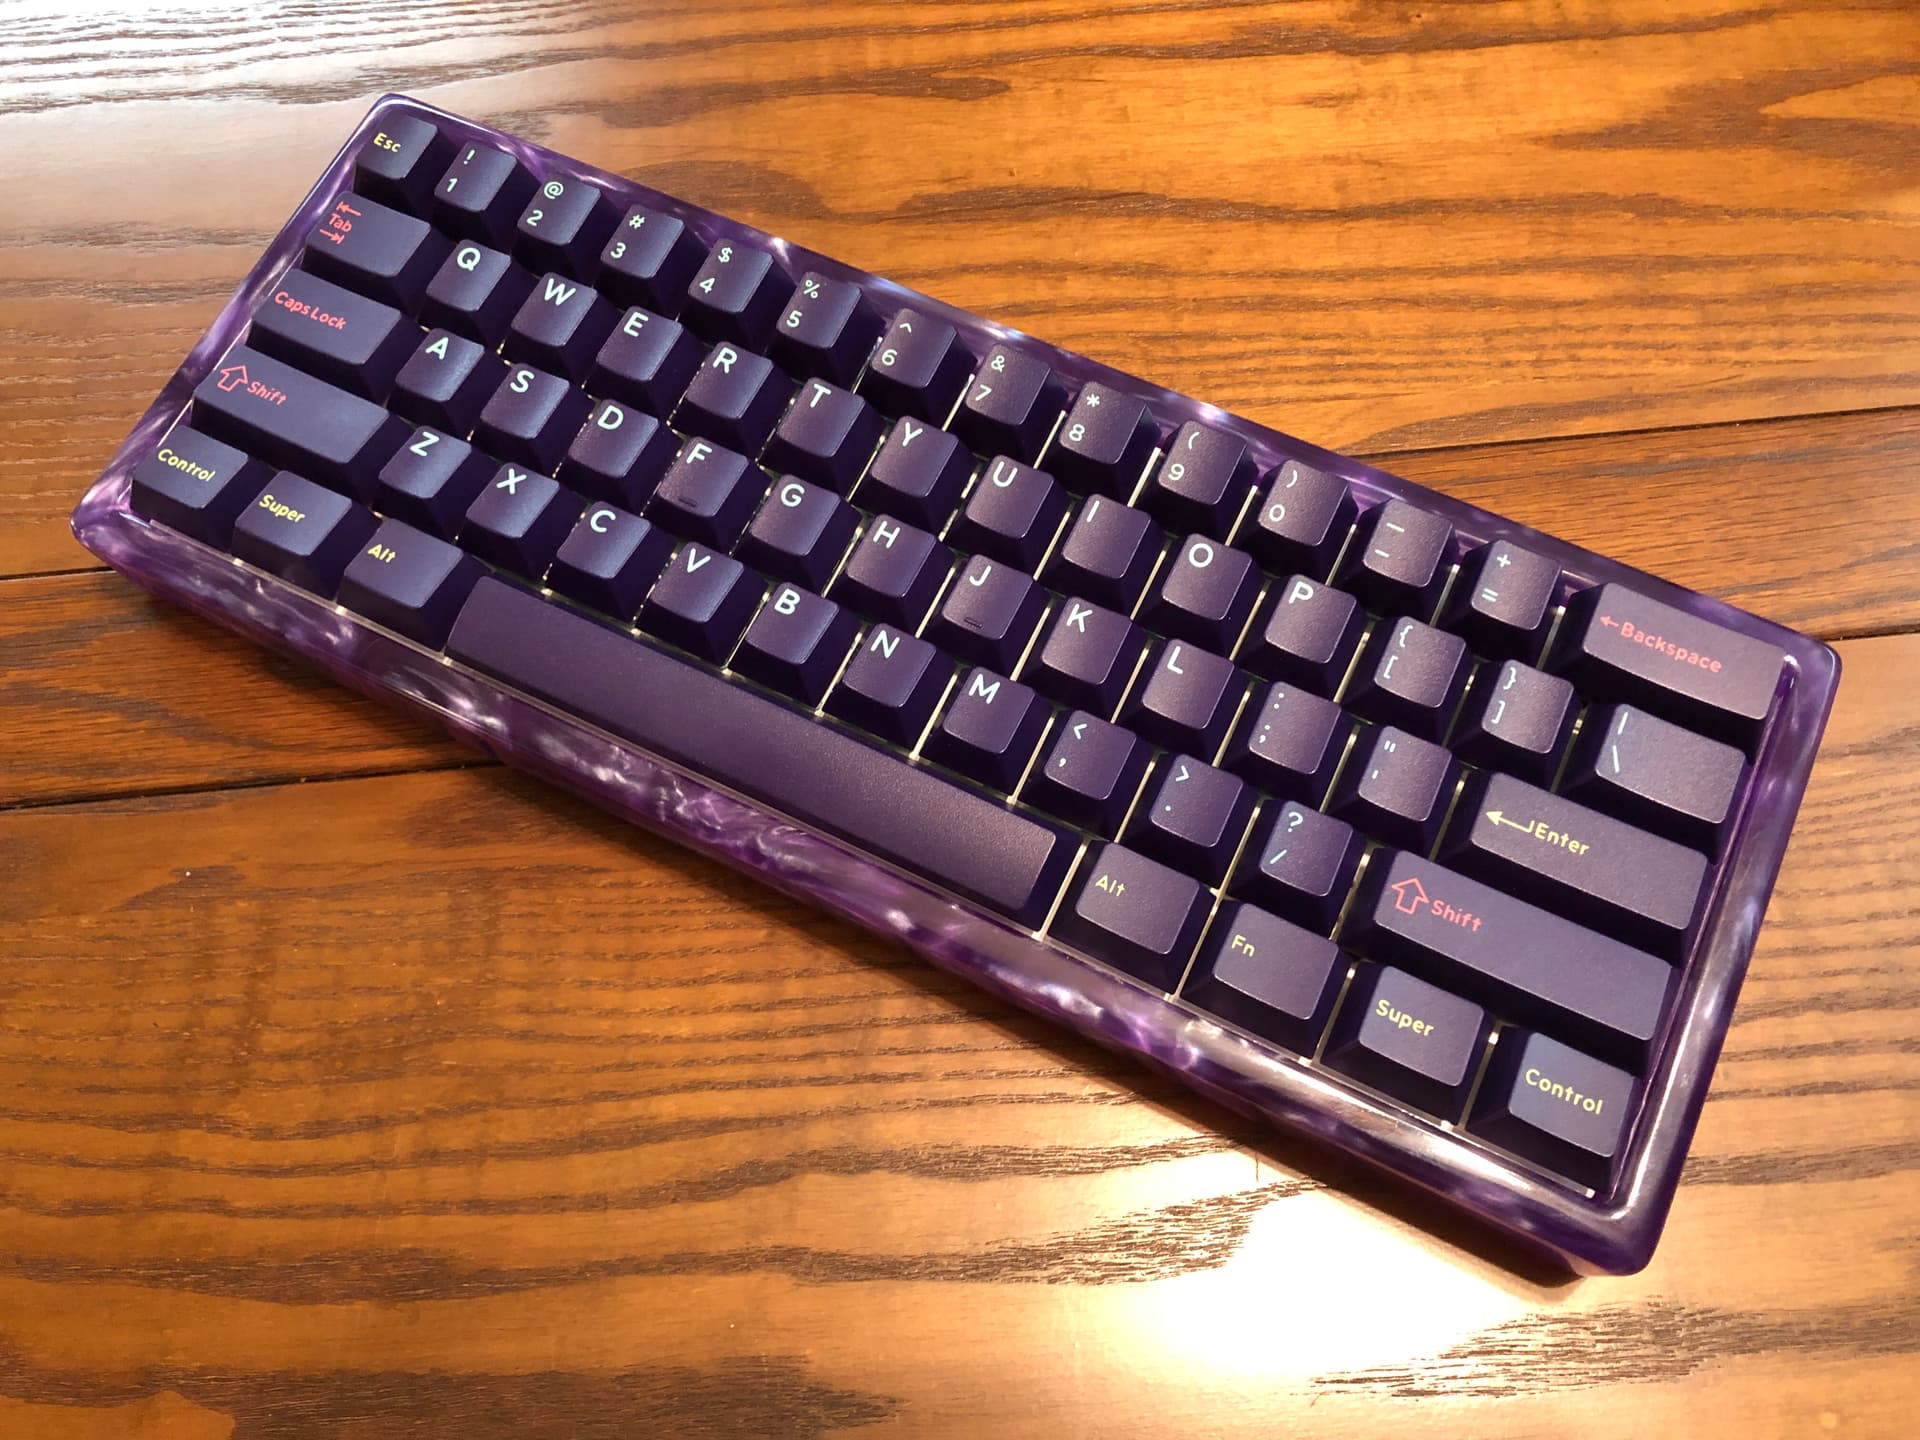
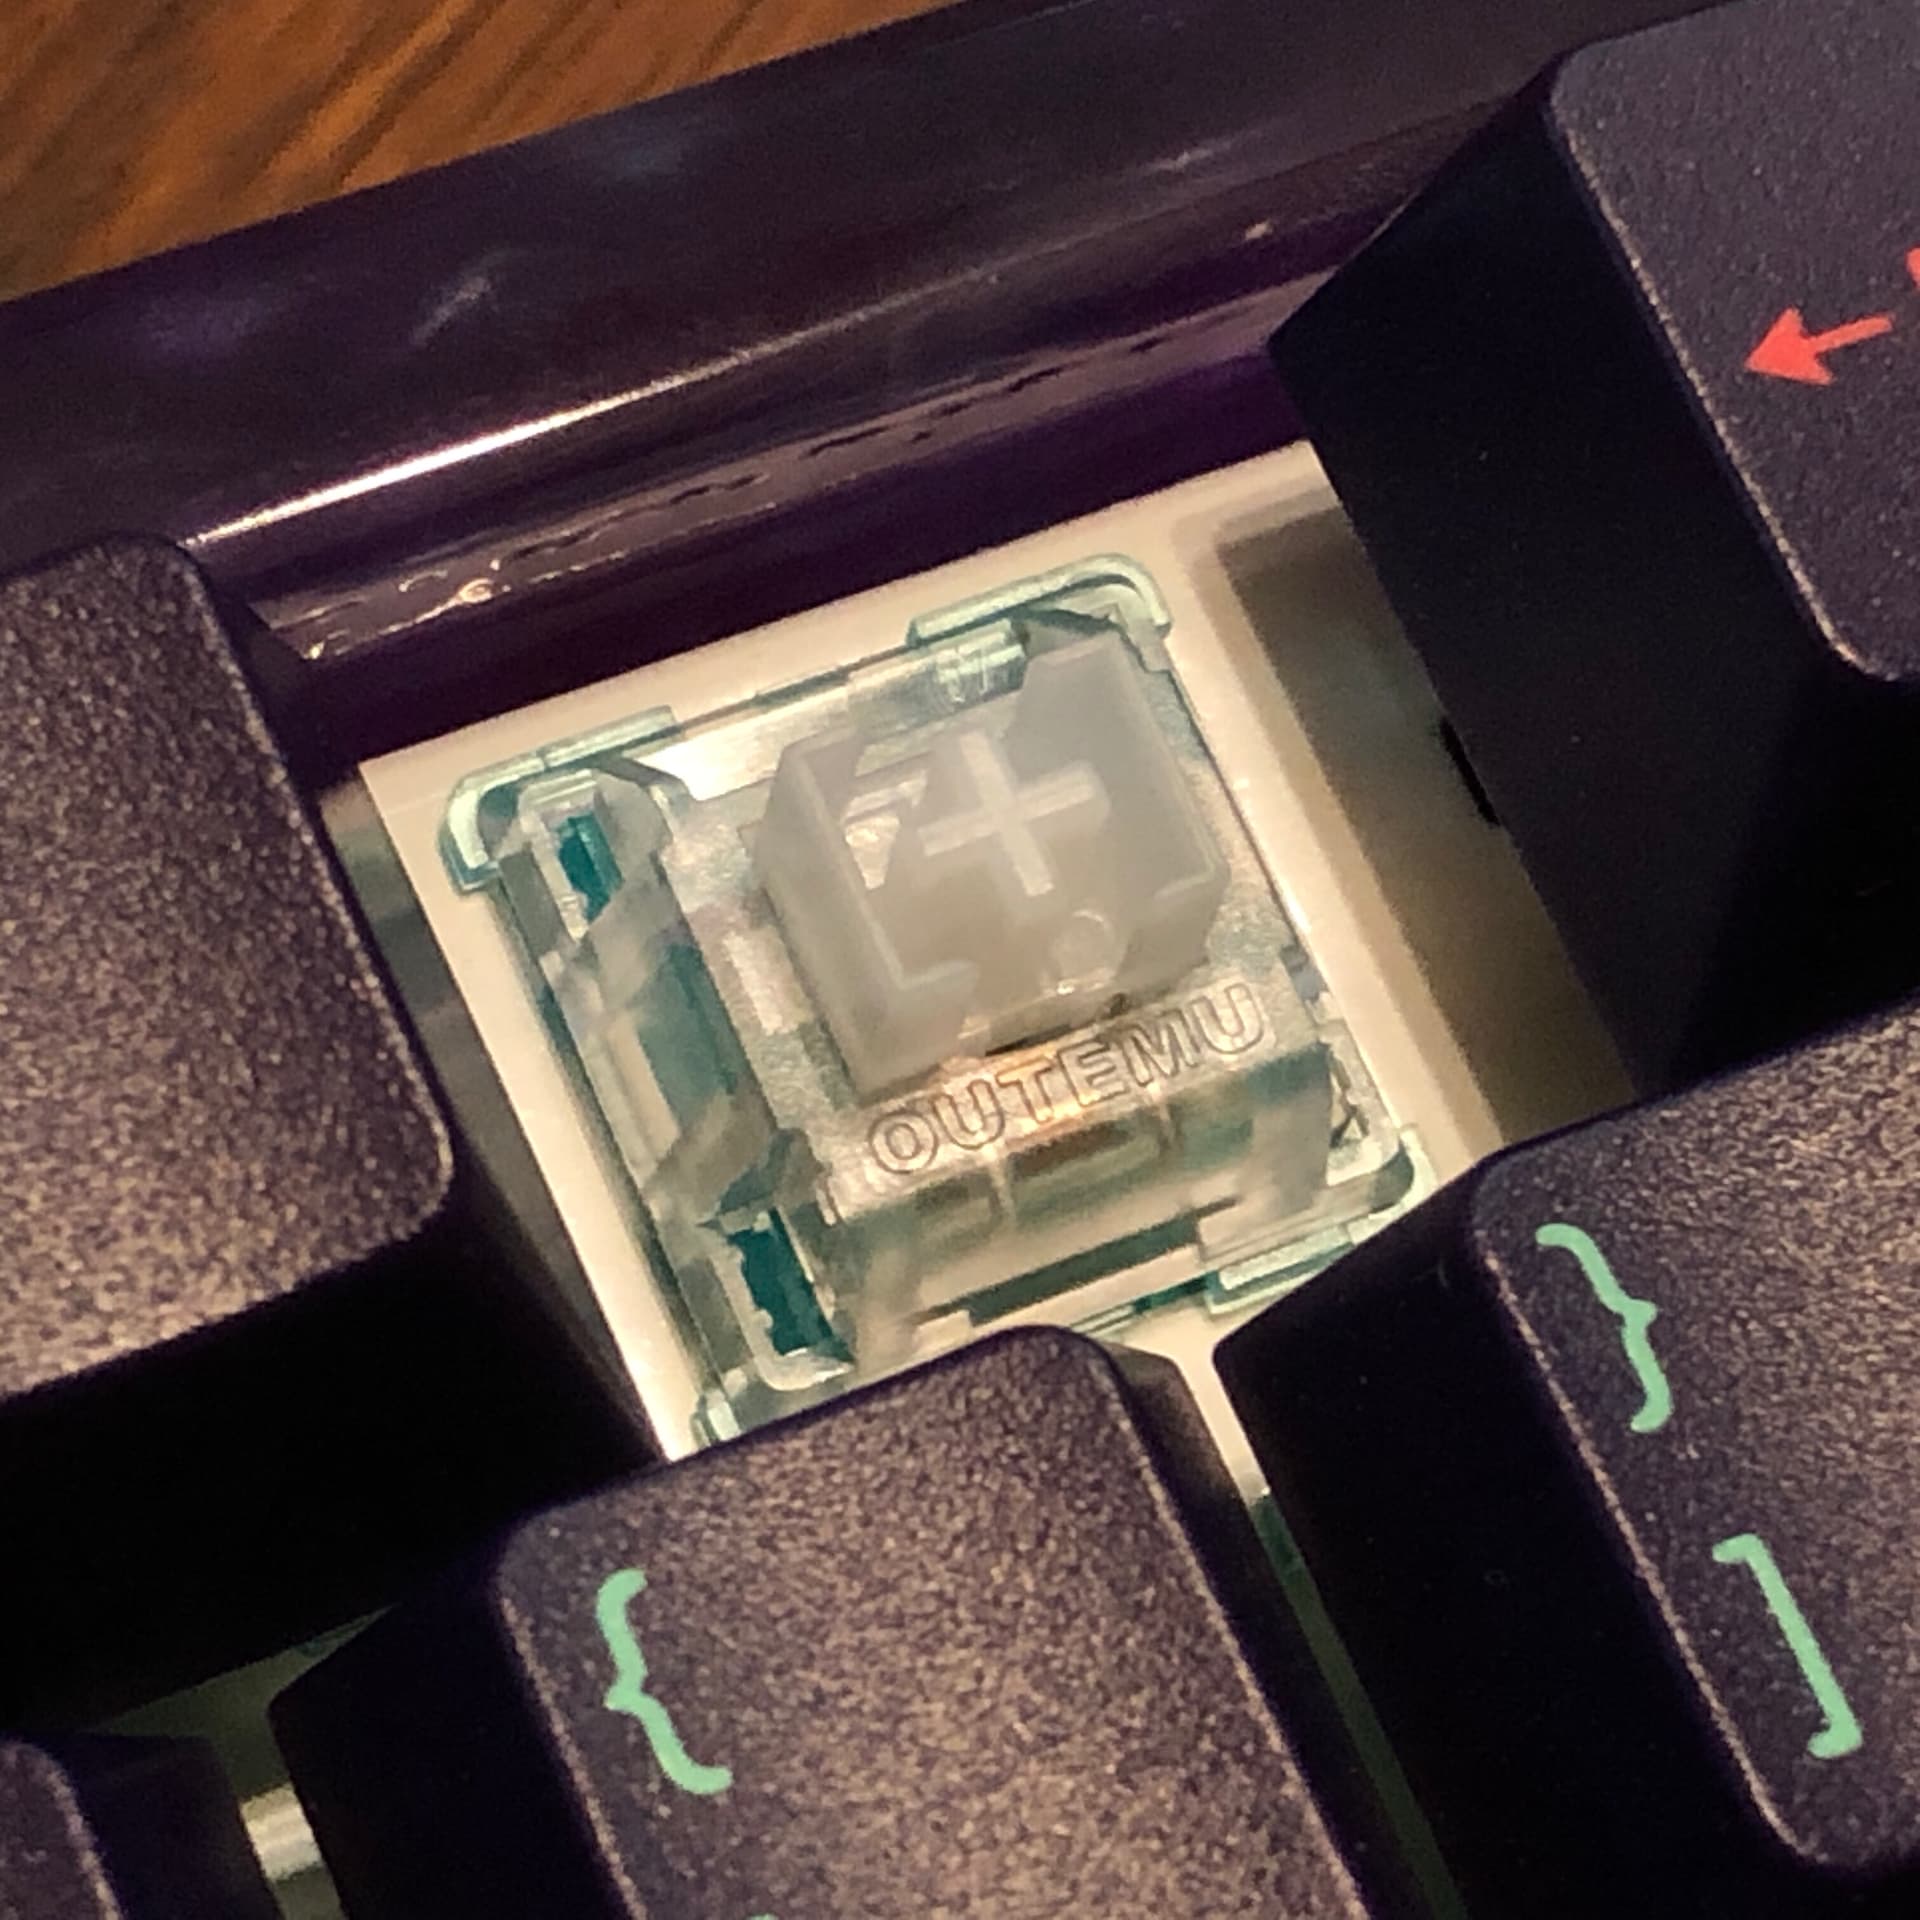
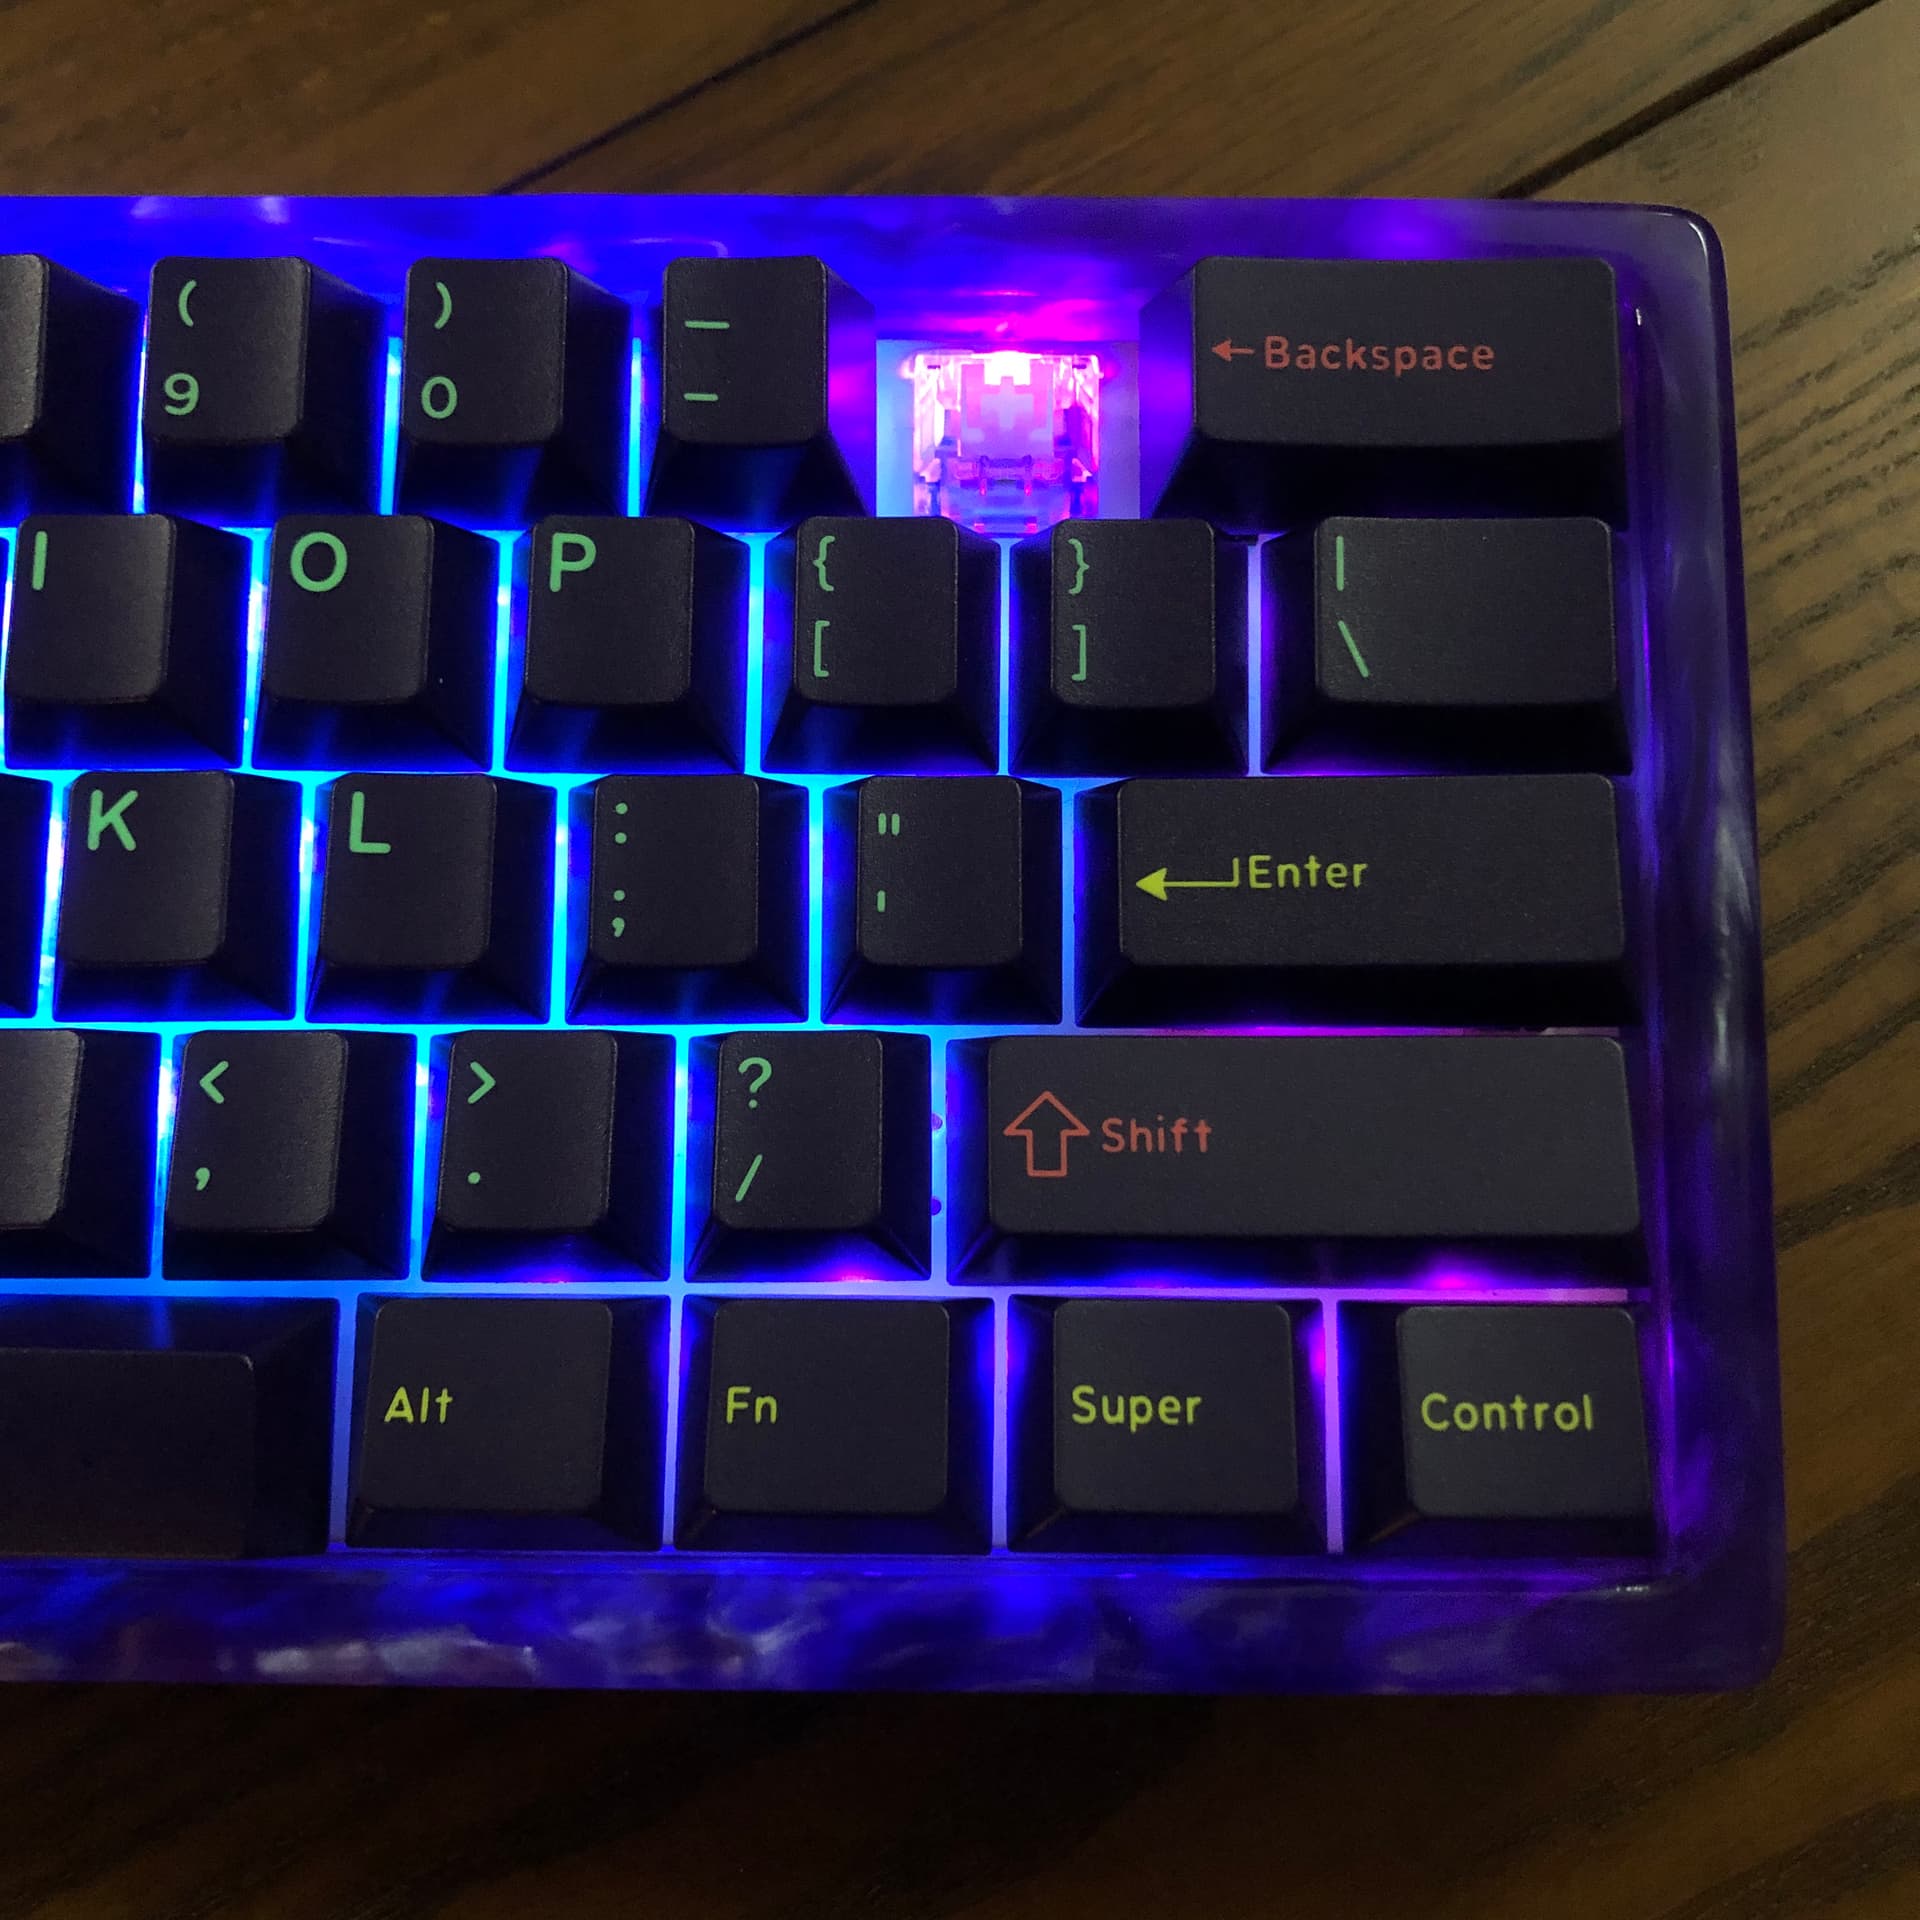
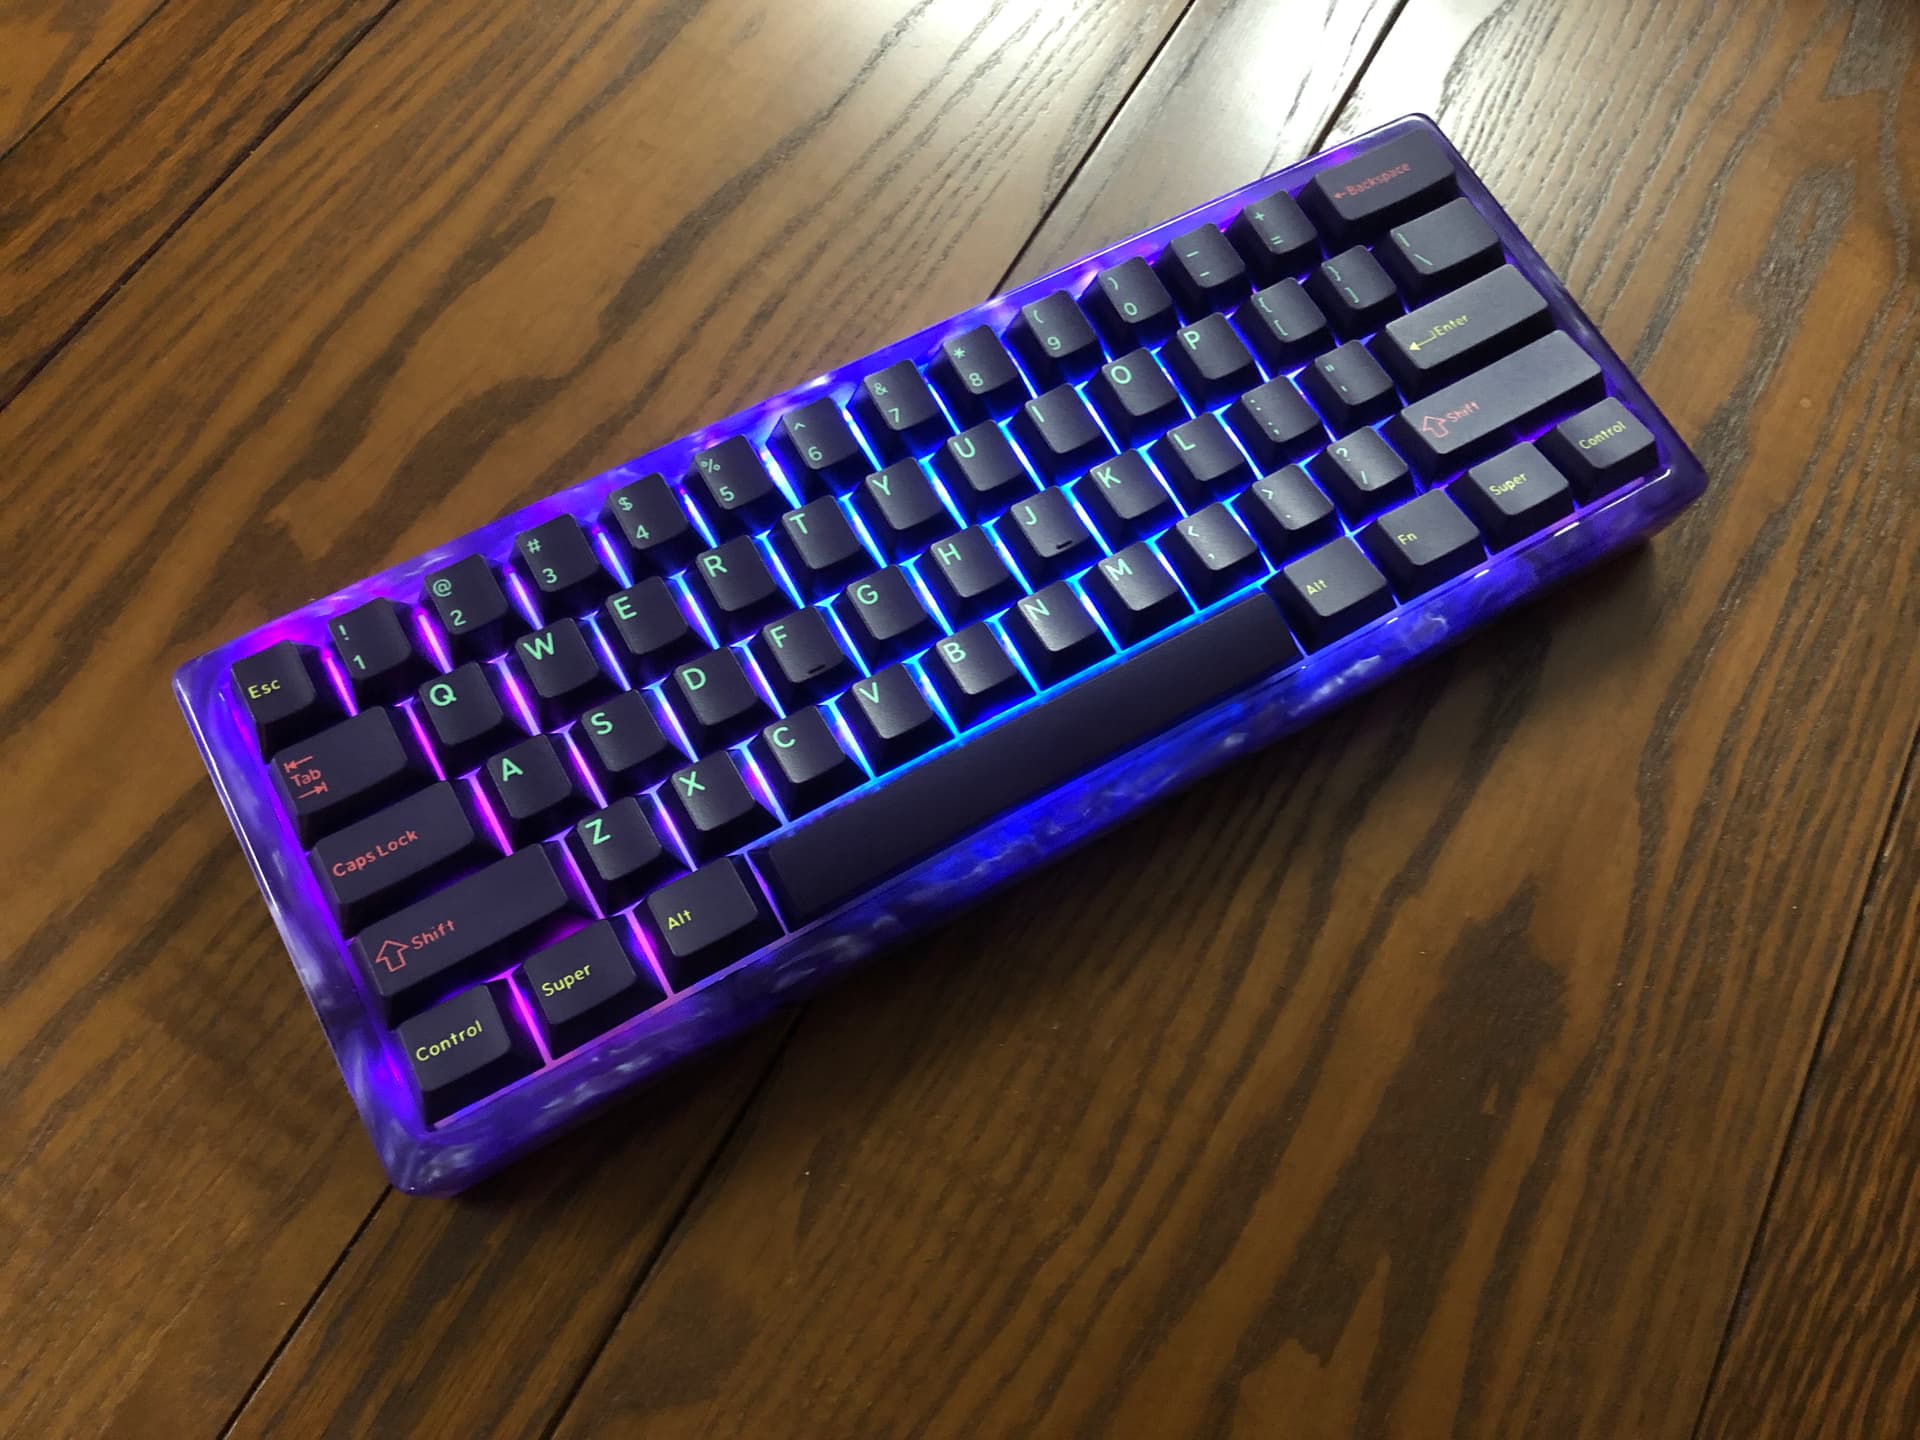
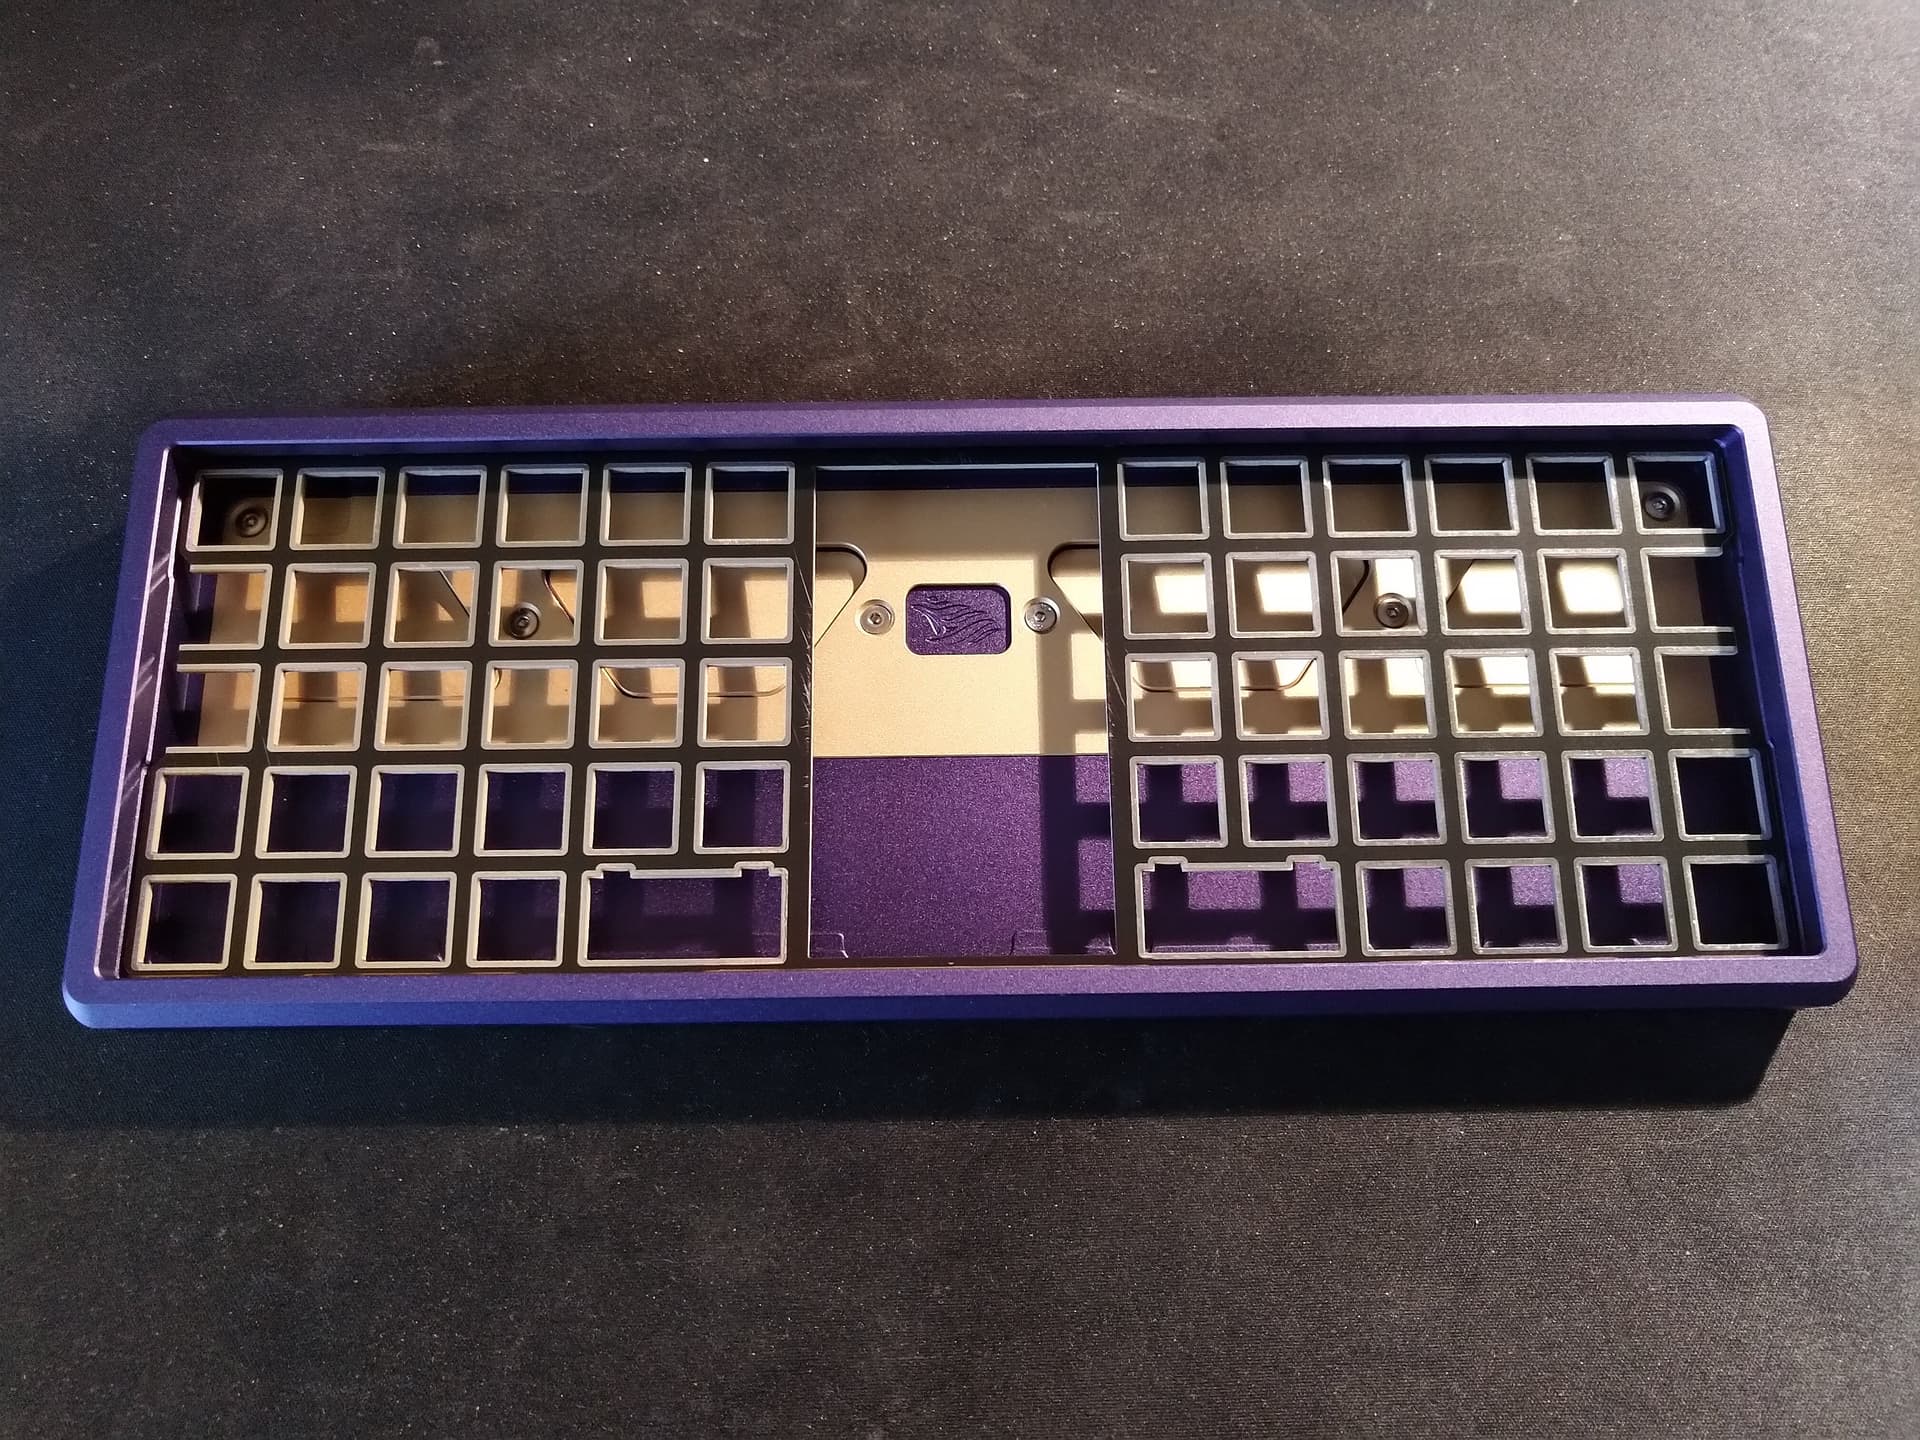
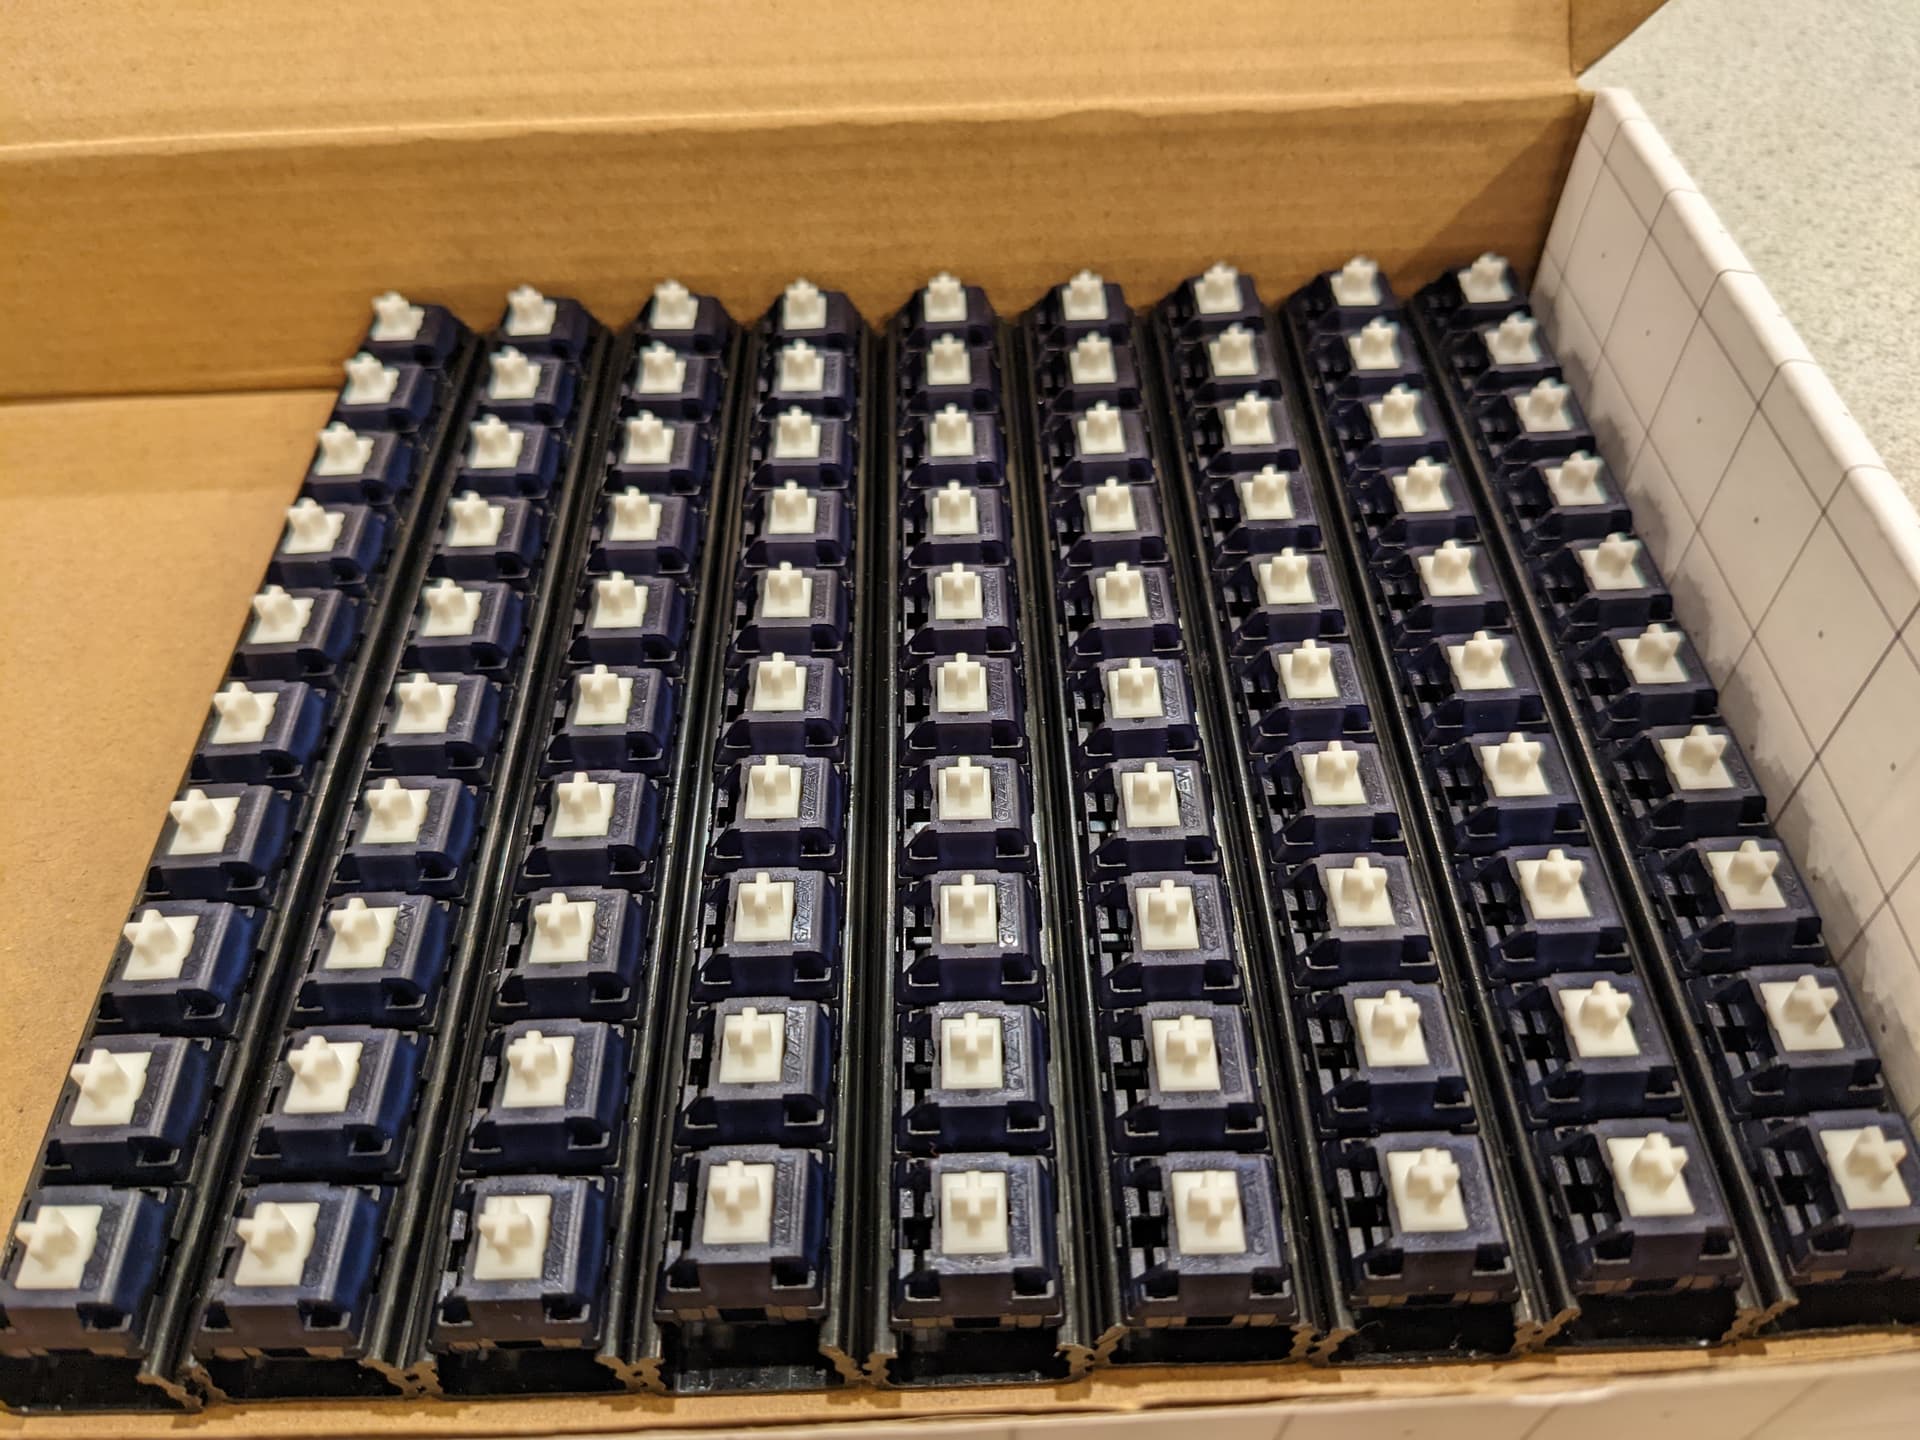
After trying many switches, this keeb’s new owner chose Outemu Ocean clickies - so I de-soldered the cap-killer Box Browns and put these in their place.
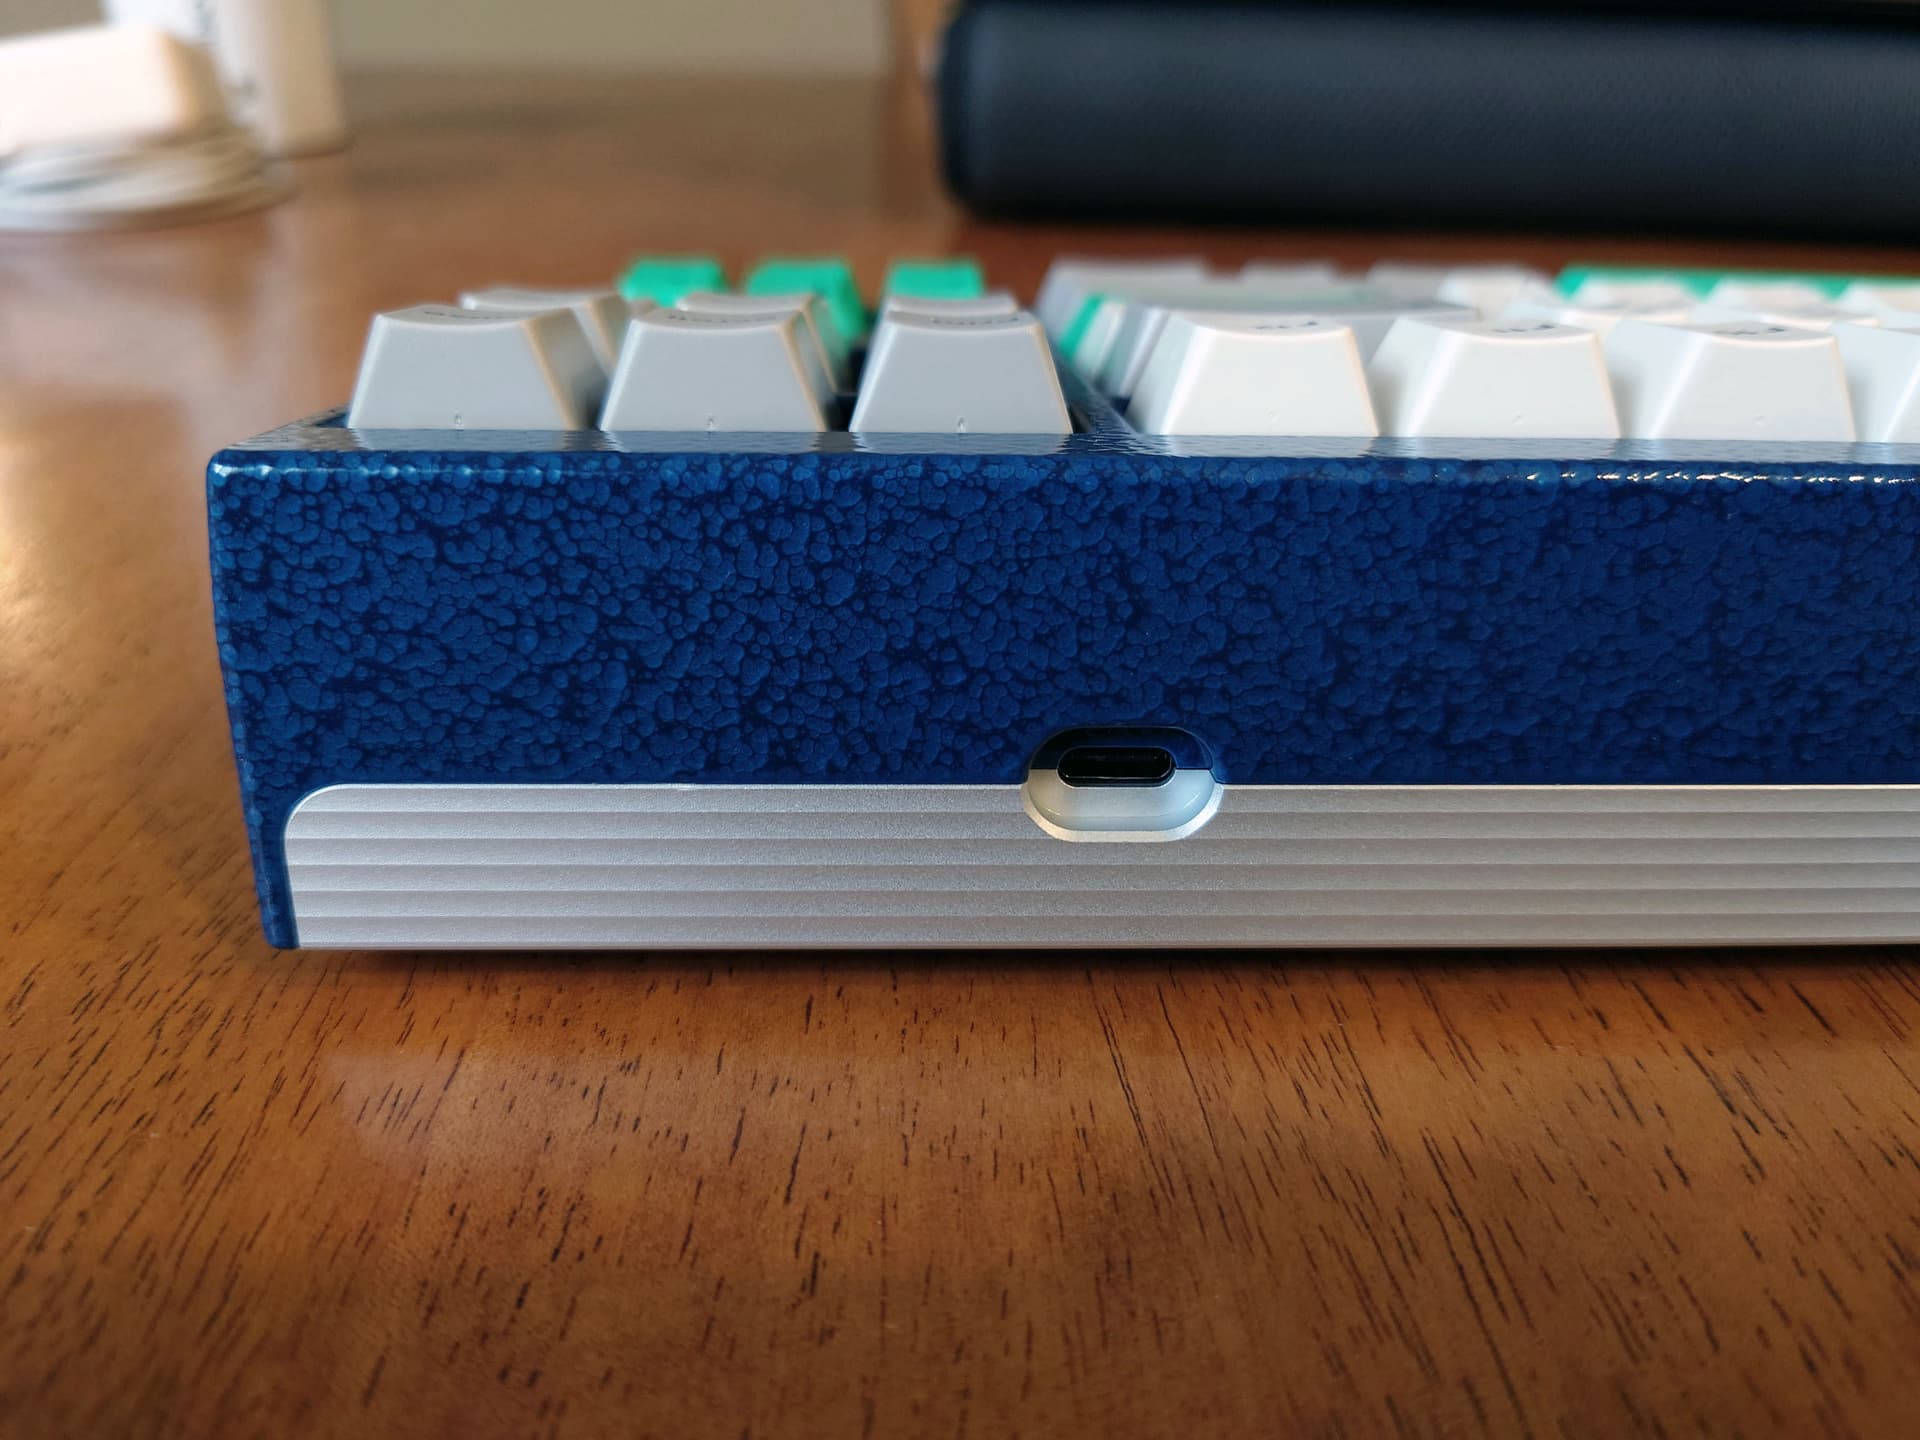
Fun fact; replacement KBD67 Lite screws are good for this conversion because they a.) fit and b.) are long enough to go from plate to case. (This should also make them good for burger mounting in general.)
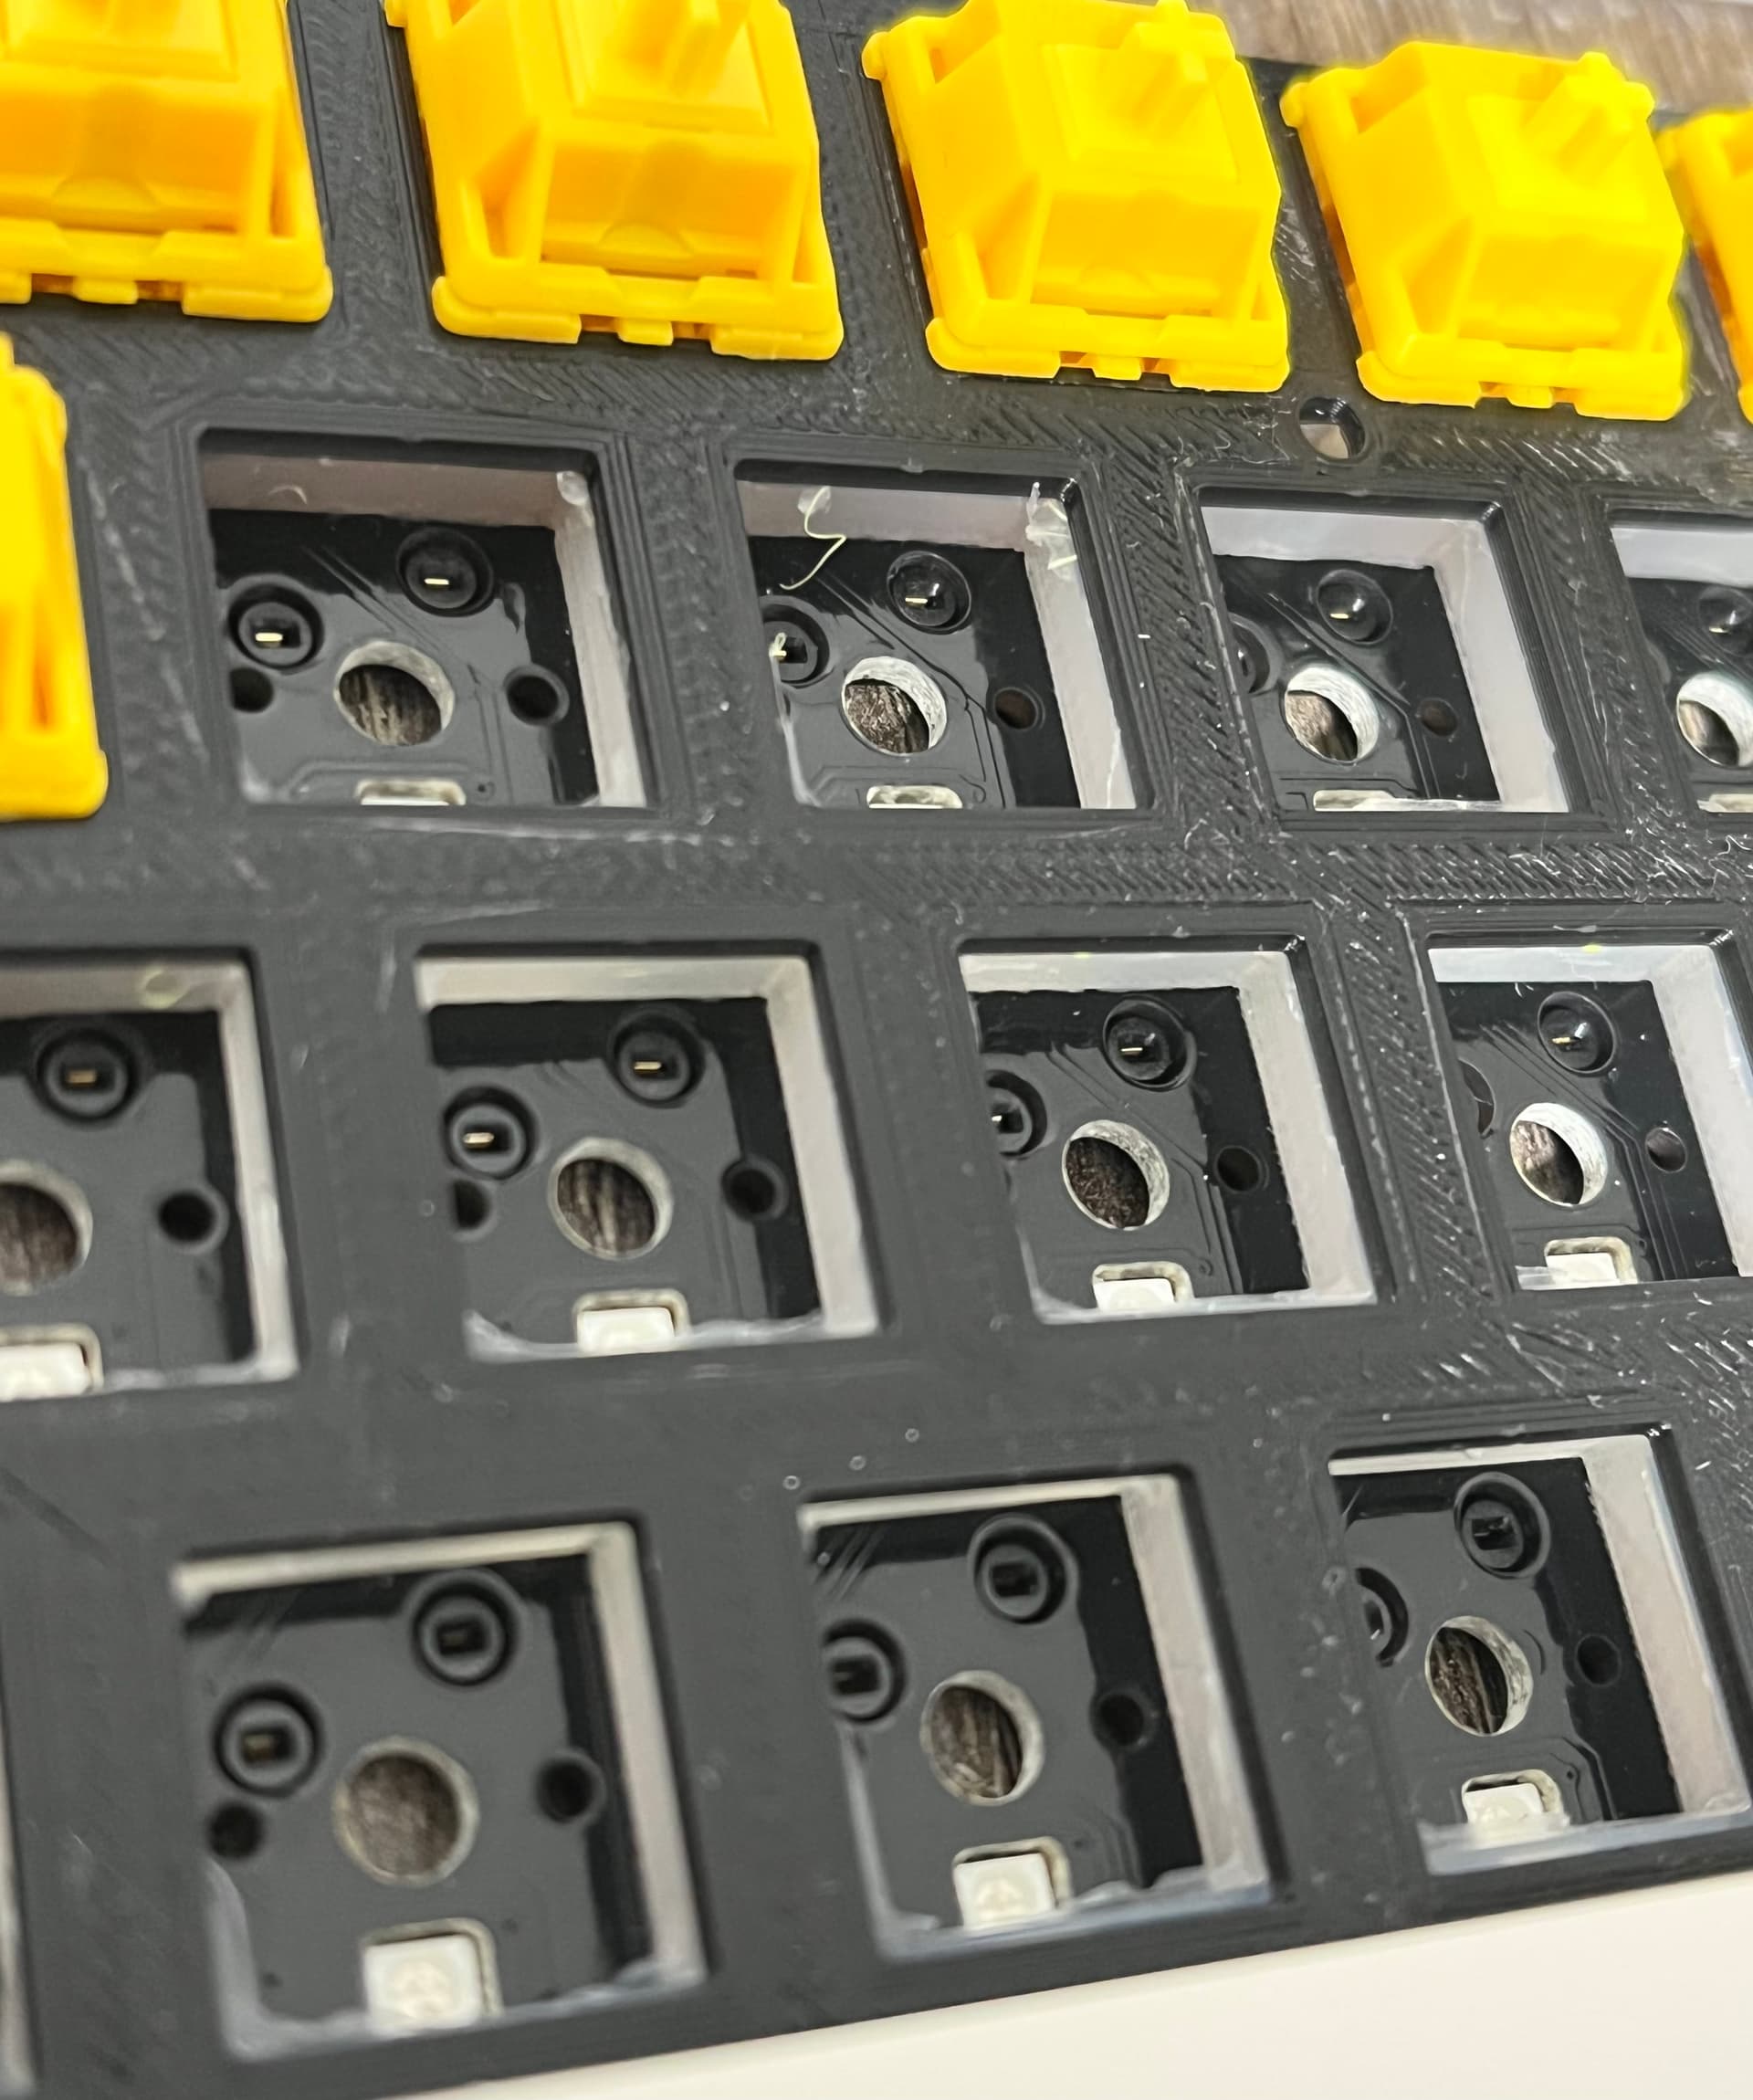
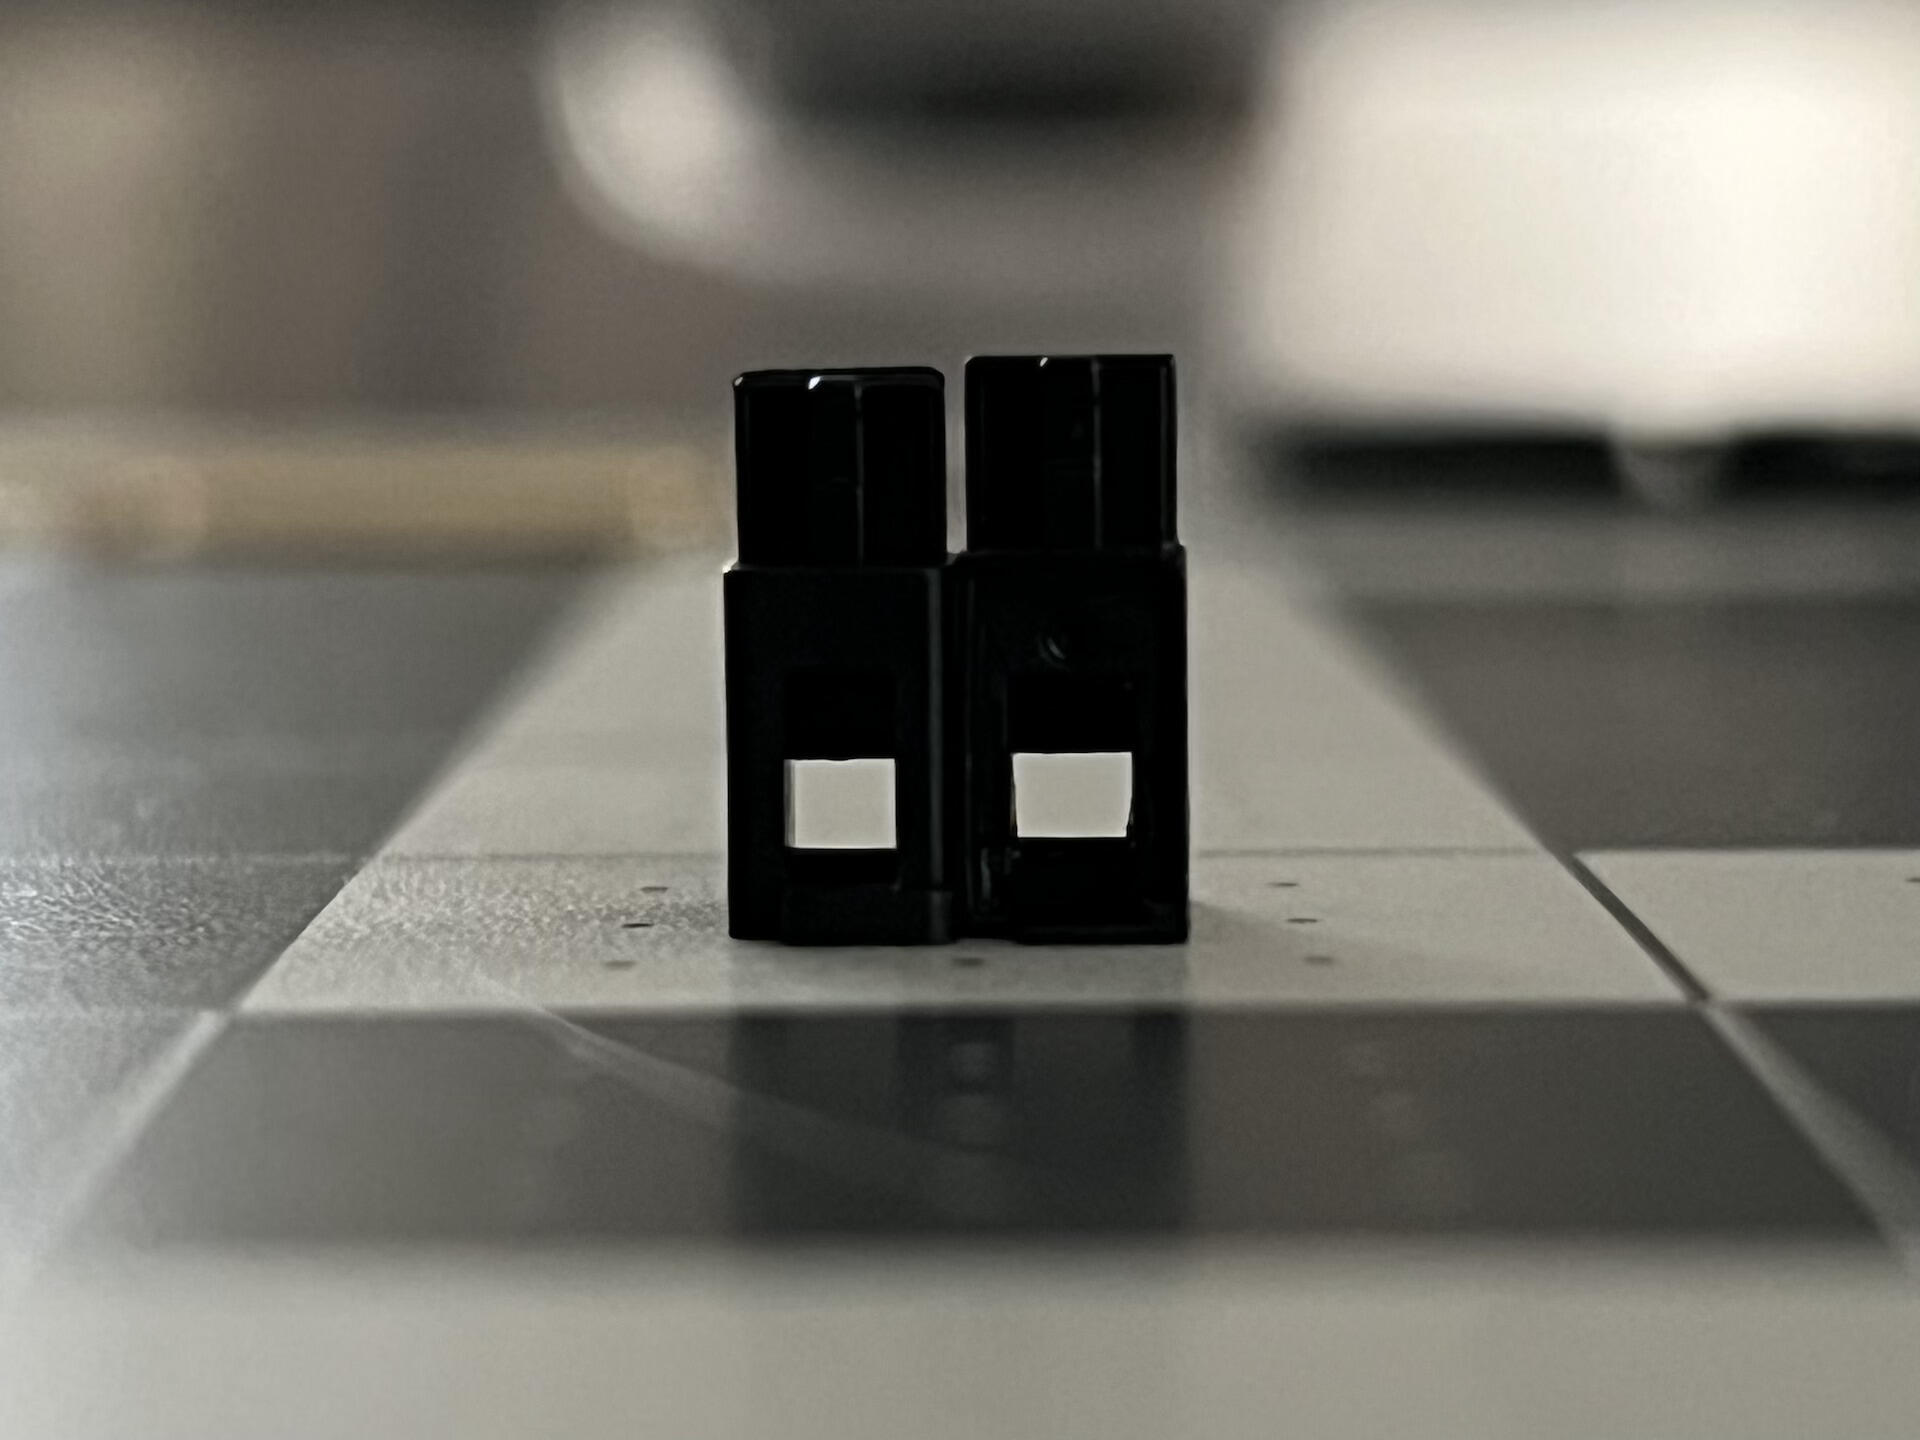
There’s PE foam on both sides of the PCB, and it sounds like this:
I think I’ve talked about this before, but I think these are among the most clean-sounding jacket clickies, alongside Blackberries more recently.
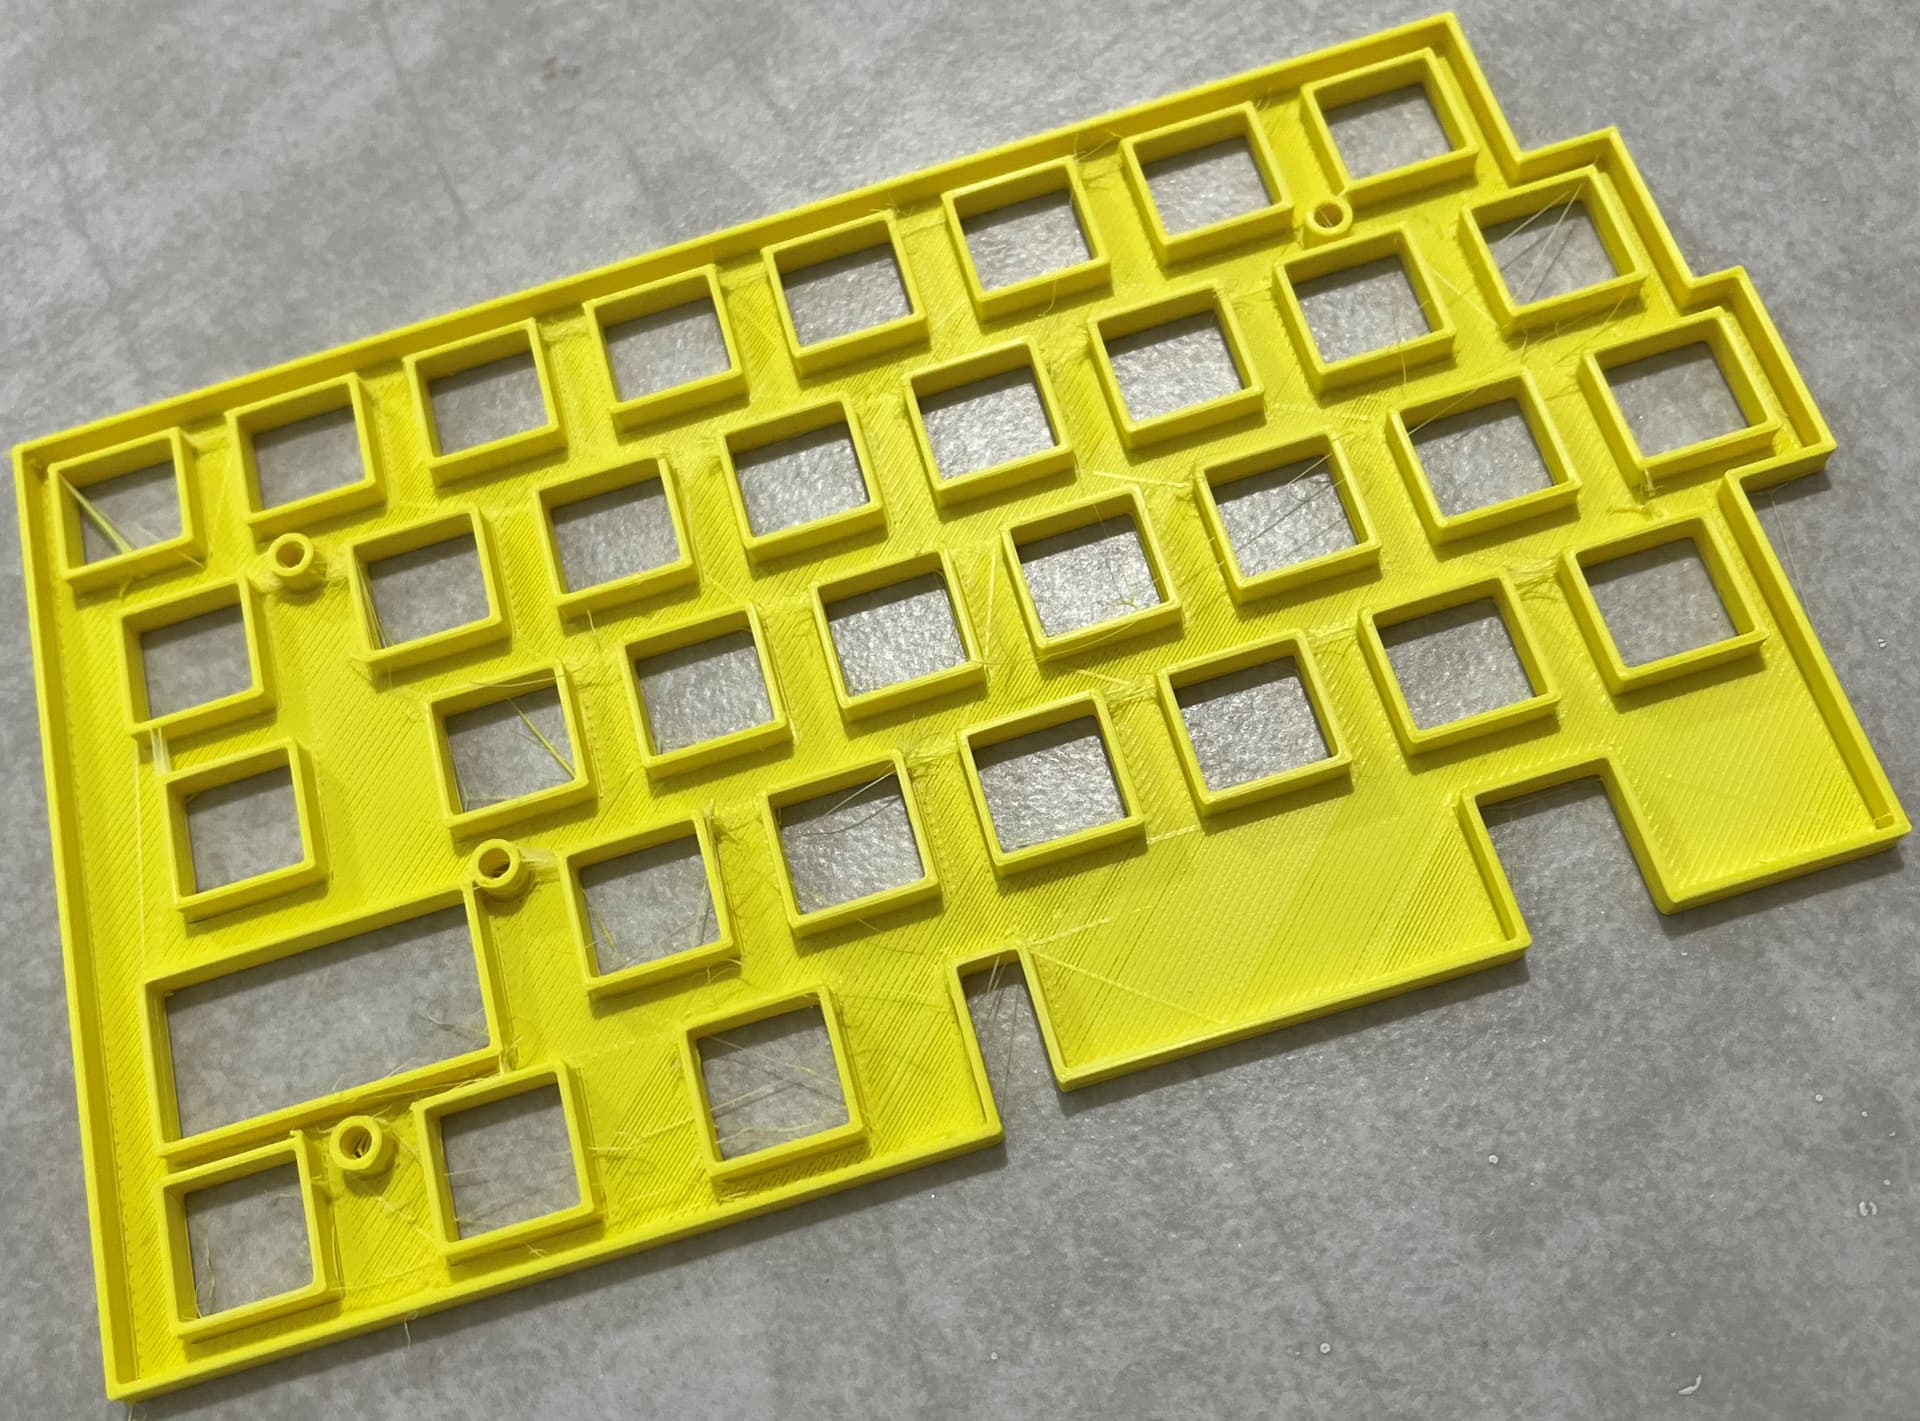
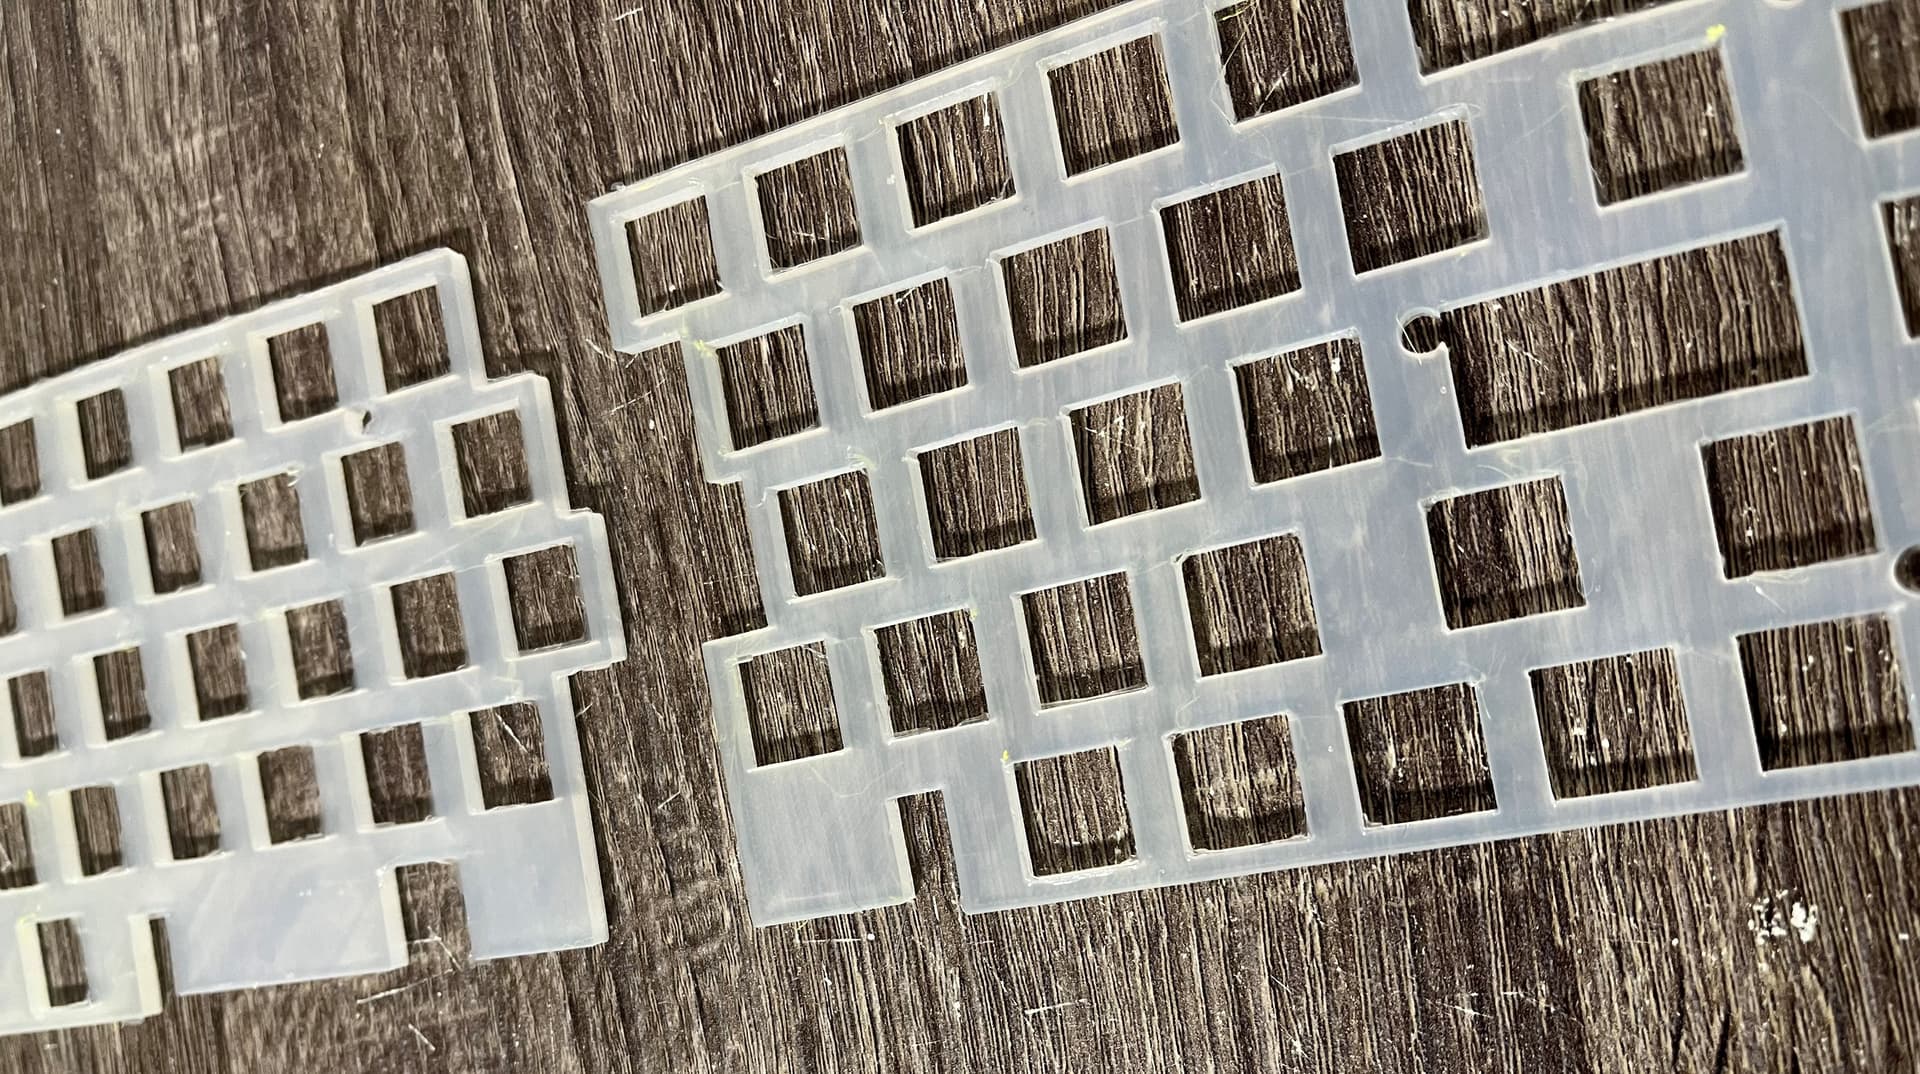
3D printed mold for silicone pour to make a silicone dampening sheet, it was a bit tricky to pour it into the mold, but spillage is fine, once it firms it’s easy to remove and clean.
Overall I’d recommend trying it if you have the resources on hand, not a hard thing to do at all.
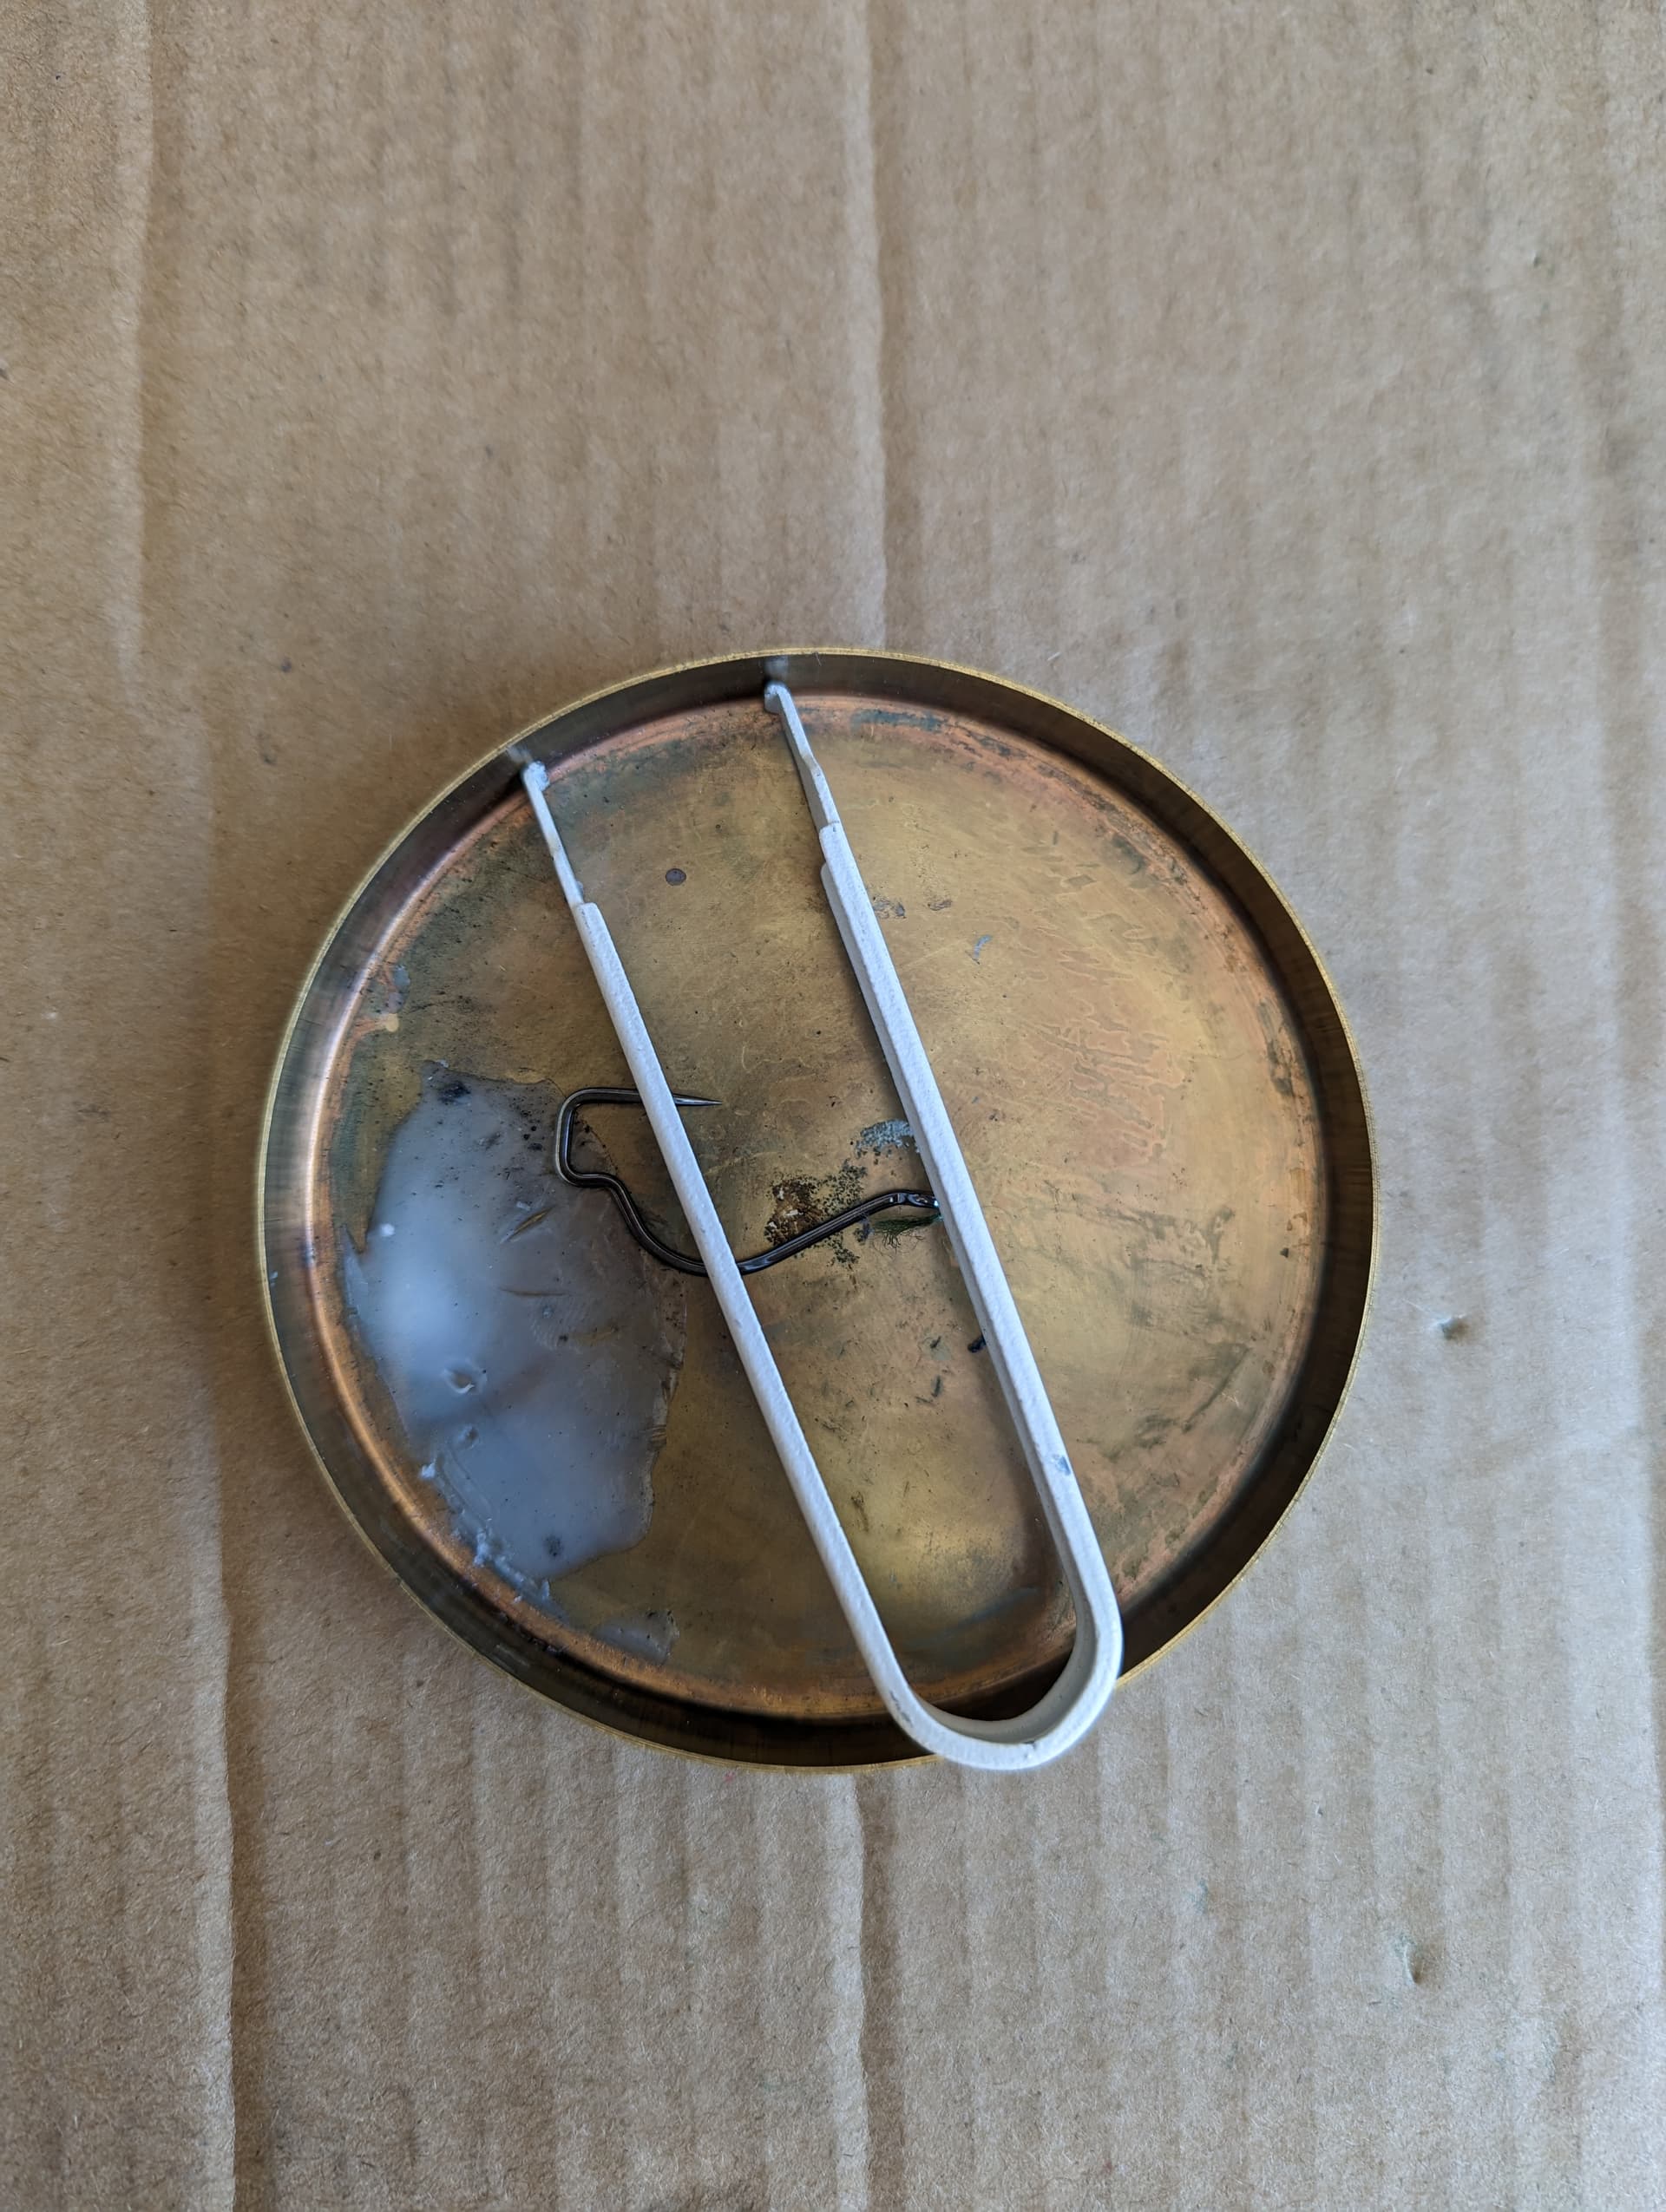
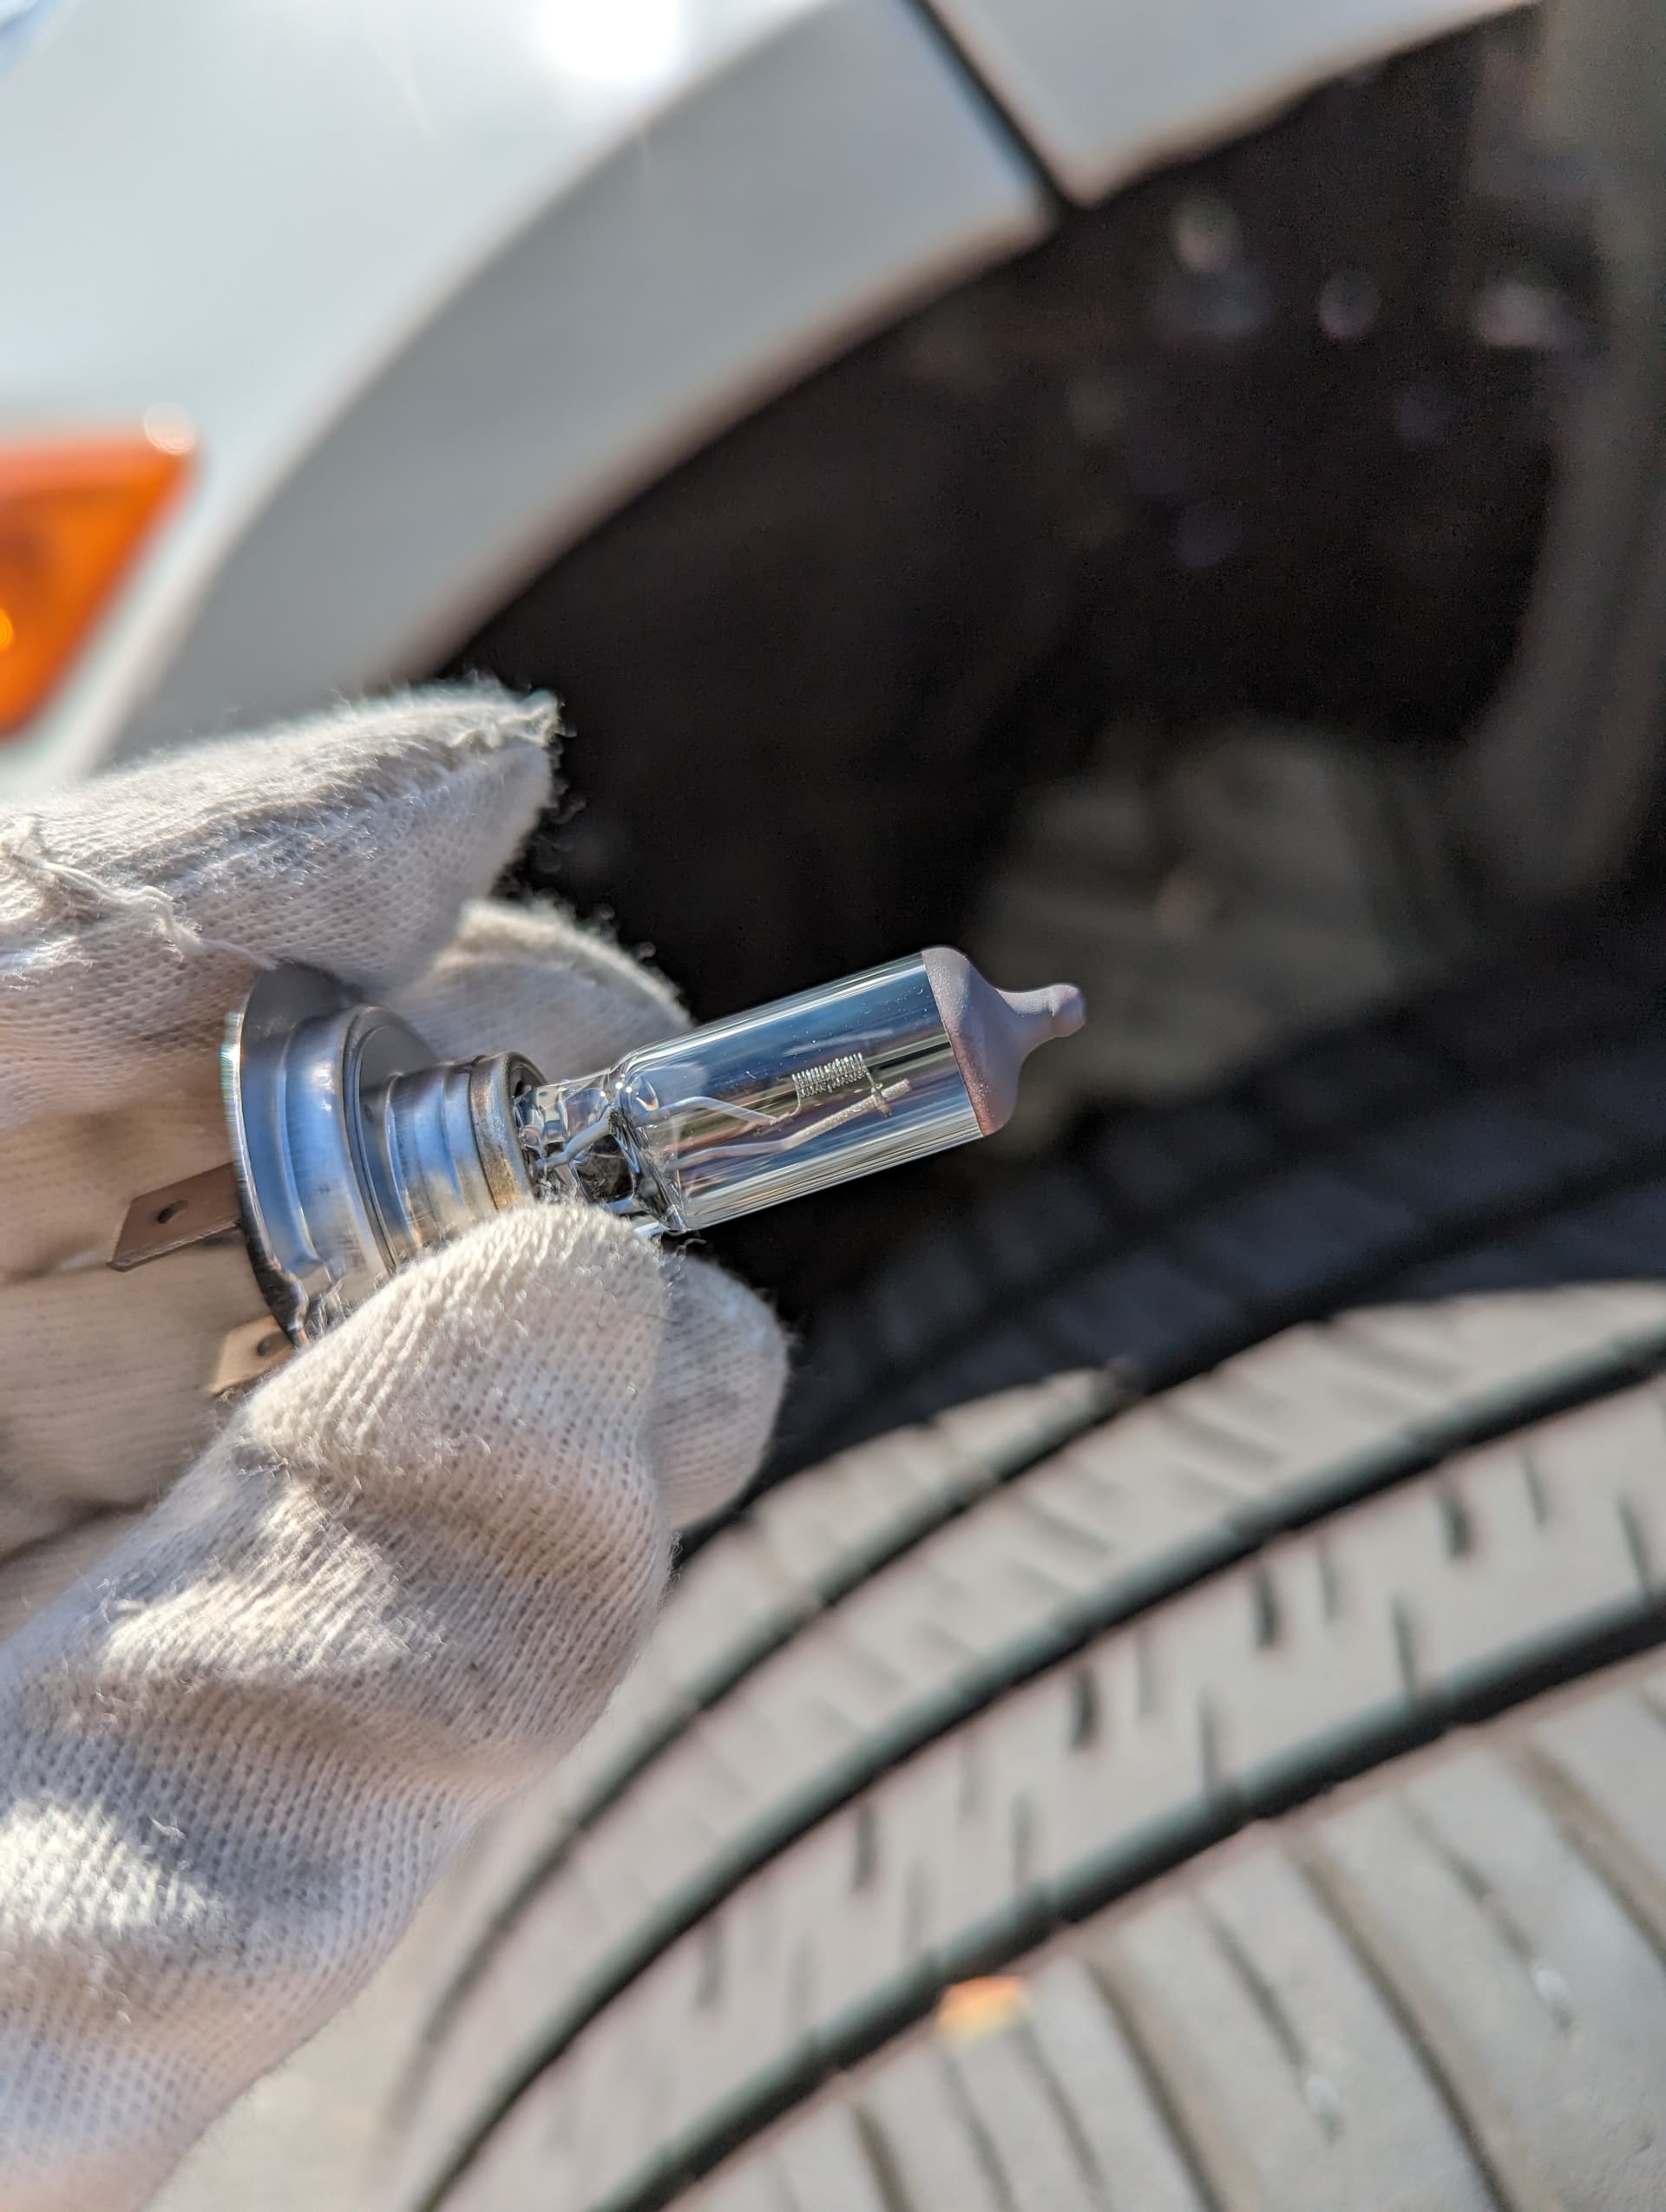
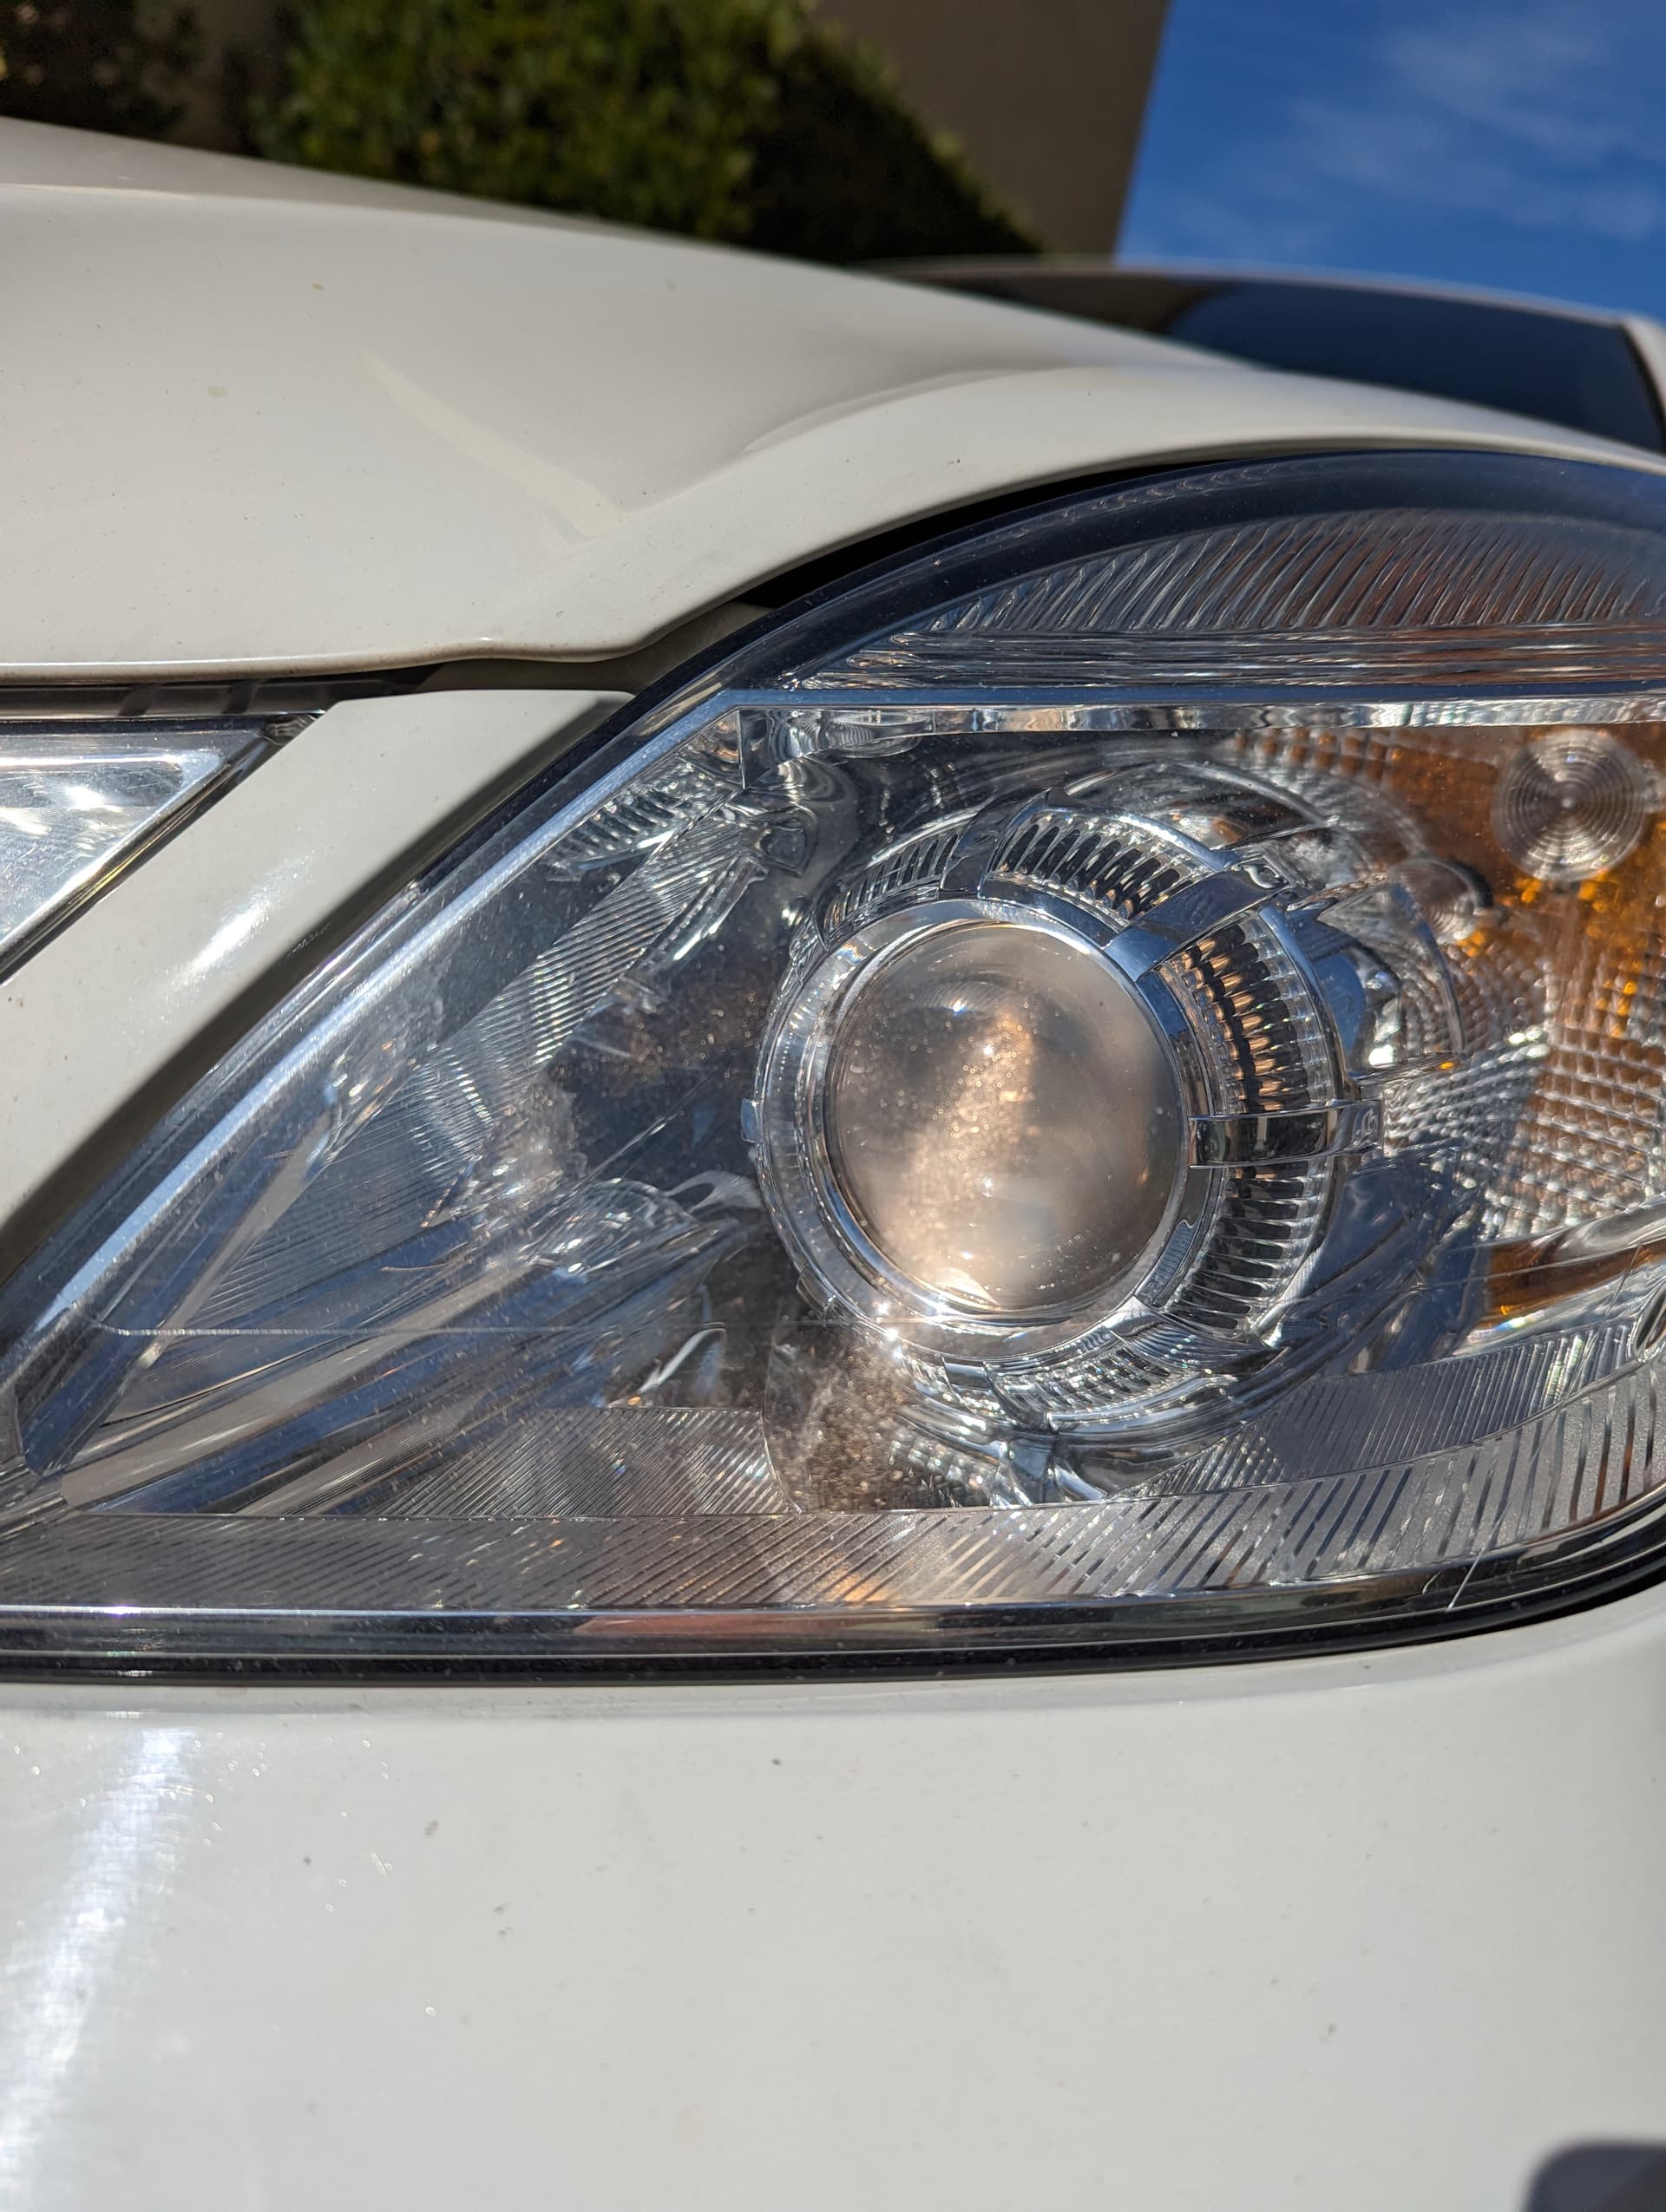
Sorta off topic but my low-beam was out in my Benzito and I went about replacing it, which required the removal of a flap to access the bulb. The flap is secured to the car via these plastic rivet things, and lacking the correct tools, I was able to remove the rivets using a fish hook and an mx switch puller, which I bought a long time ago despite not owning any mx boards lmao.
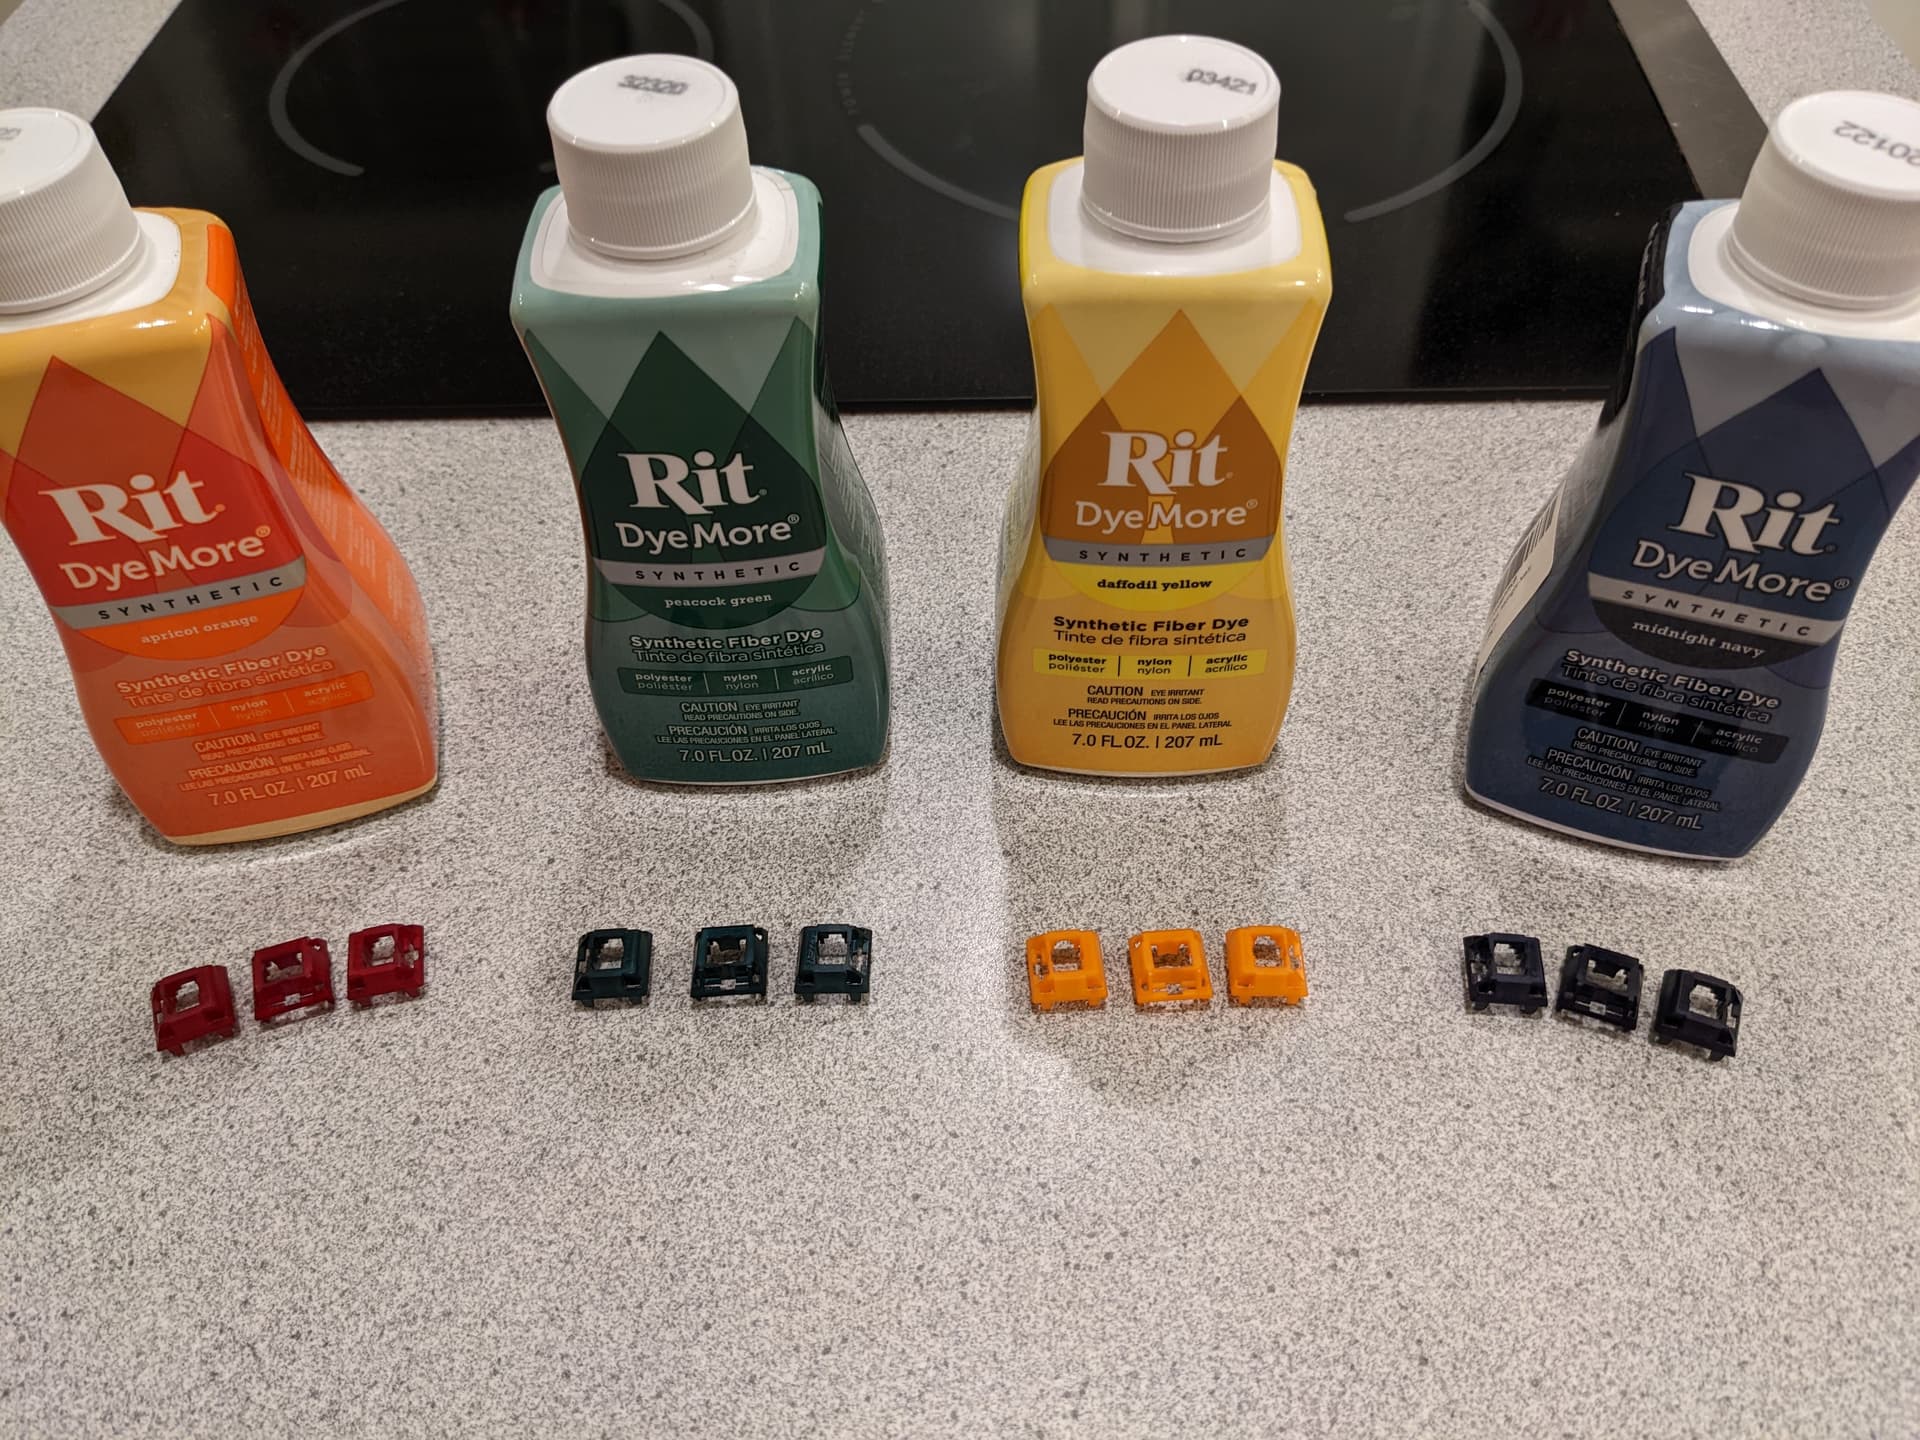
This one from AE, I would have gotten the one every YouTuber uses from Amazon, but shipping is quite high under $49 from Amazon, and figured they can’t be any different (toxic materials, quality, etc).
It advertised for 2 hours curing, but it took me close to 12 hours to fully cure, though I bought it last year and only used it now, so that might have had an impact? No idea honestly.
Not sure if this was discussed elsewhere or previously or is obvious, but did you try the force break mod for the Q1? Most of the Keychron boards seem to struggle with that metallic case ping, which the force break mod should solve.
Yes, I have tried that! I’m not sure I’ve got it quite right yet though. It’s on my workbench for the rest of the week, including a POM plate.
The plate has no screw holes though, so I’m a bit stumped as to what to do - will it be stable enough with plate foam? Can I still hotswap switches or do I have to disassemble the board every time I want to try new switches? I was told on a discord that it would be strong enough once I put in a set off switches to swap out a few at a time, and as a payoff I would get a more even typing feel because of the lack of stand off screws…
I would say this is true, strictly speaking - you can totally swap a few at a time without standoffs - though I’d still recommend taking the board apart to swap switches so that you can support the sockets from beneath when installing.
Not using the standoffs will indeed improve consistency across the deck - I basically always forgo them these days. Having them does make life much easier for beginners, but I think the extra 5-ish minutes to take the board apart are totally worth it for the peace of mind that I won’t be putting any undue wear on my sockets.
I agree with all of this advice! I’ve had zero issues while skipping standoffs on all my more recent boards, but you should definitely support the hotswap sockets from the back (either with your fingers or on a semi-solid surface like a silicone work mat) when changing switches.
Forgot to take pictures, but I worked on the Q1 today, swapping out the steel plate for the POM plate - so much nicer! - redoing my force-break mod, and trying out different foam/dampening solutions.
Force break mod: love it! I chopped up a few poron switch stickers as I didn’t have any tape, and it eliminated 95% of the ping, except for an insistent one on the ‘s’ key (which is now annoying the hell out of me, off course…)
Dampening: landed on a combination of the original foam and a fluffy thinsulate sound absorber that I got from swagkeys.
Might try a couple of other solutions tomorrow - normally I’m quite keen on the killmat type dampener, but that didn’t work for me today
Pom plate without stand-off screws (also @Deadeye ): it worked fine! Nothing broke, and you were right, it does feel more even - nice!
Edit: didn’t have enough poron gaskets, so used some response foam instead…I’m sure swapping that out will feel nicer, but I’ll have to wait for the gaskets to arrive
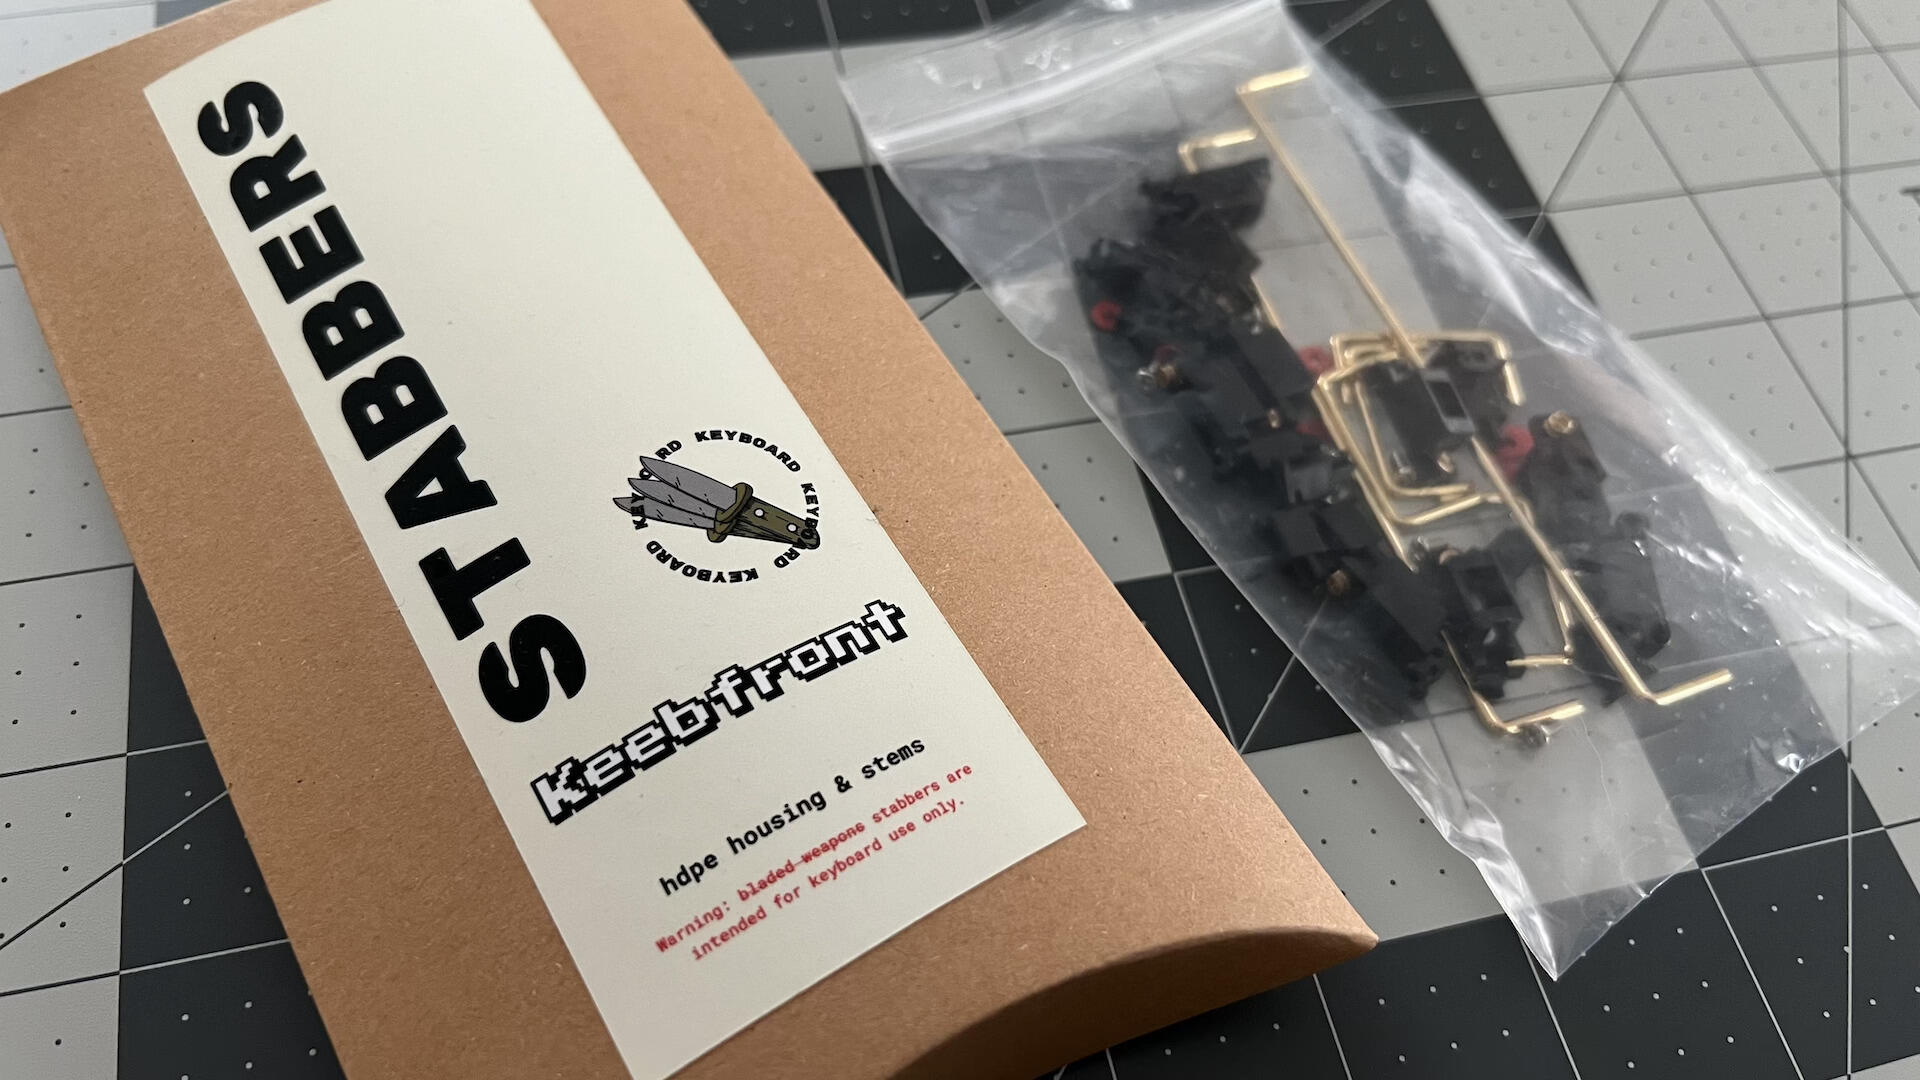
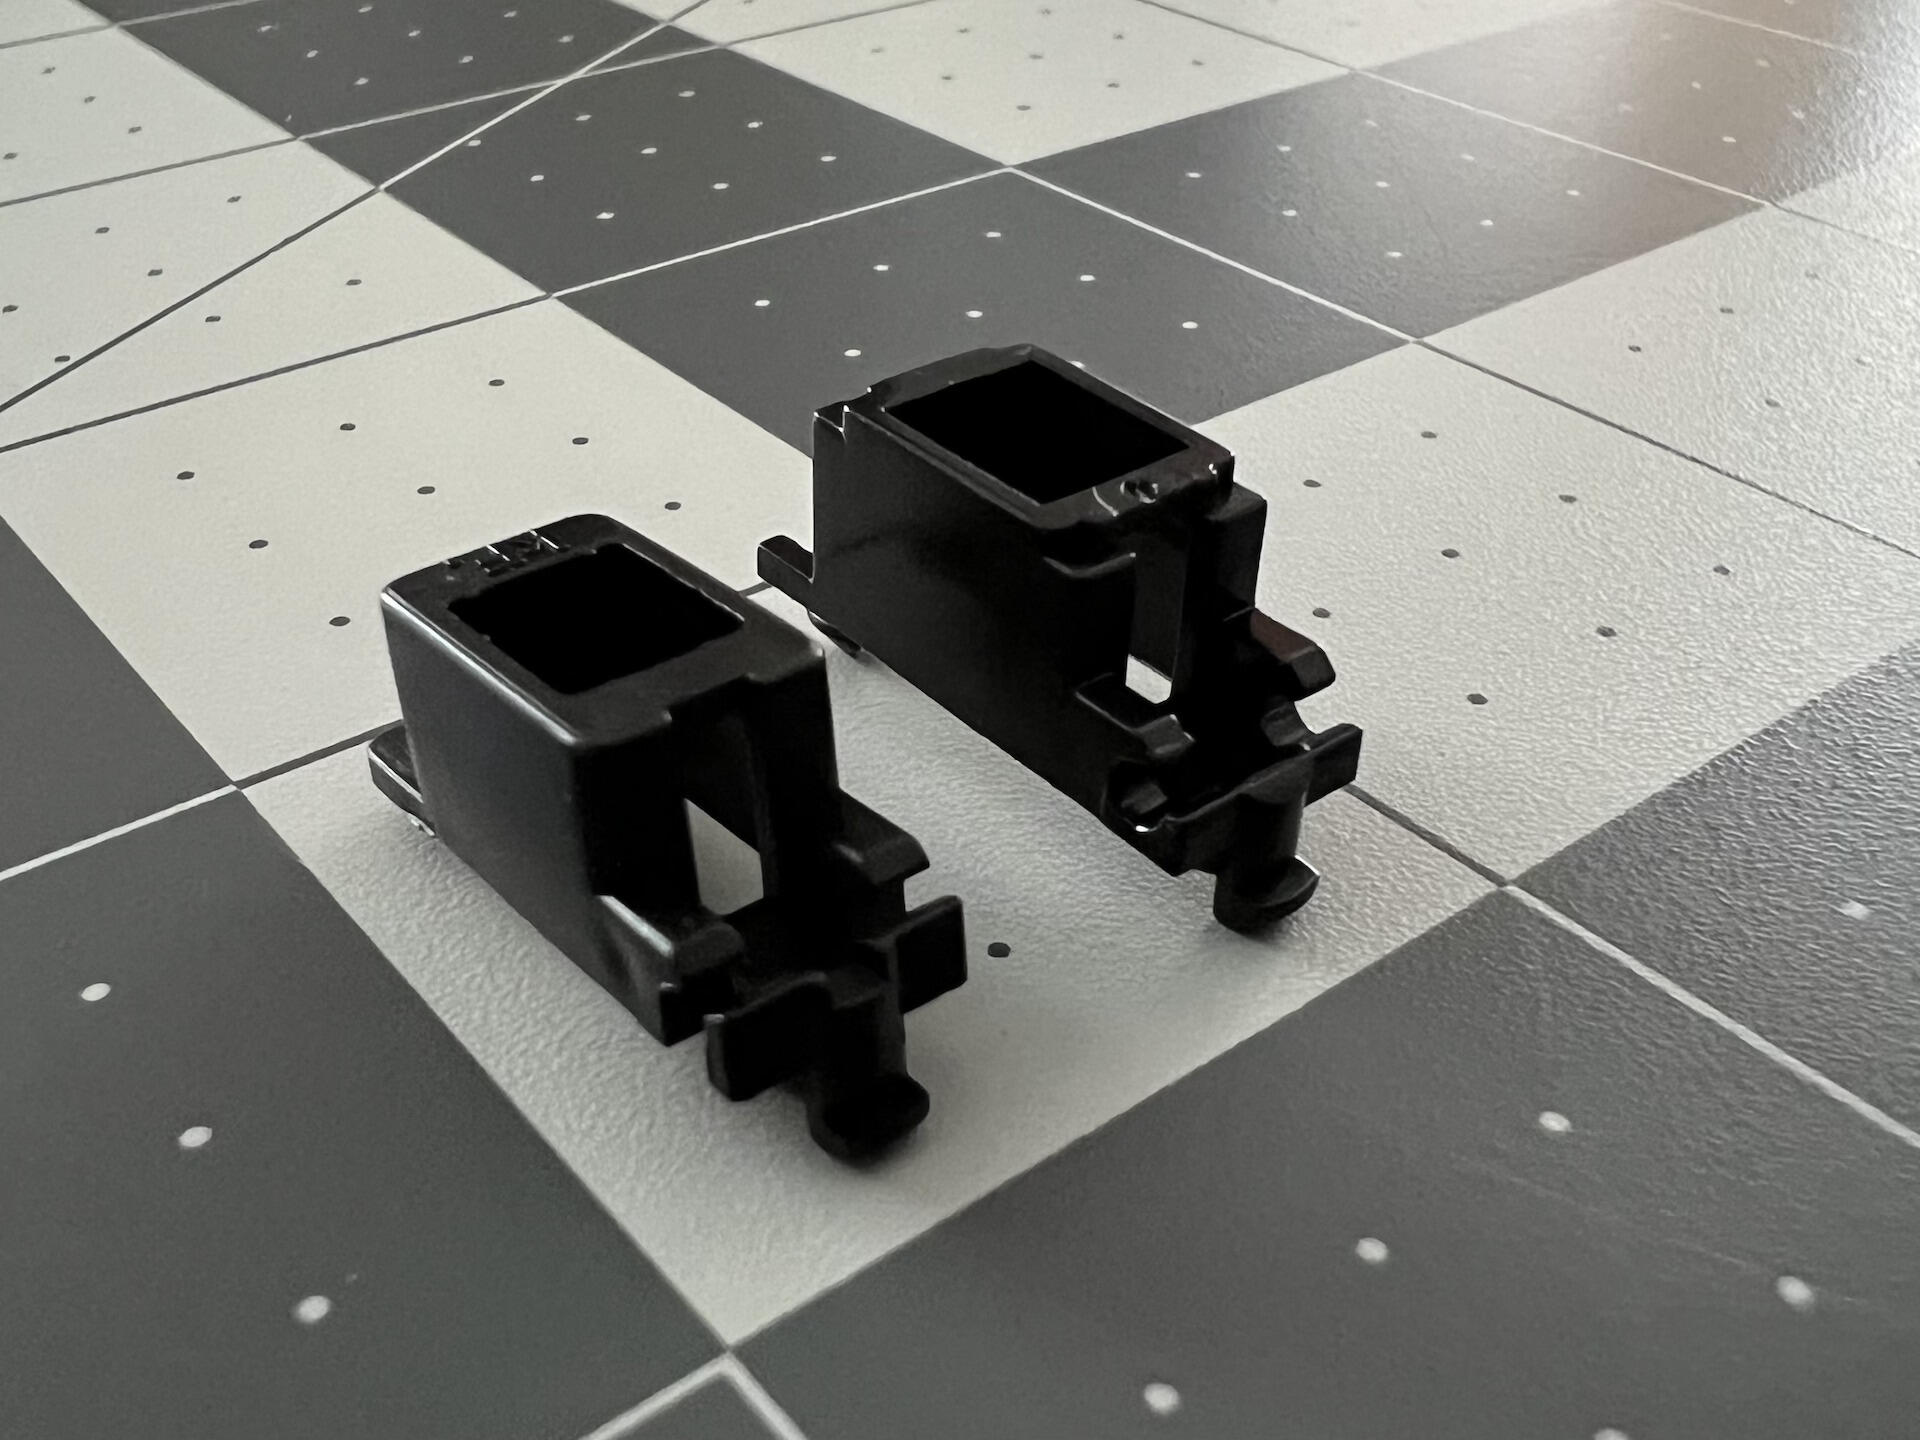
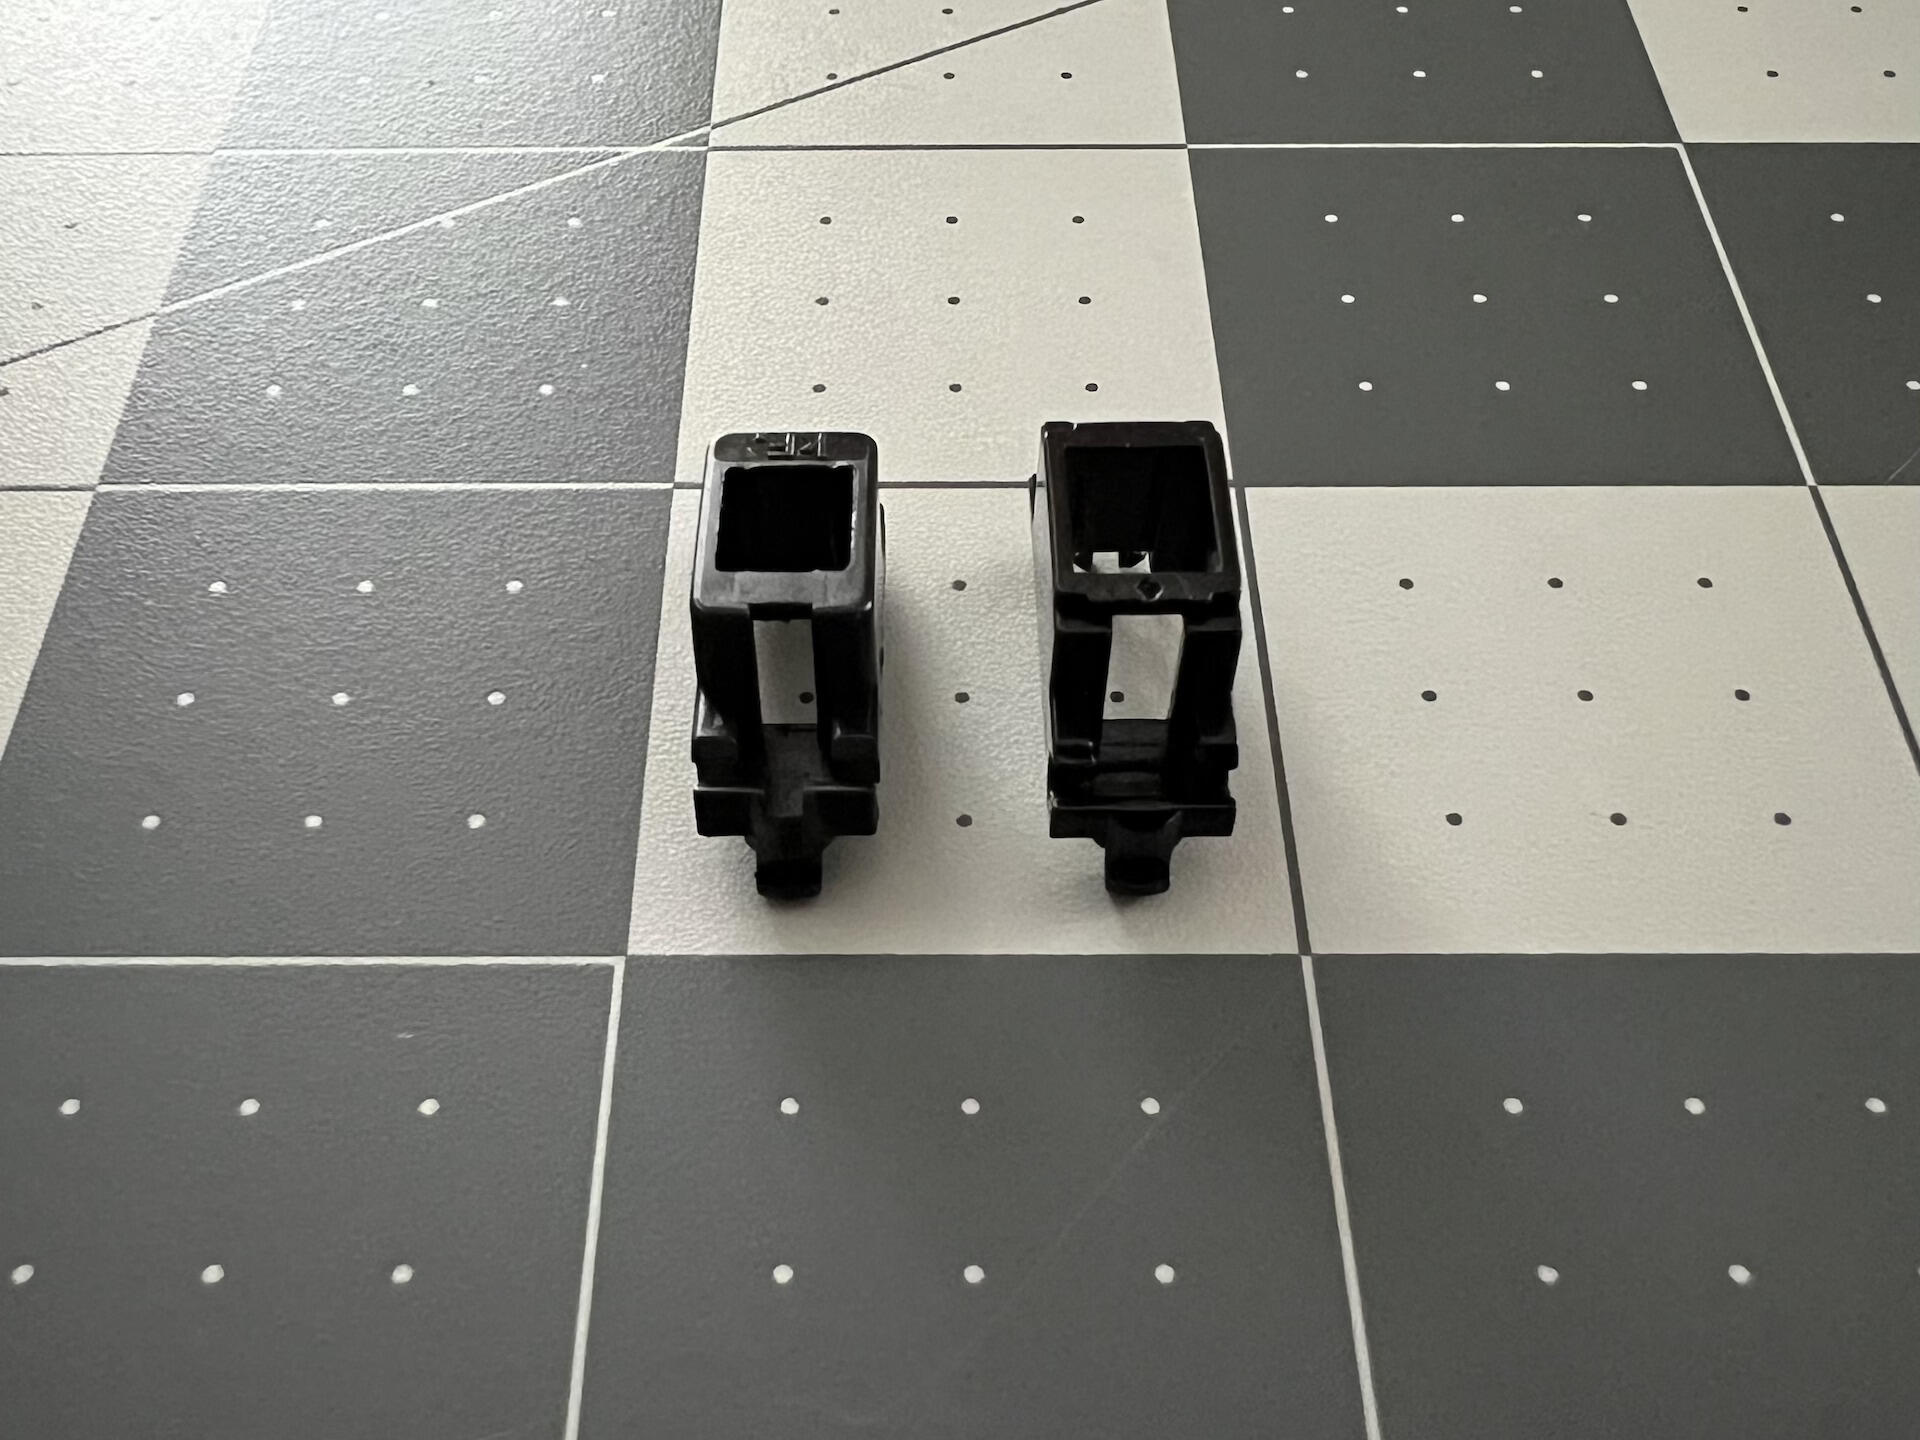
Some Stabbers from Keebfront. In hand, they have this smooth chalky, almost lathery vibe that feels like the complete opposite to sticky, glossy piano black plastic. My initial impression was that I had a bona fide TX contender, but the lackluster wires and snubby sliders makes this a one and done set.
The Stabbers have almost perfect wire > slider > housing tolerances. Like how Staebies were intended to be, but ended feeling a bit sluggish and tricky to lube, for me.