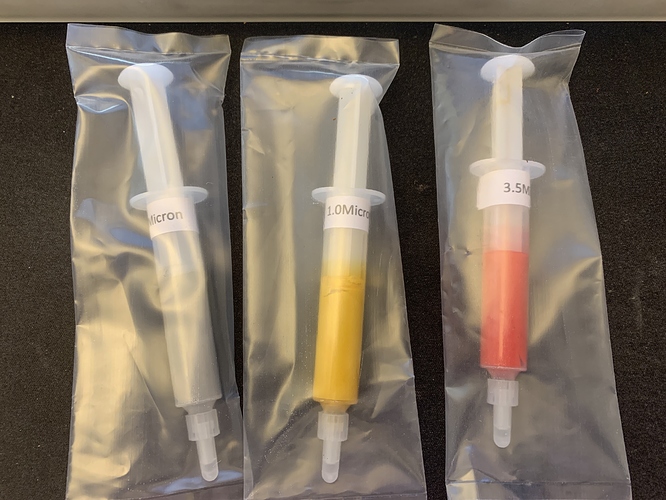
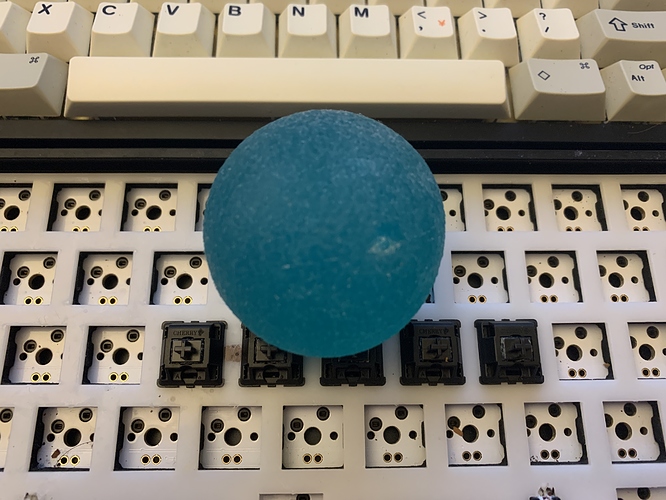
Diamond paste variety pack arrived. From the left: 0.5µm, 1µm, and 3.5µm.
time to offer up some sacrificial stems, temple of doom style. =D
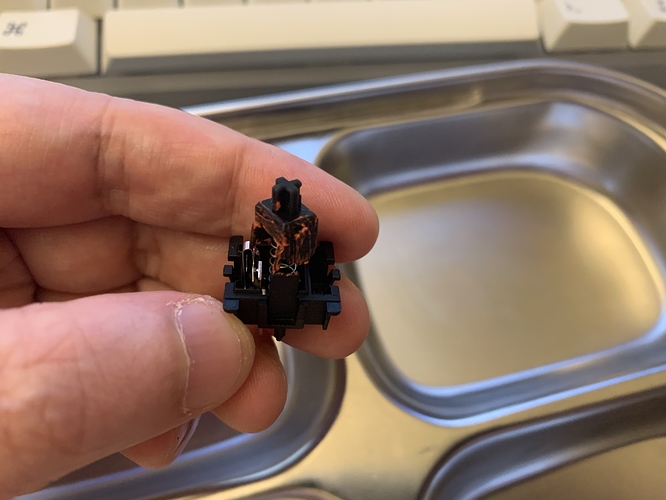
OK. Sacrificed three retooled Cherry MX Black from a late late scratchy batch, one for each grit (0.5µm, 1µm, and 3.5µm). Diamond paste is not oily but semi-dry mud-like. I was able to easily apply the paste with a brush so I have a good coat all over each stem as well as housing’s slider rails.
With all three grits, each diamond-pasted switch felt usable, not exactly pleasant but tolerable enough to use for a week or two. 3.5µm definitely felt abrasive. 1µm also felt abrasive but much less so. 0.5µm felt no different from stock.
So now the next questions are:
- Whether they will make switches smoother and, if so,
- How long it takes to make these switches as smooth as, say, vintage cherry MX blacks.
Next, I’m going to use the three diamond-pasted switches like a fidget for a week then brush wash and compare against stock switches.
UPDATE: Added a stock switch to the test set to compare against.
I think I speak for everyone when I say thank you for posting your research here bud! Keep us posted, after you latest post this seems like it might work out well with the heavier grits!
Orange flavor fine prophy paste resulted in a consistently light scratchiness during the whole pressing of the switch switch. Actuated it for 5 minues. Not exactly what was desired but at least it had an effect. The stem did show wear signs of the process.
I might try again with longer time pressing the switches but hopes are low.
Excited to see how the switches @donpark is working on!
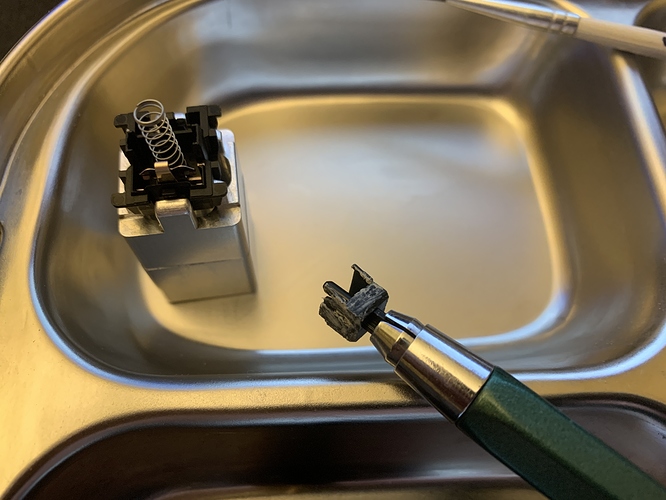
Agreed! This is what I was able to put together. Its loud so I can’t do any more testing tonight.
That’s awesome
I felt exhausted after watching that video.
Checked the switches just now, examining the areas I applied diamond paste to. Stem sliders look the same except paste looking dry. Top of the stem legs of all three switches, however, now look flat with mirror-like surface. Diamond paste is clearly eating away at it so
I’ll have to wash the paste off the legs soon.
I now think stem legs may need only a day of use to polish. Question is how long will the sliders and rails take. Difference obviously comes from the fact that, while the legs are always in contact with the leaves, sliders are not always fully rubbing against the rails. This may complicate the polishing process too much.
I’m wondering if the paste will damage the leaves in any way? I’m not sure if they are coating with anything to prevent corrosion or not. I have a gut feeling that if this works for the stem, it might be advantageous to do this outside of the housing somehow. Speaking out of pure ignorance (i.e. out of my ass), but I thought I’d throw that out there.
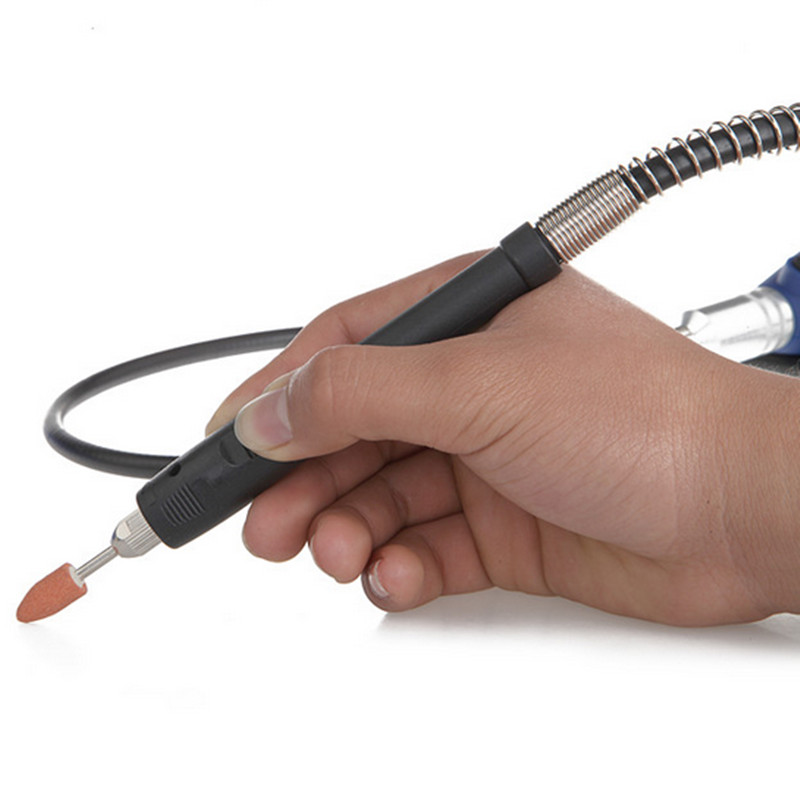
Dremel is too powerful for most plastic. It will eat through the plastic like butter, even with mere buffing tip.
Re damaging the leaves. I’ve no idea. I’ll answer the door when someone knocks and not before. 
After washing out the paste, I’m going to see what two days of use did and wing it from there. I’ll likely test polishing legs, sliders/rails separately to better guestimate the right grit and polishing duration. I hope 20 stock Cherry MX Blacks should be enough.
To my knowledge, typically when switches have a coating, to prevent corrosion, it’s it’s usually gold and only at the contact points.
Steel Series 7g markiting photo.
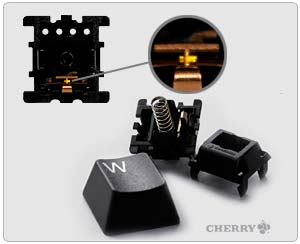
I’m pretty sure they were using gold crosspoint switches.

Found through google image search. the photo appears to be hosted on a face book page.
Sawzall go BRRRRRRRRRRRRRRRR! ![]()
i have to say… I’m a bit ashamed that this video made me think of certain other demonstrations I’ve seen with similar setups…
Okay, off to my cave now. I’ll see myself out.
I’ve removed diamond paste from all three switches. Binding agent for the diamond paste is water-soluble so just dunking the switch parts in water and brushing over pasted areas with a small brush (I used a spare lubing brush) seems to work. I had to change water once per switch because a lot of particles get released.
Afterward, I reassembled and tested the switches, comparing against the stock switch, and found that:
- 0.5µm polished switch felt really smooth.
- 1.0µm polished switch felt respectably smooth.
- 3.5µm polished switch felt slightly better than stock.
Next, I’m going to try polishing another three switches with just 0.5µm for a day only. If that goes well, test what polishing just an hour will do. Once the ideal polishing duration is found, I’ll polish the whole board which will give me reasons to try simplifying the cleaning process.
This is a good time to ask a question that’s been bugging me:
How smooth are Vintage Cherry MX switches and Nixies compared to, say, current top-tier linear switches like Tealios, NK Silk/Dry, and Tangerine?
Testing five switches this time. I applied the gray 0.5µm diamond paste only to the stem this time exactly as if I was lubing. It looks sorta like beauty mud pack. Ha.
Five switches sitting pretty ready to be balled while working tomorrow (technically today as it’s 6:36AM here).
Found out they’re about equivalent in smoothness. The reason vintage MX blacks are still very much in demand is the sound and feel. Polished but unlubed and unfilmed switches were tested in a hot-swap board populated with lubed and filmed NK Dry switches. NK Dry sound is no slouch (best among JWS recolors so far) but these… polished MX blacks sound so much better and feel slightly more solid. There is a bit more wobble than NK Dry but film should take care of that.
