Purely as a display case ![]()
I’ve got a lot of Halloween appropriate keycaps (Slasher, Reaper, Fright Club, Poltergeist, Ghostbustin, etc…)
I had planned on posting some sort of collage with all of them, but I’m too lazy. So, here’s KKB Poltergeist. Happy Halloween!
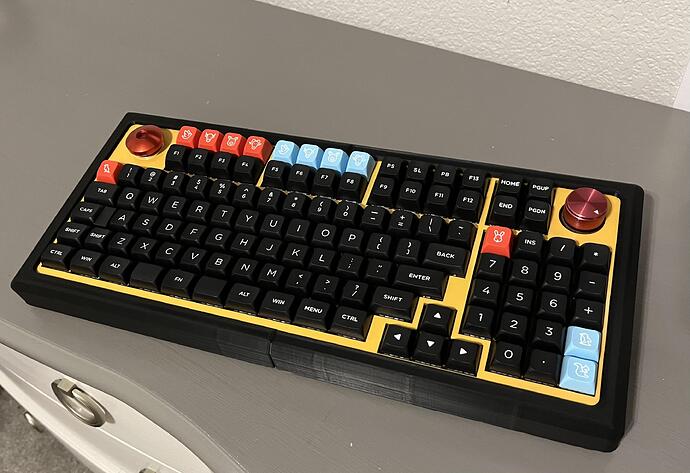
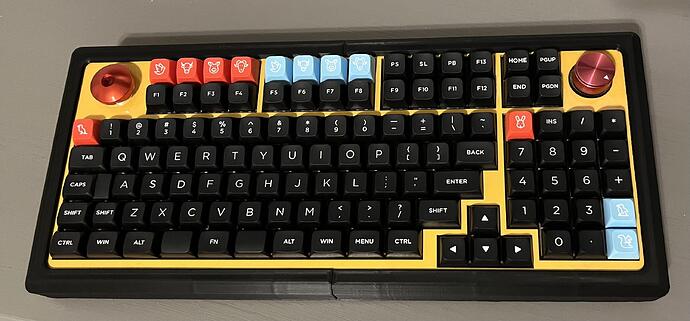
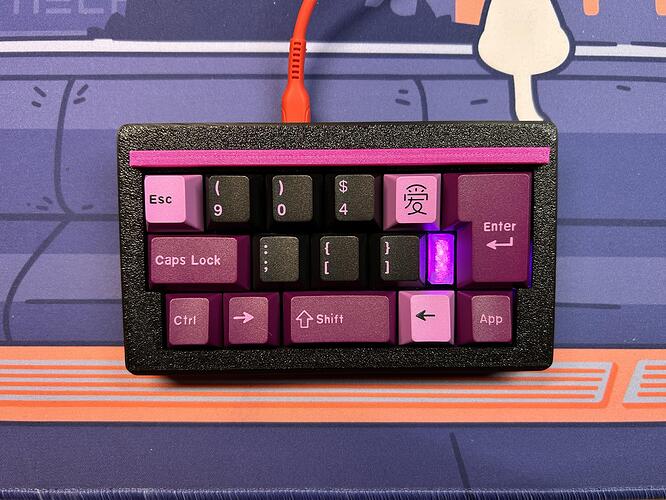
And it’s done! Everything is together and working as expected. Big dumb button is mapped to Enter, with an Fn mapping to Task Manager. I went boring on the LED and just made it a Caps Lock indicator, but I may change that someday. Additionally, I may shift around the little grouping of Backspace/tilde/backslash. So far my hand really wants to shoot for the corner of the main alphas cluster rather than going for what I see. It’s funny how muscle memory gets tied into the typing process even when you still use your sight to keep your bearings.
More
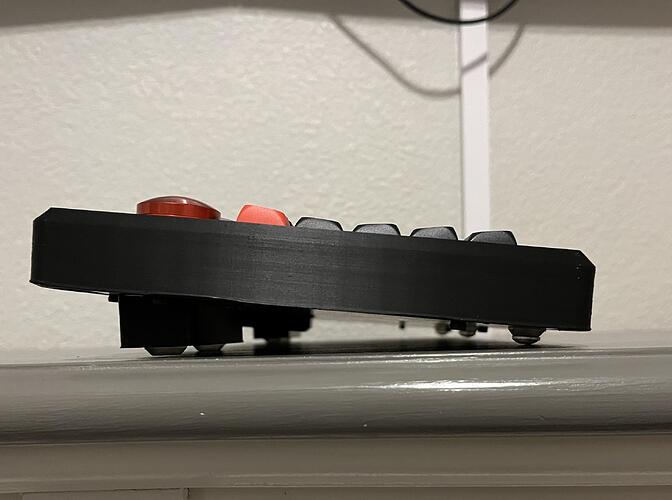
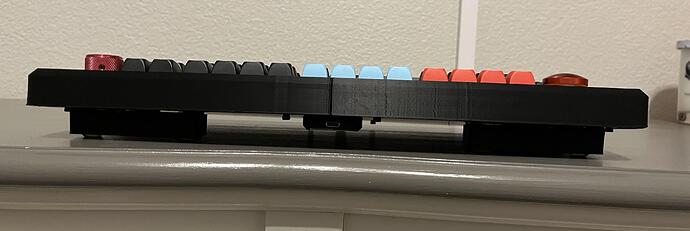
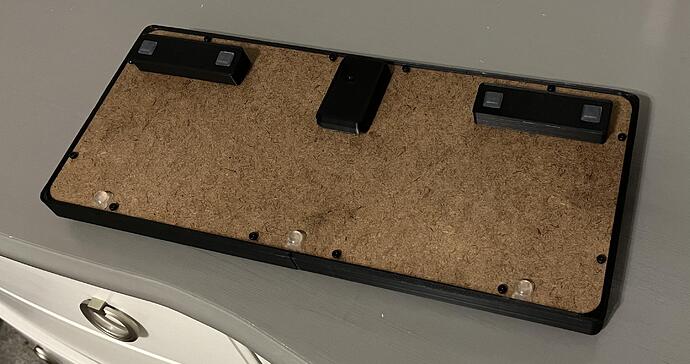
POG worked out very well for me. The only thing I had to map manually in the KMK code was the encoder’s pushbutton. While tedious, once I got my printer fixed the entire build process was pretty smooth. Only burned my finger twice, only had one or two shorts in the matrix, and the POG system of laying out the keymap by pressing the keys made my weird pin-saving matrix much more manageable. Since the big dumb button protrudes so far (the board’s foot has a hollow compartment), I figured chunky in general would be fine for this build, and to be sure if you’re someone who likes a wristrest, you’d need it for this one; front height is in the LeBron James region. The encoder is nice, though the “cheap AF” ones i got don’t have super-snappy detents. I’m also glad I threw a few bucks at the knob, even if it’s nowhere near the same shade of red as the LED pushbutton. ![]()
Typing wise, I am getting used to the Akko MDA, which is like if someone made XDA into a sculpted profile. I remain confident they’re exactly the same molds as XVX’s “ISA” and a couple of other random Chinese profiles, but I am going off memory until/unless I get another set of ISA. They play fairly nice with the green switches as well, though the sound and feel, as well as simply being budget “PBT doubleshot” at all, makes me think there’s a healthy amount of ABS in the blend. This board is just a touch bouncier than my others, but with no support in the center, I’m actually pretty pleased with how secure it feels. I think the top-mount-esque construction worked better for a big board than the loose captive-plate I’ve used on a a couple of these two-part printed cases, which were a fair bit more compressed.
This is very close to the biggest board I can fabricate with my current setup, and I think my laser may be due for the same maintenance attention the 3D printer got for this project. I am currently plum out of ideas, but in that good way where I feel like I scratched an itch. As an aside, I kept wondering why this board felt so familiar, and then it finally hit me as I walked up to my car, which looks exactly like this (except dirtier).
More pics:
It’s actually so fun seeing the keyboards you make; how do you get these ideas?
Most of the ideas are some variation of
- See someone else’s work.
- Do that, but make it slightly stupid.
![]()
You just described my life
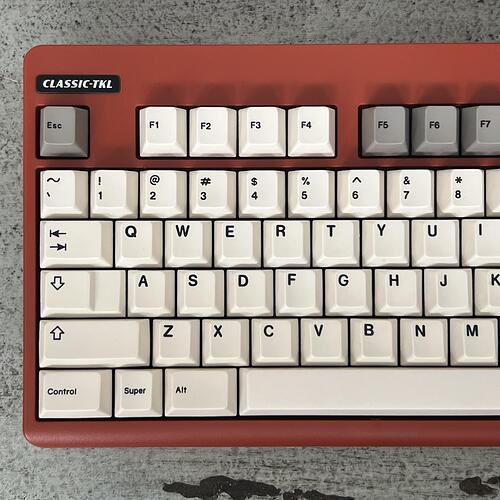
Photos of my Classic-TKL with ePBT Ivory
More shots on the Instagram Post
Still baffled by how Instagram and Apple and Chrome all have their own colorspace, and they all 3 choose to display images differently. How do professional photographers put up with it? ![]()
Colors are a bit more accurate on Instagram in this case. ePBT Ivory works very well with this case. I don’t know how many of you own the set, but I’ve always thought it looked a bit “peachy” tinted. Turns out, this works perfectly with the Ironstone case. Even better than beige or cream caps that are along the lines of GMK L9, which actually have a very slight green tint.
Oh yea I can definitely see from your picture that peachy tint you are talking about (or maybe it’s placebo lol).
Need to do some finishing touches and fixes on the case, then I call this finished (and a second top with blockers for 1.25u keys).
Update: current files on github, if anyone would happen to want one GitHub - exen904/ISO13715-PCB
I had to have the look after I saw it on Novelkeys. Mars Cadet on the Foundation with SE Fade top!
More photos on the Instagram Post
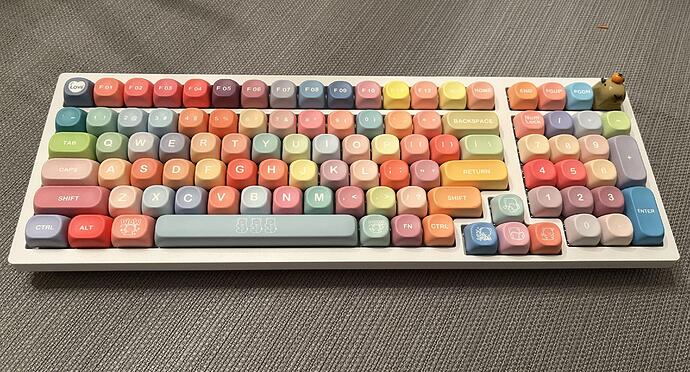
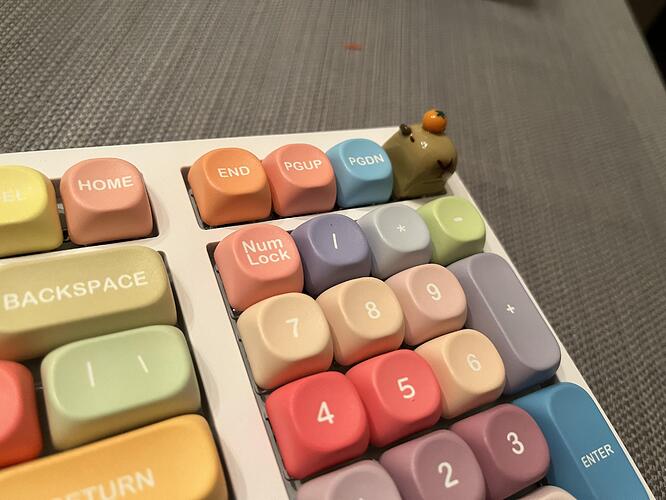
So not mine this time, but early impressions are positive for my wife’s birthday present. Keychron K4 Pro with their tactile banana switches, MOA gummy bear keycaps, and a capybara artisan. She freakin’ loves capybaras.
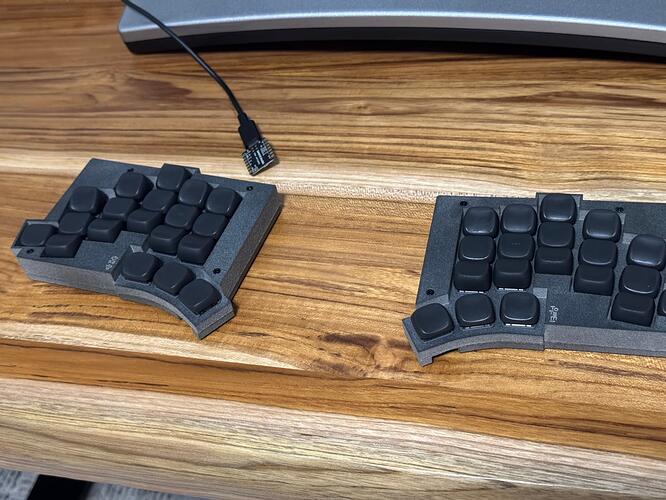
Just finished building this one:
- Geist Totem Wireless
- Case: 3d Printed MJF PA12 Nylon in natural gray.
- Printed a bottom case with the ability to add phone stands for tenting. https://www.reddit.com/r/ErgoMechKeyboards/comments/1dmirsg/totem_tenting_bottom_plate/
- Keycaps: KLP Lame in resin.
- Switches: Choc Ambient Twilights
- Using a third Xiao as a dongle to improve battery life and stability.
Overall, it’s pretty cool. Some issues I have with the build:
- I need to order a new battery off of Amazon because I cut one set of wires too short which is making the case difficult to close. 1000% my fault.
- Also, I’m not sure if I would have printed the keycaps in resin if I were to do it again. Not because they look or feel bad, but because I just don’t love the idea of touching resin this frequently. Will probably swap them out for some PBT keycaps later on.
- I kinda loathe the build process with Github Actions and the way flashing is done with ZMK after being used to the relative simplicity of QMK. Mostly a personal preference thing.
I could easily see this becoming my new daily driver board and really like the way it turned out. I like the Ambient Twilight switches way more than I thought I would. Using a dongle with ZMK is actually awesome. The build itself was even relatively affordable. Because parts were cheap, which resulted in a ton of extras, I nearly had enough for a second build, so I will be doing just that and building a wired version.
If you have any spares, you might grab a rattle-can of polyurethane and see if your resin handles it and if it affects the feel negatively. If it works out, that will provide a known impermeable layer, and probably also make the caps a bit more durable. No reason to do the underside, so it shouldn’t be difficult either.
Update… I’m back on my KA2… The 38 key life just isn’t for me.
That was way to quick to decide ![]()
I’ll hold on to it and give it more testing later.
Wound up having to take apart one of the halves because one of the power switches was broken and the switch came out of the housing… Don’t know how I didn’t spot that when assembling the first time. Then I figured I might as well just get a new battery to remedy the issue I created of cutting wires too short (lesson learned). So, that’s been sitting on my workbench since the day after building, but the new battery is here tomorrow and I can reassemble, which is great because…
I picked up some DDC keycaps for the Totem in the meantime and… WOW, these feel FANTASTIC from what I could tell with just one side setup. Actually extremely excited now to rebuild the other half and attempting to daily this again. I think a big part of why I was ready to give up on this 38 key layout early was how clunky I felt on the Lamé sculpted keycaps.
Can’t wait to give this another shot with new keycaps.
I have a weakness for green. In this case, I resorted to buying Chinese keycaps ![]()
I believe these are QX SA. Clone of MG Master keycaps that I bought specifically for this case. ![]()
![]()
They’re pretty nice keycaps overall! Thicker than AF SA. Also, the space bars are all straight ![]()
More pics on Instagram
First try of the new BSUN Maple sugar linears. These are quite similar to the new wave linears but with a long pole. Also share the same slightly heavier feeling spring.
