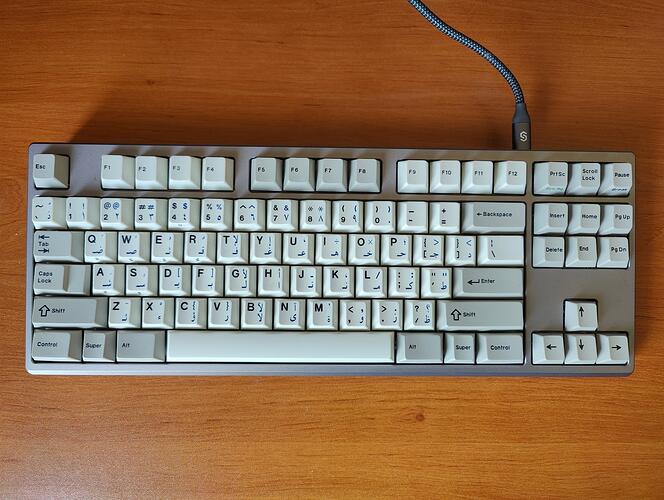
Hello everyone !
Nearly one month has passed since the last post and no news.
Very often, things are not going the way you’d like and this time was no different.
In my case I discovered that the PCB would not want to reliably load firmware code from the flash.
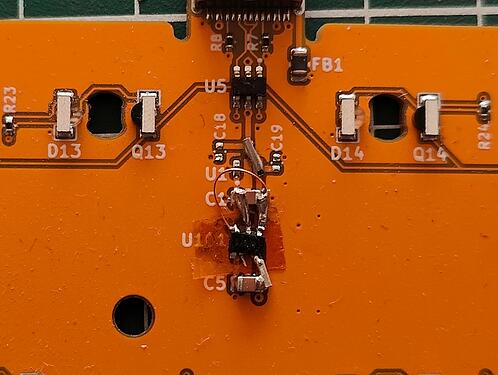
And this has been a pain in the butt to figure out what was the problem: to remove any potential unknowns I desoldered and replaced all components that I never used before by models I know well, and this made a mess on the test PCB ![]()
This is dirty but allowed me to confirm that the only culprit was the way the flash was laid out, quickly confirmed by a PCB design inspection that revealed no ground plane below the signal traces ![]()
While not been able to correctly boot a QMK firmware, I could load and debug any program I wanted using SWD debugging. This allowed me to experiment with matrix scanning and confirm that Gondolindrim technique was indeed working like a charm ![]()
So all is not lost for this Revision 1 PCB but if I wanted to have my Frog working with an optical PCB I knew I had to work on a Revision 1.1 very soon.
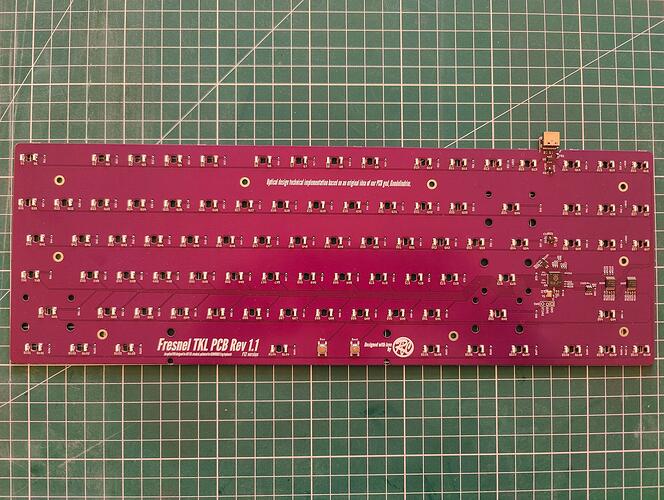
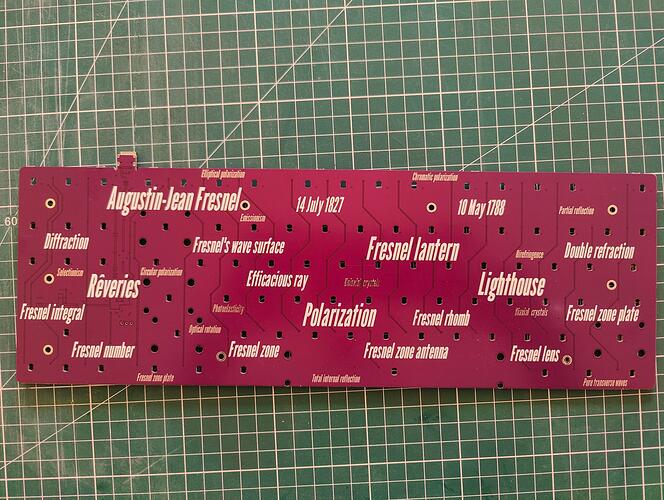
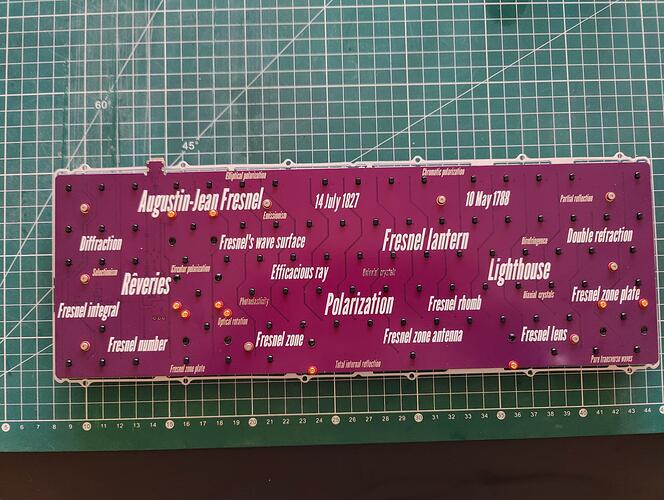
I recently received the Revision 1.1, time for a test !
I changed the color to purple this time in order for me to easily differentiate both revisions.
Apart from a better QSPI Flash routing and silkscreen color, there are very little differences between the two revisions.
… and I could finally manage to make a QMK VIA firmware work !!!
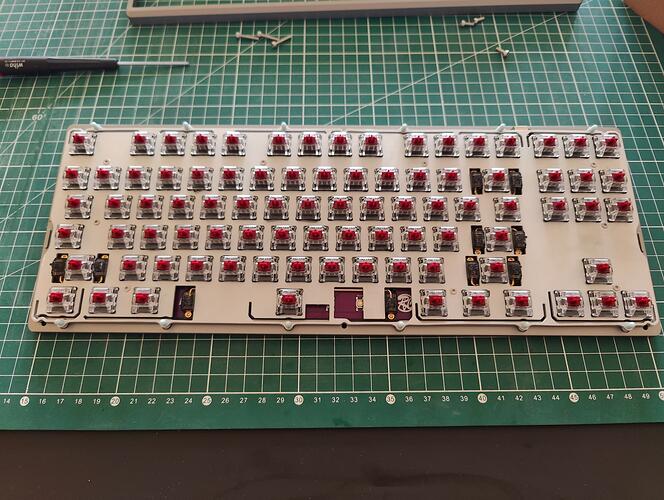
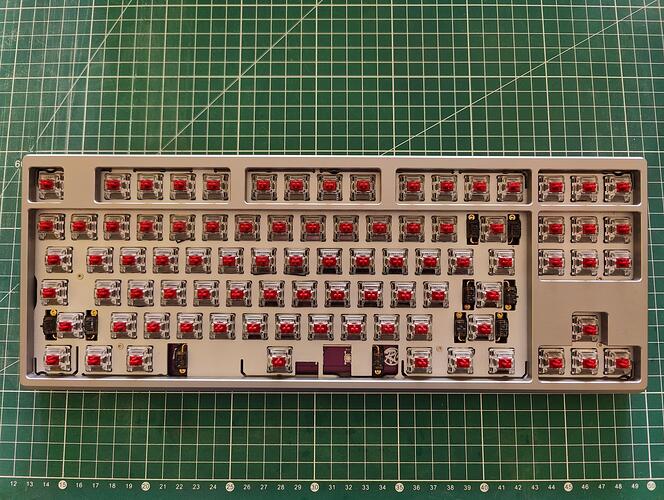
Time to assemble everything in my Frog now ![]()
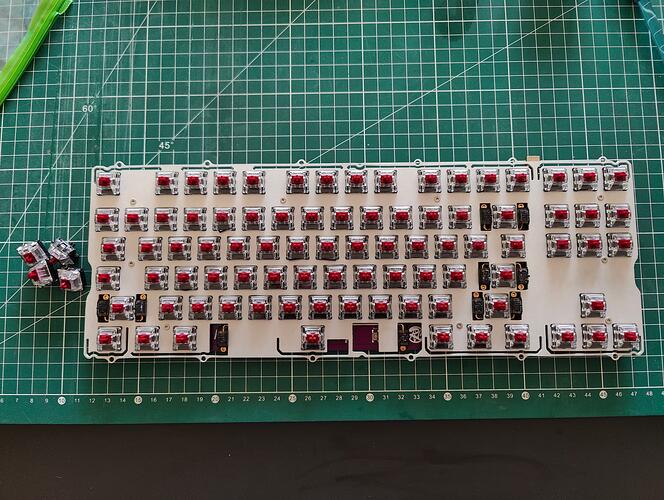
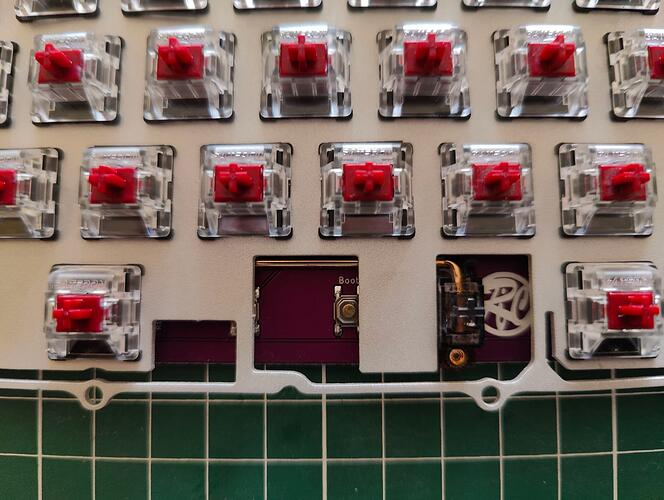
The specially designed plate (based on GEON files) was not very dimensionally accurate, some leaves were even looking a bit distorded (see image below). Not a huge deal but I had to rely on manual filing so that the plate could fit in the case without scratching the top part. I attribute that to the laser cutting process that put a lot of heat on such thin elements and deforming them.
I better understand now why GEON is CNCing all its metal plates ![]()
The switches used are old KS-15 Gateron opticals, they have been lubed (304), filmed, and spring swapped (TX 16mm 55g).
The switches fit very tight on the plate, this is because they not only have notches vertically, but also smaller ones horizontally. No way to remove then accidentally by just trying to replace the keycaps.
Apart from that this is exactly the same process as for a standard installation.
Time to select classic beige keycaps to fit the grey Frog ![]()
Everything works super nice, in fact I am writing this using my newly built Frog with Fresnel PCB inside ![]()
Next steps:
While it works nice it is far from perfect:
- The current revision lacks standoffs to fully seat all witches to the PCB (I had to bend the plate a little bit to have a good switch to PCB contact).
- The PCB has not cutouts to be able to use it on more keyboards cases and most importantly use O-ring mounting. This is something that Gondolindrim plan to address on the Revision 2 of the PCB.
- I took little consideration to manufacturing cost but Gondolindrim is looking into it, as a result components will most probably change but the same core technique will be used and thus performance will stay the same.
See you !
